The lock screen timeout feature in Windows 11 is a convenient way to secure your computer when you step away from it. This feature automatically locks your computer after a specified period of inactivity, requiring you to enter your password or use other authentication methods to regain access. However, some users have reported issues where the lock screen timeout does not work as expected. In this gearupwindows article, we will explore common reasons why the lock screen timeout might not be working and provide solutions to fix the problem.
Fix: Lock Screen Timeout Not Working in Windows 11
Check Power Settings
One of the most common reasons for lock screen timeout issues is incorrect power settings. Windows provides different power plans with customizable settings for screen and sleep timeouts. To check and adjust your power settings:-
Step 1. Press the Windows key + I to open the Settings app.
Step 2. Click on “System.”

Step 3. Select “Power & battery.”
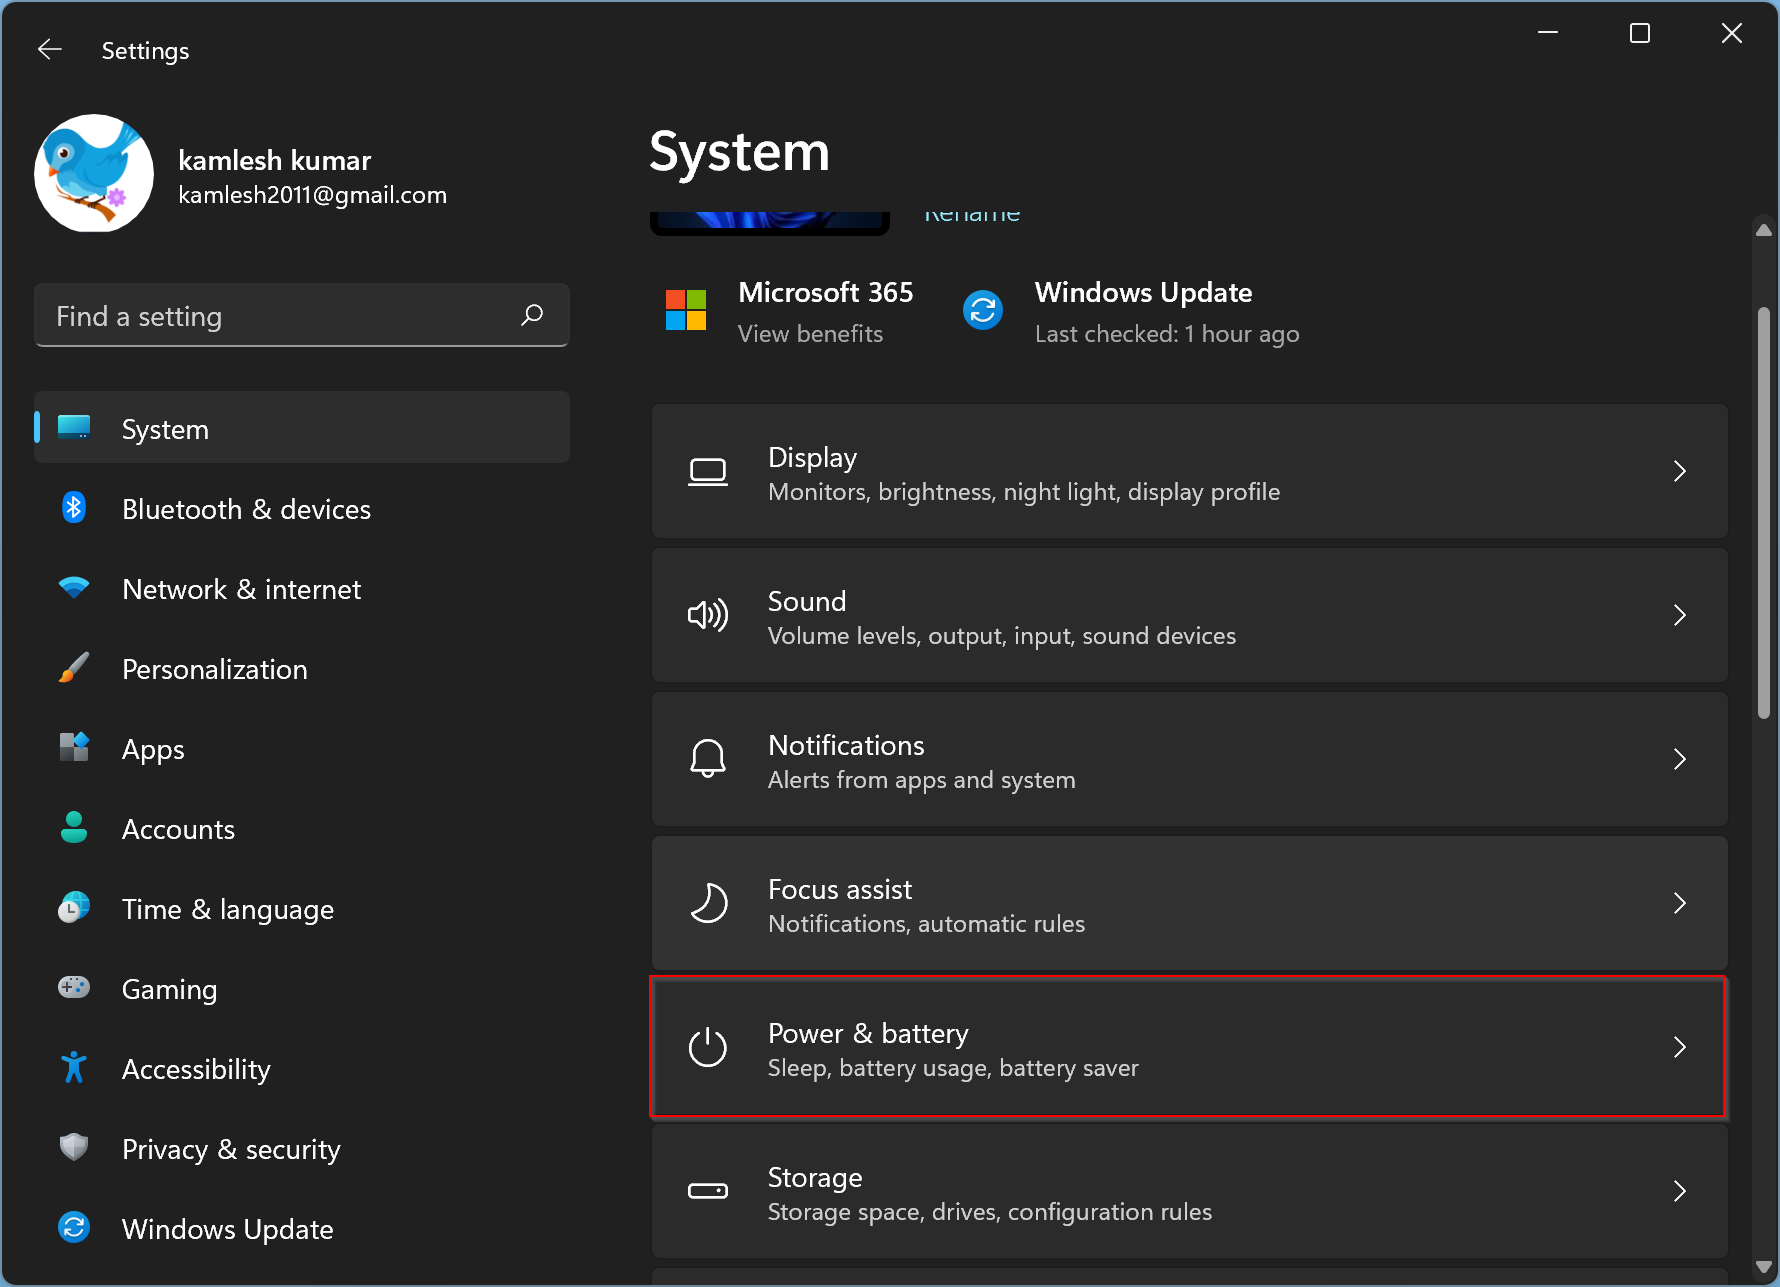
Step 4. Click “Screen and sleep.”
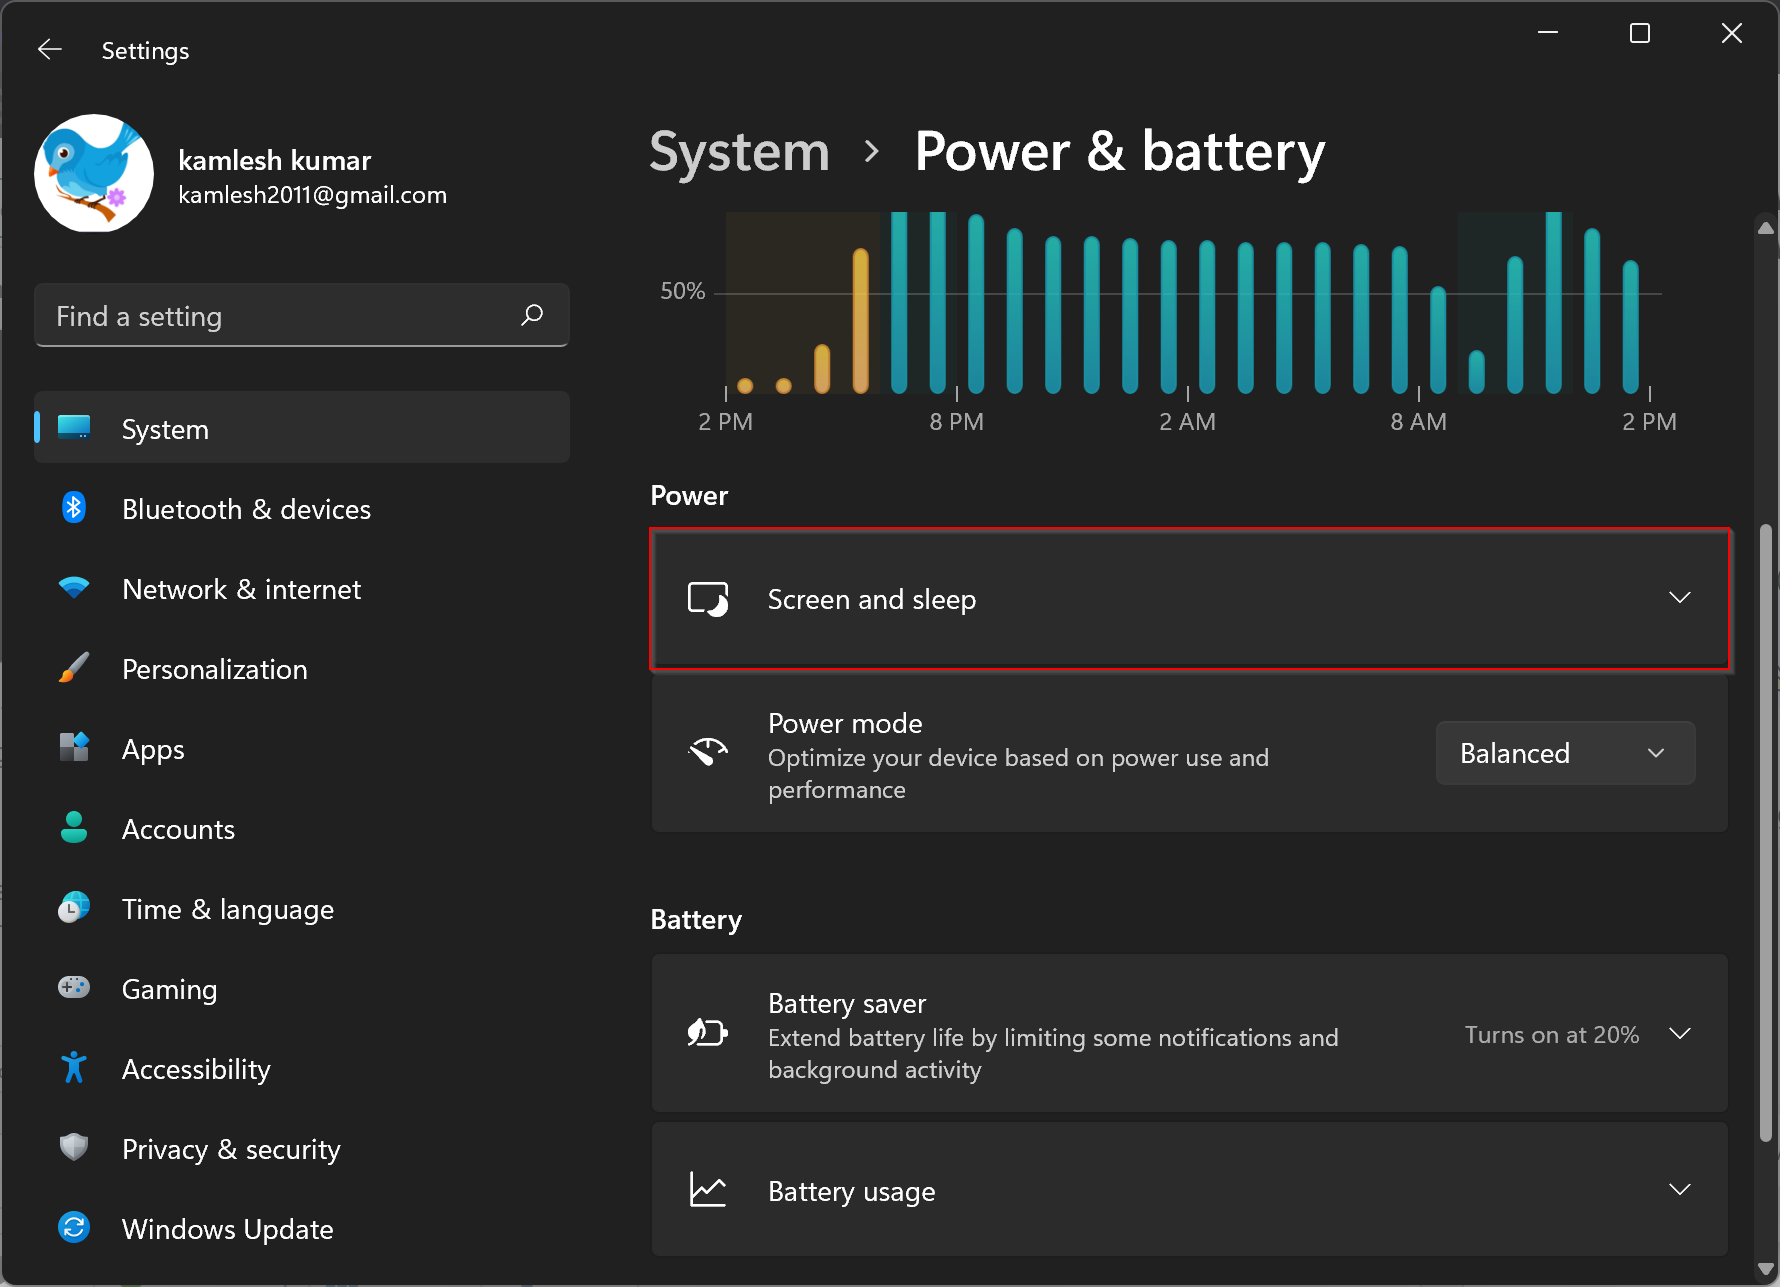
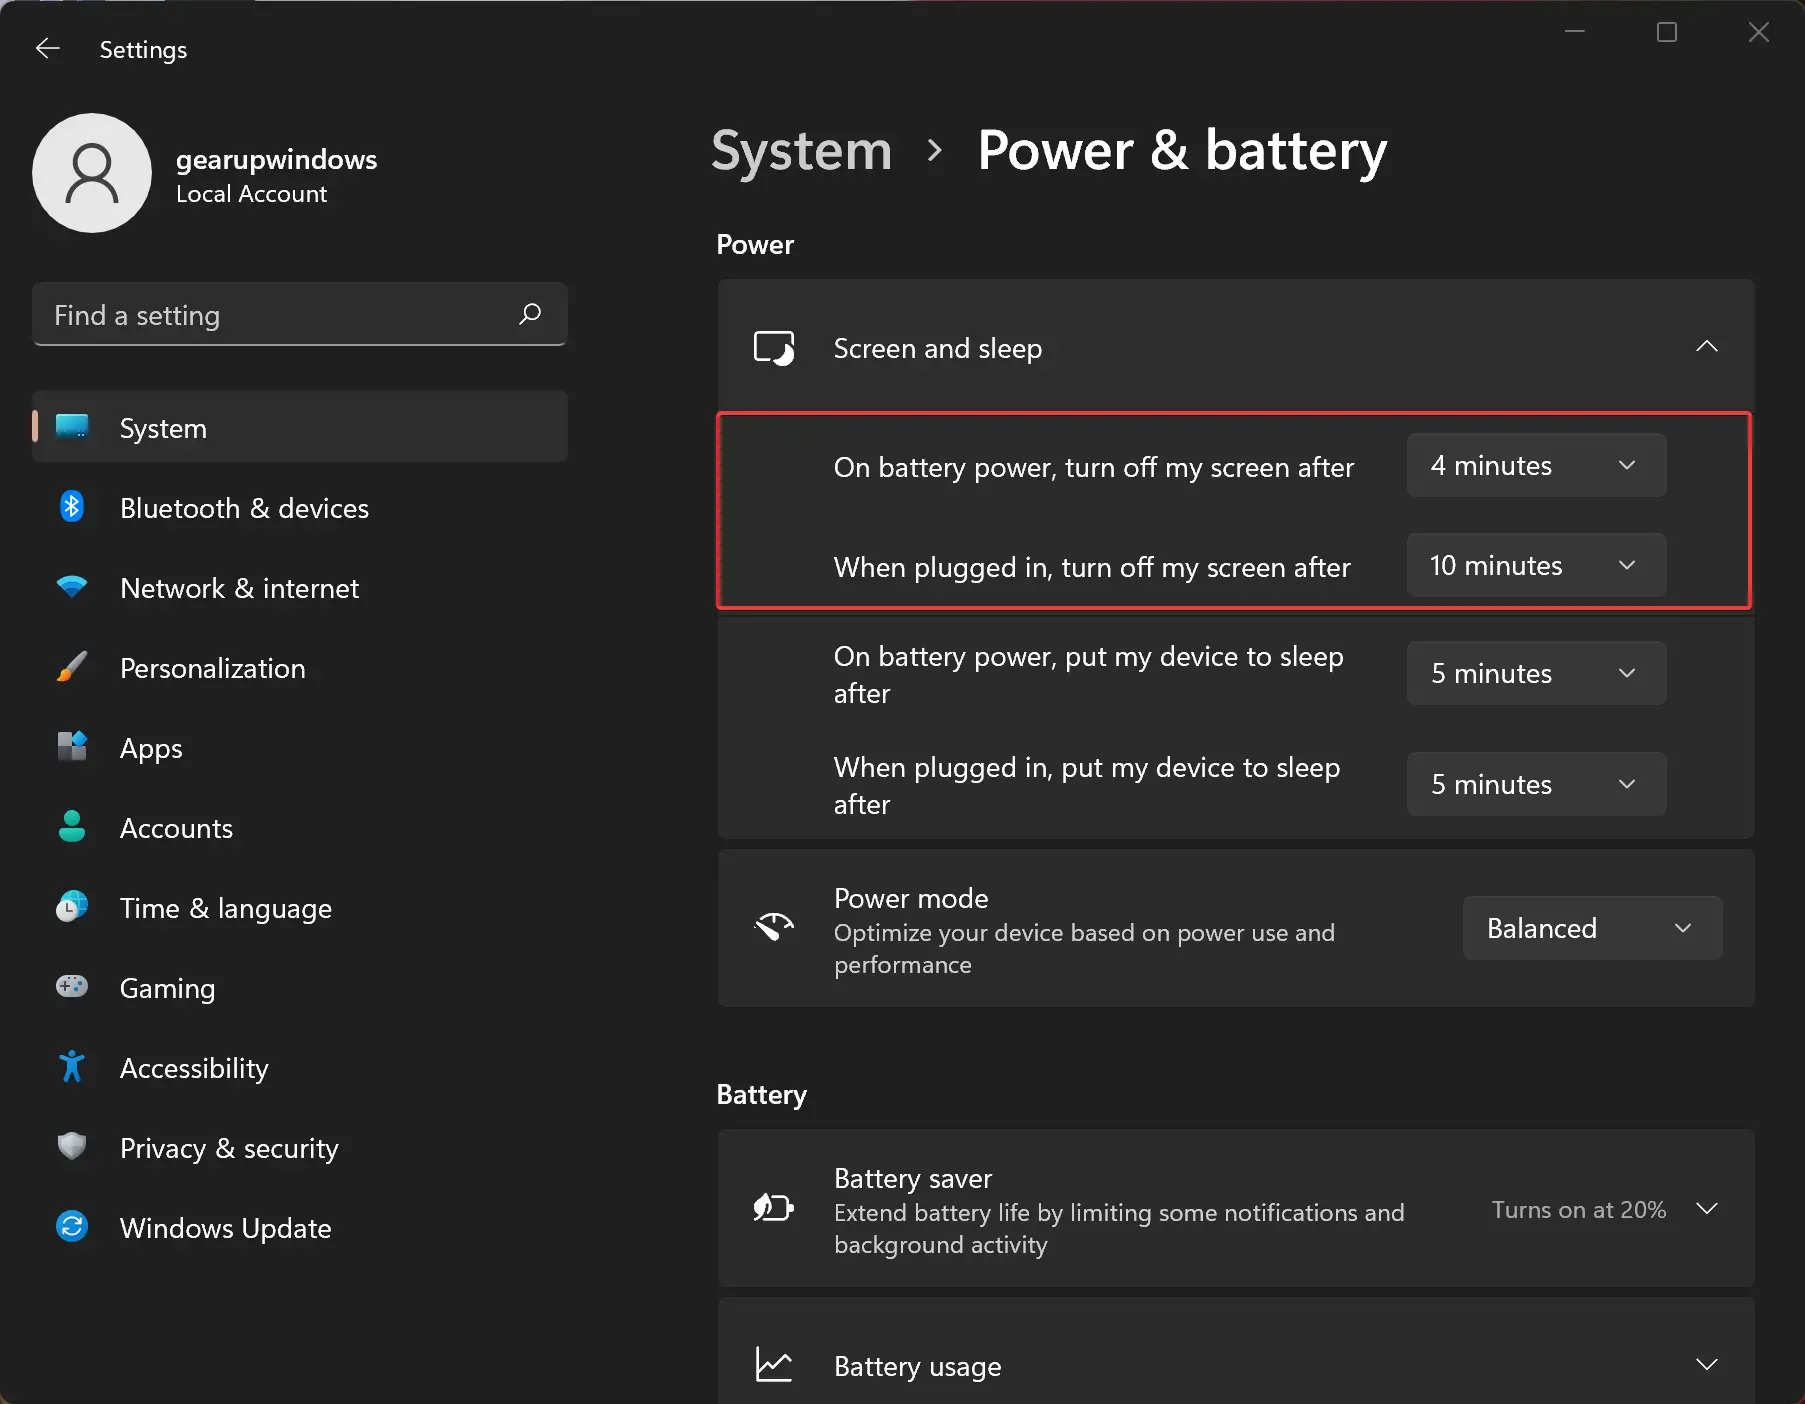
Step 5. Under “Screen and sleep,” ensure that “On battery power, turn off after” and “When plugged in, turn off after” are both set to your desired values. If these settings are too long or set to “Never,” it may prevent the lock screen timeout from working.
Check Screen Saver Settings
In some cases, the screen saver settings can interfere with the lock screen timeout. To adjust the screen saver settings:-
Step 1. Press the Windows key + S to open the search bar, type “Screen saver,” and select “Change screen saver” from the search results.

Step 2. In the Screen Saver Settings window, make sure that the “On resume, display logon screen” option is selected.

Step 3. You can also adjust the “Wait” time for the screen saver to start. Ensure it is set to a value that aligns with your desired lock screen timeout.
Disable Background Apps
Background apps can sometimes prevent the lock screen timeout from working correctly. To disable background apps:-
Step 1. Press the Windows key + I to open the Settings app.
Step 2. Click on “Apps” in the left sidebar.
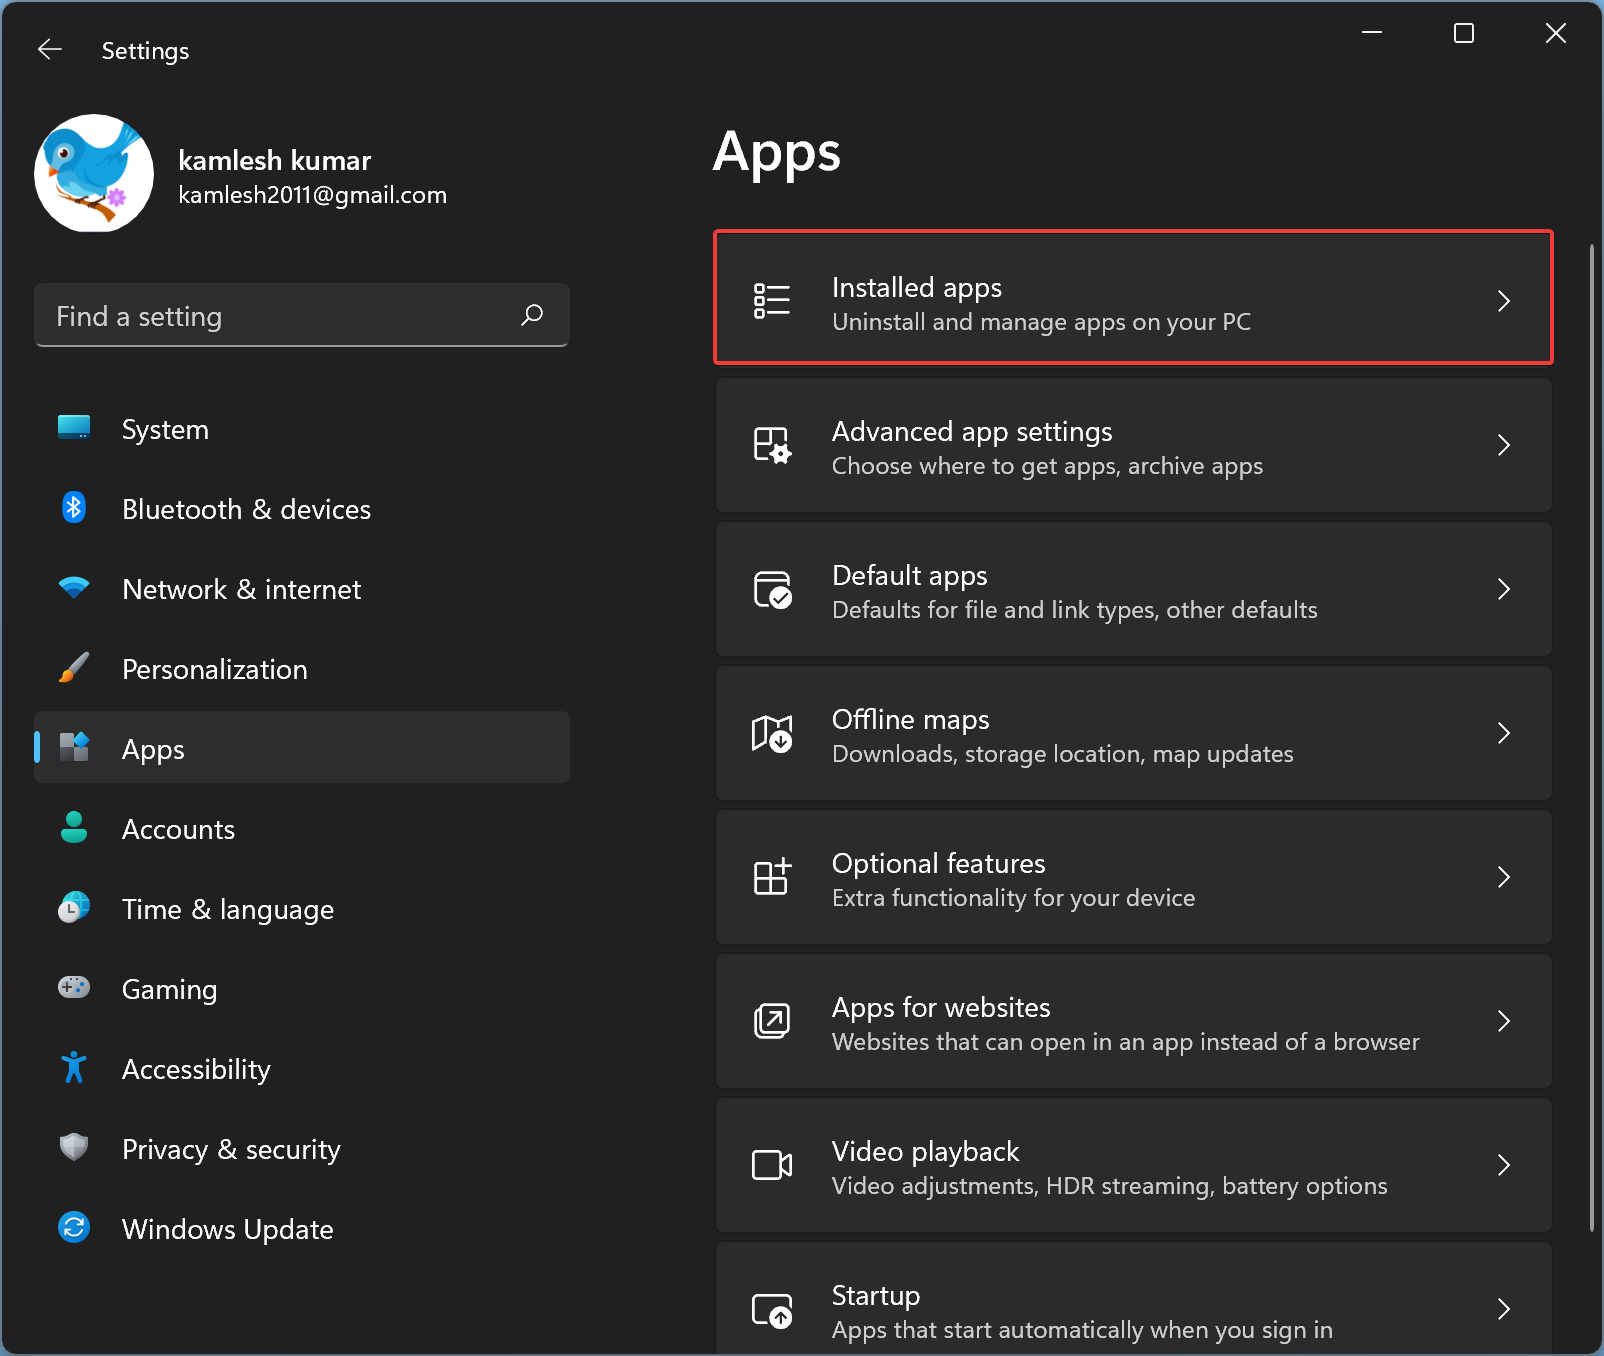
Step 3. In the right sidebar, select “Installed apps.”
Step 4. Click the menu (three-dotted) button beside the app you want to disable background settings.
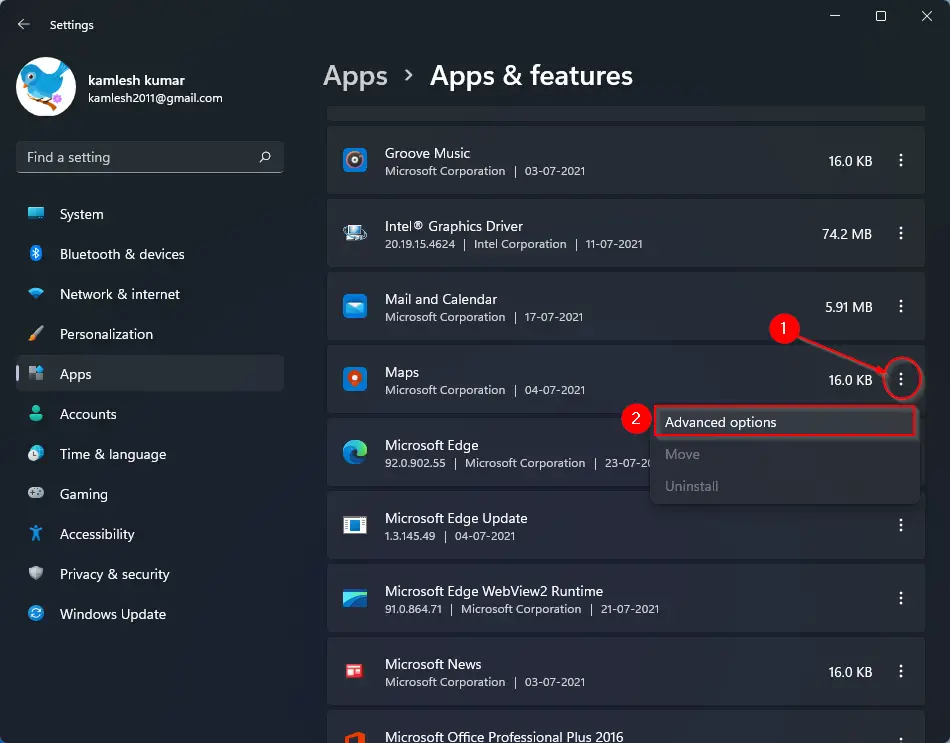
Step 5. Select “Advanced options.”
Step 6. Under the “Background apps permissions” section, use the drop-down menu and choose the Never option to prevent the app from running in the background.
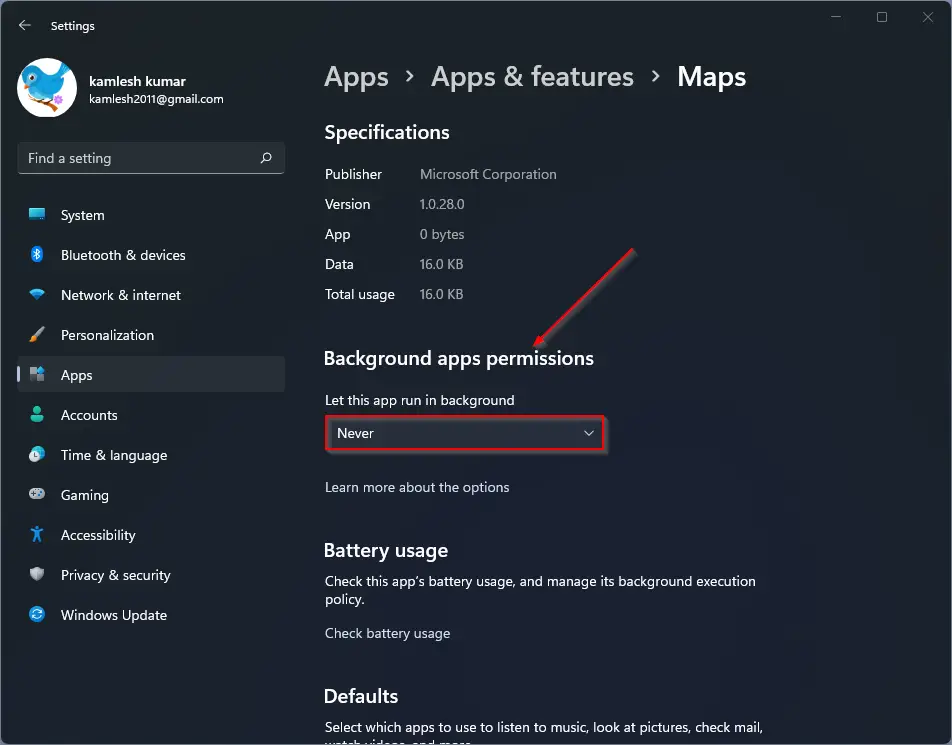
Repeat the above steps if you want to prevent more apps from running in the background.
Check Group Policy Settings (Windows 11 Pro/Enterprise)
If you are using Windows 11 Pro or Enterprise, group policy settings might affect your lock screen timeout. To modify these settings:-
Step 1. Press the Windows key + R to open the Run dialog, type “gpedit.msc,” and press Enter. This will open Local Group Policy Editor on your Windows 11 PC.
Step 2. Navigate to the following path:-
User Configuration > Administrative Templates> Control Panel > Personalization
Step 3. Find and double-click on the “Screen saver timeout” policy.

Step 4. Set it to “Enabled” and then add screen timeout in seconds.

Step 5. Click “Apply” and “OK.”
Update Graphics Drivers
Outdated or incompatible graphics drivers can cause issues with the lock screen timeout. To update your graphics drivers:-
Step 1. Right-click the Start button and select “Device Manager.” This will open Device Manager on your PC.
Step 2. Expand the “Display adapters” category, right-click your graphics card, and select “Update driver.”

Step 3. Follow the on-screen instructions to search for and install the latest drivers.
Perform a Windows Update
Windows updates often include bug fixes and improvements that can resolve various issues, including lock screen timeout problems. To check for and install updates:-
Step 1. Press the Windows key + I to open the Settings app.
Step 2. Click on “Windows Update.”
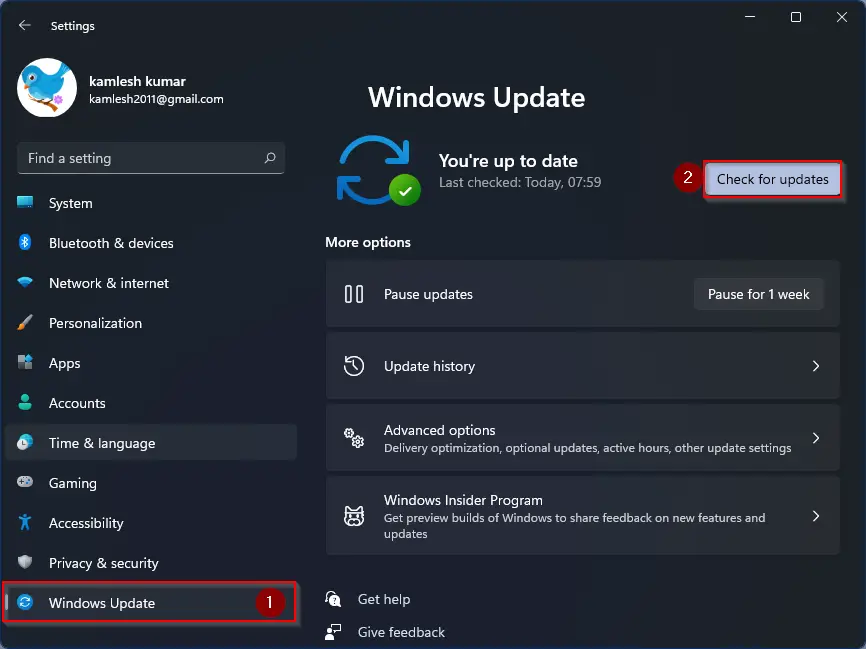
Step 3. Click “Check for updates” and install any available updates.
Perform a System File Check
Corrupted system files can also lead to lock screen timeout issues. To run a System File Check (SFC):-
Step 1. Press the Windows key, type “cmd,” and right-click on “Command Prompt” in the search results. Select “Run as administrator.” This will open Command Prompt as an administrator.
Step 2. In the Command Prompt, type “sfc /scannow” and press Enter.
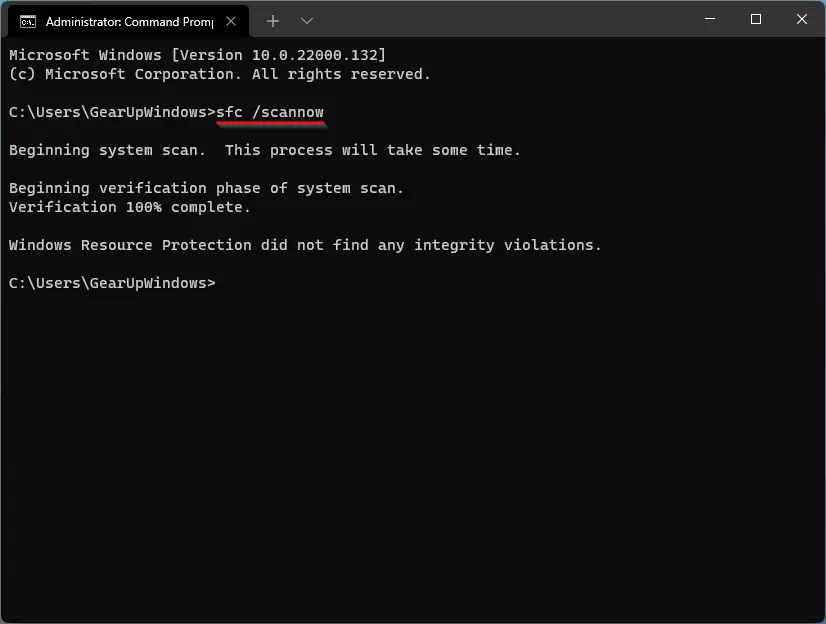
Step 3. Wait for the scan to complete and follow any on-screen instructions.
Check for Third-Party Software Conflicts
Certain third-party software or applications can interfere with the lock screen timeout. If the issue started after installing new software, try uninstalling or disabling it to see if the problem is resolved.
Enable Console lock display off timeout in Registry Editor
Enable Console Lock Display Off Timeout in Registry Editor
In addition to the previously mentioned methods for fixing the lock screen timeout issue, another effective approach involves enabling the Console Lock Display Off Timeout feature in the Windows Registry Editor. This feature allows you to set the amount of time Windows waits before automatically turning off the display. Follow these steps to enable it:-
Step 1. Press the Windows key + R simultaneously to open the Run dialog, then type “regedit” and press Enter. This will open Registry Editor.
Step 2. Once the Registry Editor opens, navigate to the following path:-
Computer\HKEY_LOCAL_MACHINE\SYSTEM\CurrentControlSet\Control\Power\PowerSettings\7516b95f-f776-4464-8c53-06167f40cc99\8ec4b3a5-6868-48c2-be75-4f3044be88a7
Note: Be cautious when making changes in the Registry Editor, as it contains critical system settings.

Step 3. Locate the “Attributes” key in the right-hand pane and double-click on it.
Step 4. In the “Edit DWORD (32-bit) Value” window that appears, change the “Value data” to 2.

Step 5. Click “OK” to save the changes.
Now, proceed to the Control Panel to configure the Console Lock Display Off Timeout setting:-
Step 1. Open the Control Panel by pressing the Windows key and typing “Control Panel,” then select it from the search results.
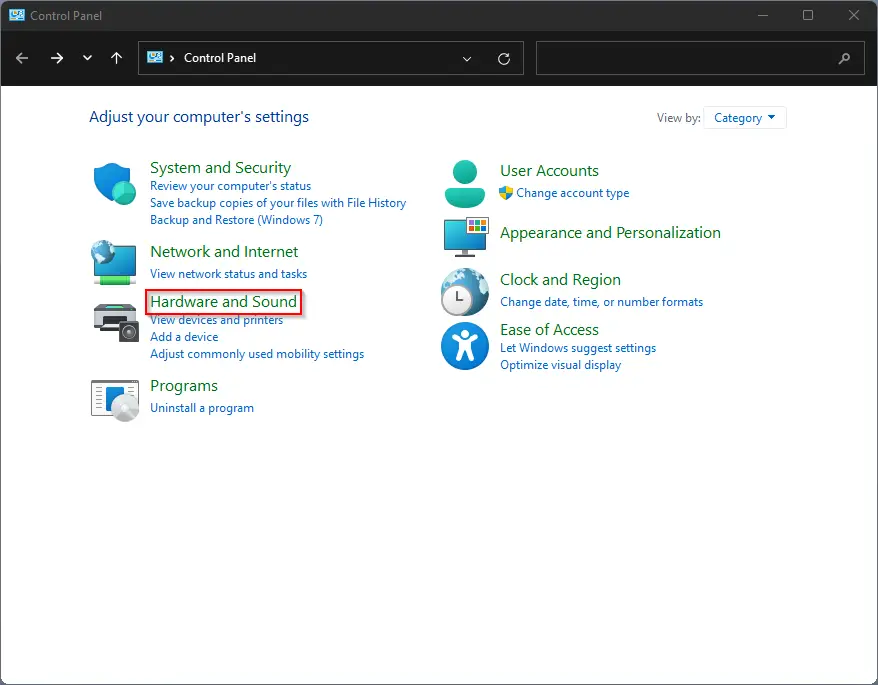
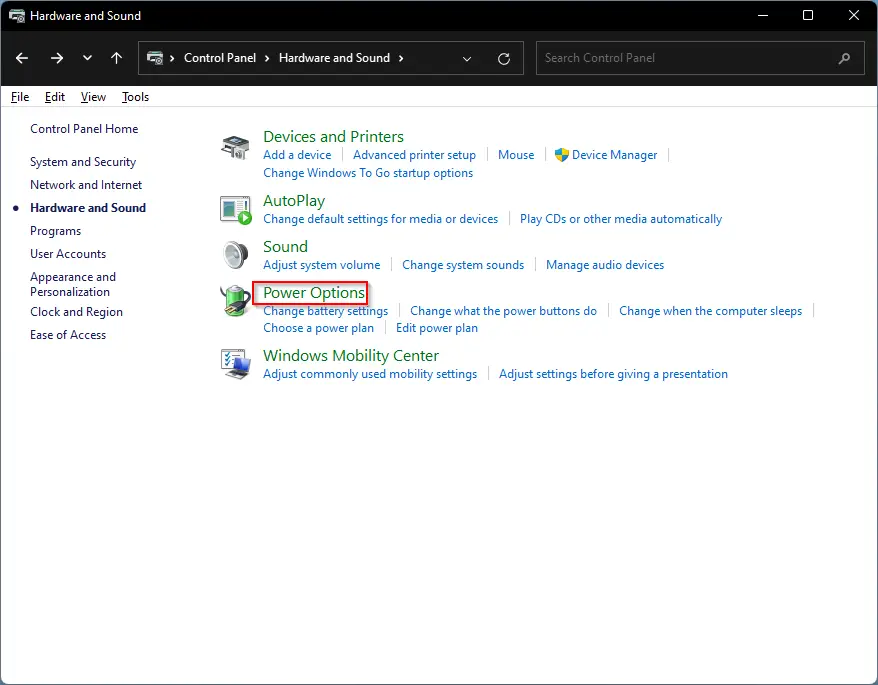
Step 2. Navigate to “Hardware and Sound” and click on “Power Options.”
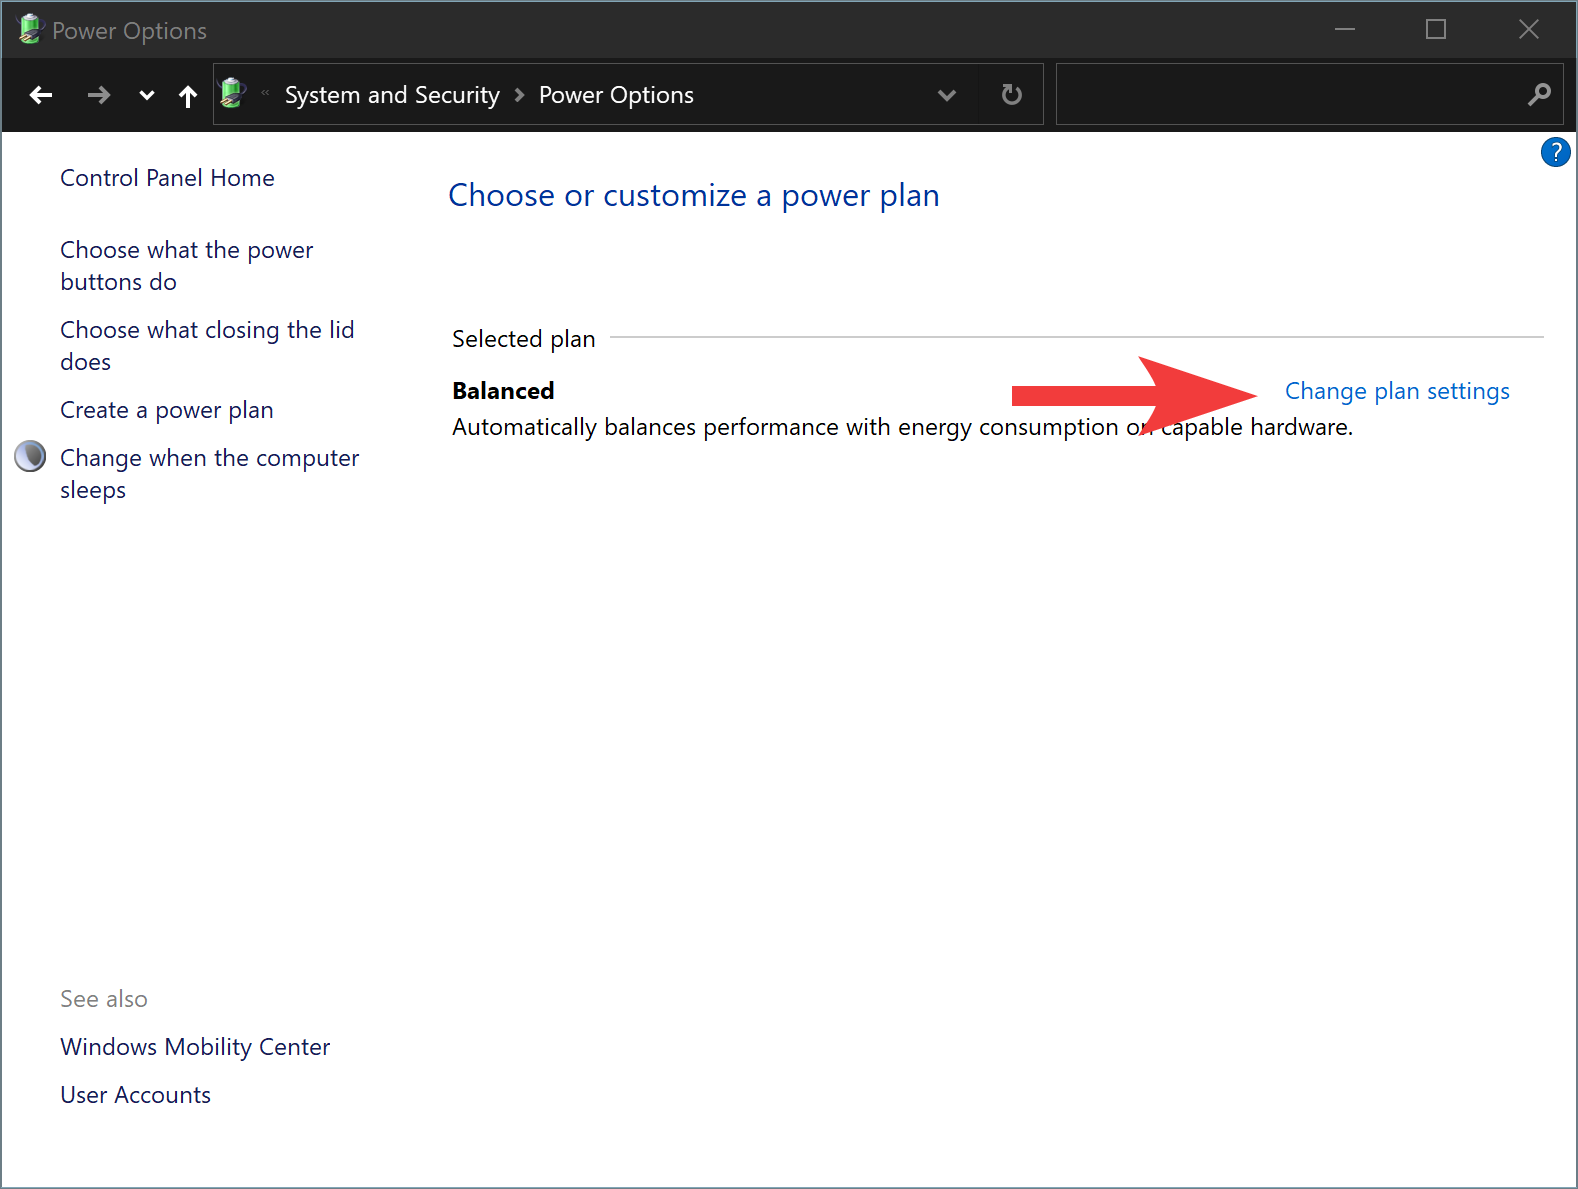
Step 3. In the Power Options window, click on “Change plan settings” next to your active power plan.
Step 4. Click “Change advanced power settings.”
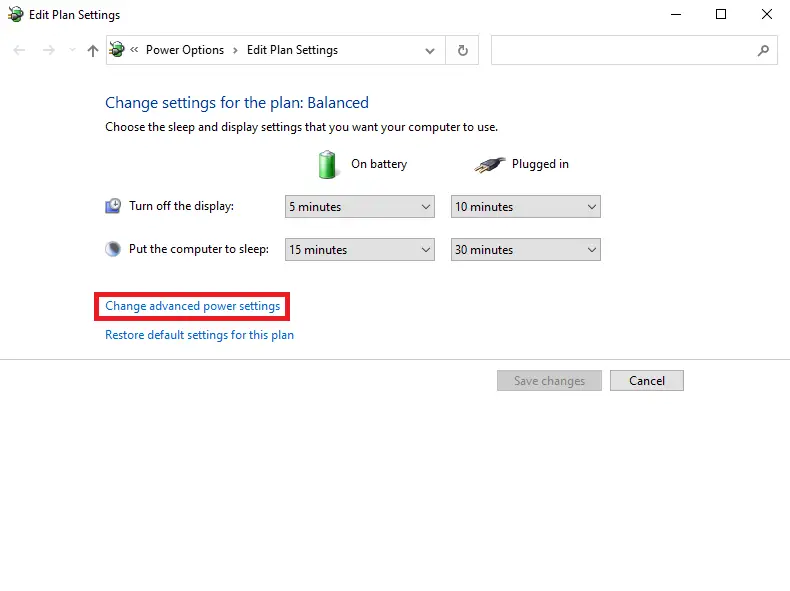
Step 5. In the Advanced Power Settings window, expand the “Display” section, and you will now see an additional entry labeled “Console lock display off timeout.”
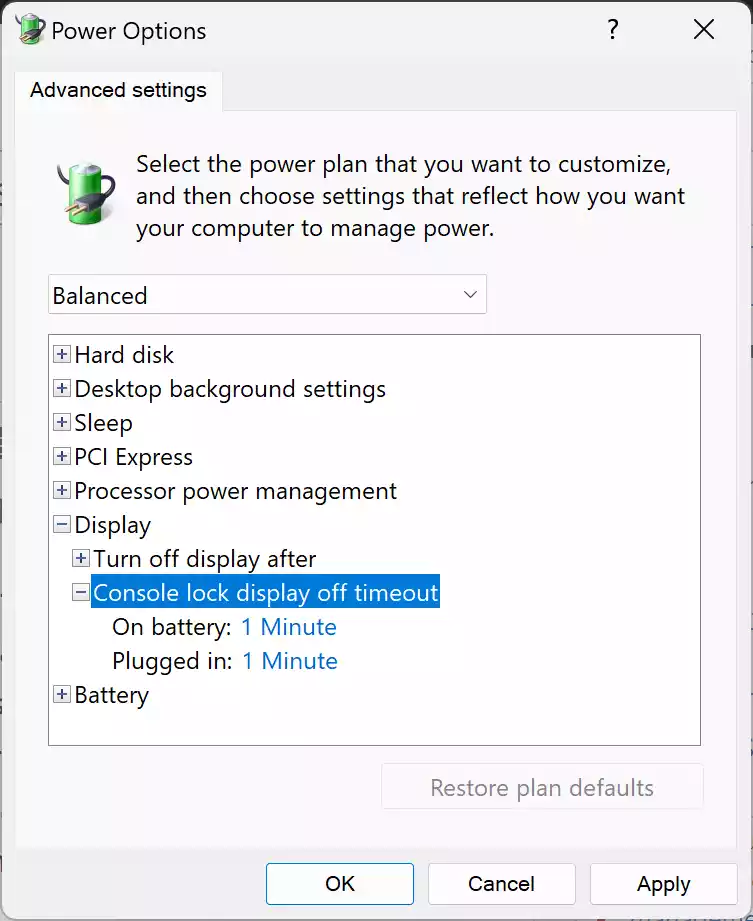
Step 6. Double-click on the values to adjust the settings according to your preferences.
Enabling the Console Lock Display Off Timeout feature through the Registry Editor provides you with more control over the lock screen timeout settings. By following these steps, you can fine-tune the duration for which Windows waits before locking the screen and turning off the display, enhancing both security and power management on your Windows 11 system.
Conclusion
A non-functioning lock screen timeout can be frustrating and compromise the security of your Windows 11/10 computer. However, by following the steps outlined in this article, you should be able to diagnose and resolve the issue. Whether it’s a simple adjustment of power settings, a driver update, or a more complex change in group policy, these solutions should help you regain control over your lock screen timeout and keep your computer secure.
