How do I change a user account to administrator on Windows 11/10? When you perform a clean install to Windows 11, Microsoft insists you create a cloud account. Most Windows users sign up with an online Microsoft account or create a new Microsoft account during the installation of Windows 11. Once the Windows setup is completed, they create a local account on their computer, and they delete the cloud account. It is quite easy to make a local user account on your computer, but Windows 11/10 creates a user account with limited privileges by default.
Limited account has insufficient privileges, and they can’t perform administrative tasks. Also, if you have no administrator account on your PC, you can’t drop the cloud account from your PC. That means you have to grant full access to a local user account on your computer so that you can delete another user account from your PC.
Reasons may be several to keep a local user account on your PC. At least you should maintain two user accounts on your computer, so in case something goes wrong, you can troubleshoot your PC through another user account.
How to grant Administrator rights to a User Account on Windows 11 using the Settings App?
The Settings app on Windows 11 is quite powerful and lets you perform several administrative tasks without Command Prompt and PowerShell knowledge. Using the Settings app is straightforward and allows you to change an existing user account to administrator. You need to log in to an administrator account on your computer to perform administrative tasks, like upgrading the user account.
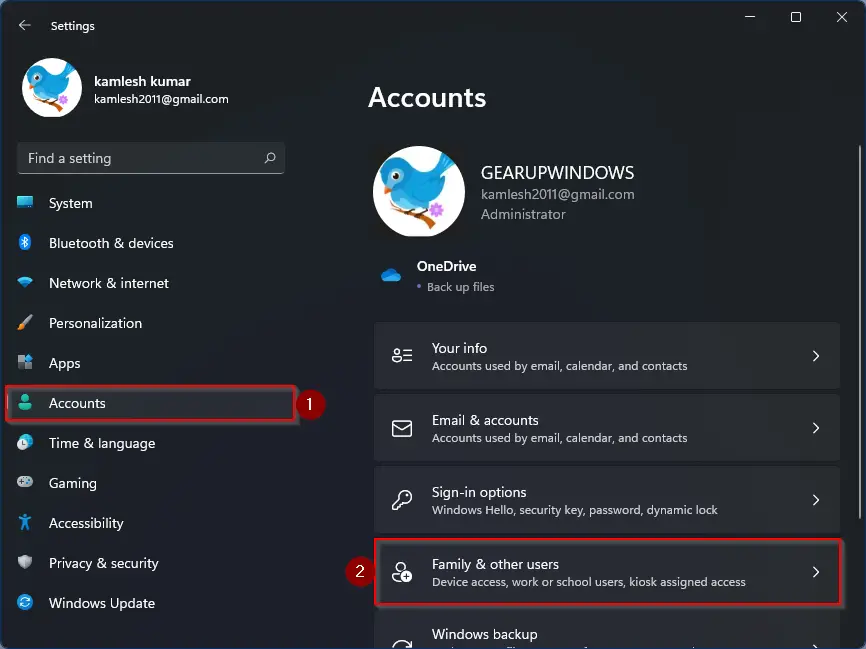
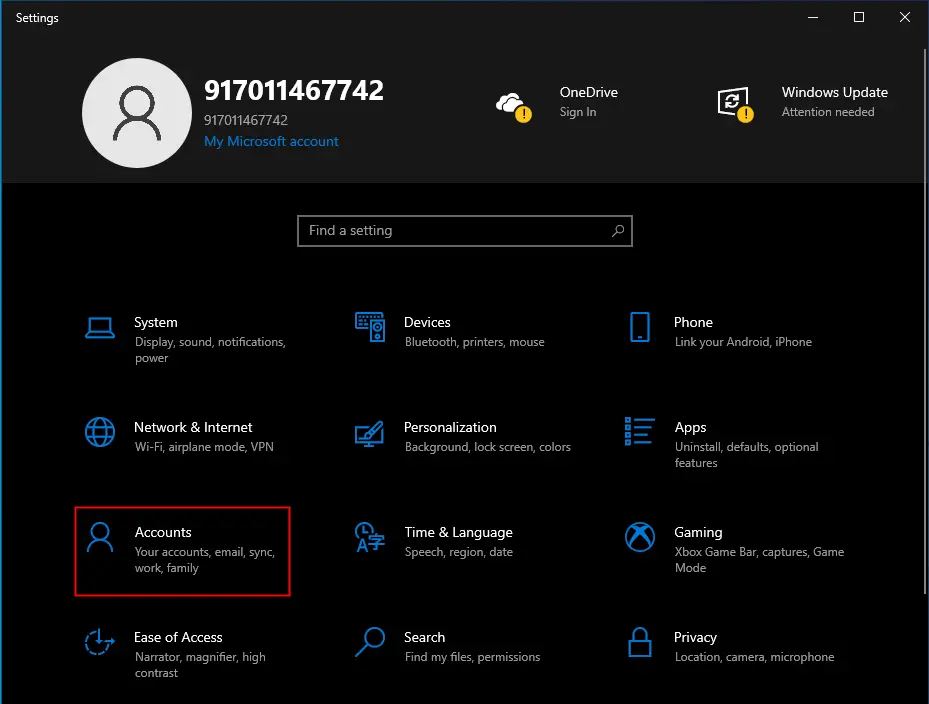
Step 1. Launch the Settings app by pressing Windows + I shortcut keys from the keyboard and then click on the Accounts category from the left side pane. On the right side pane of the Accounts category, click on the Family & other users tab.
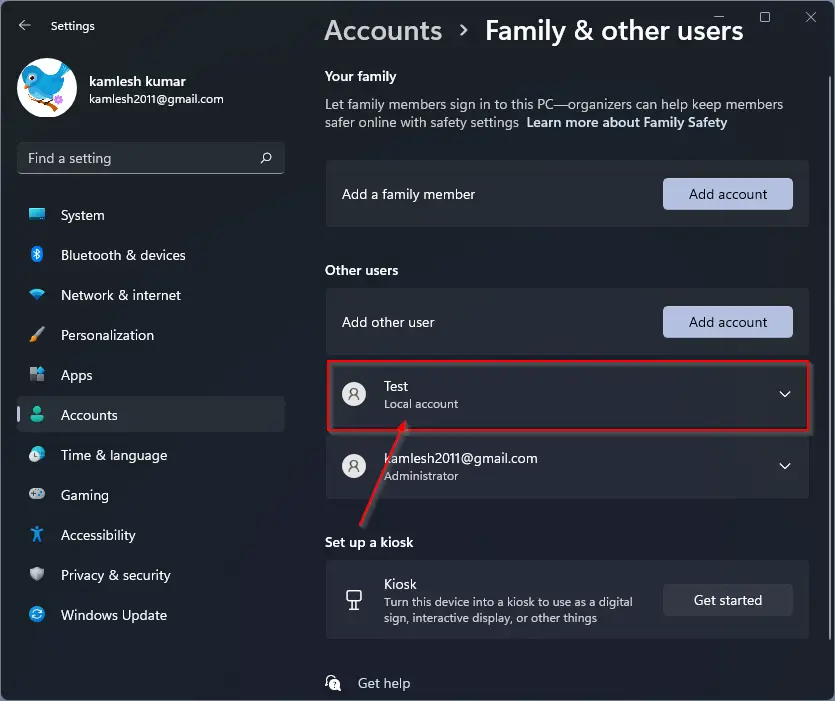
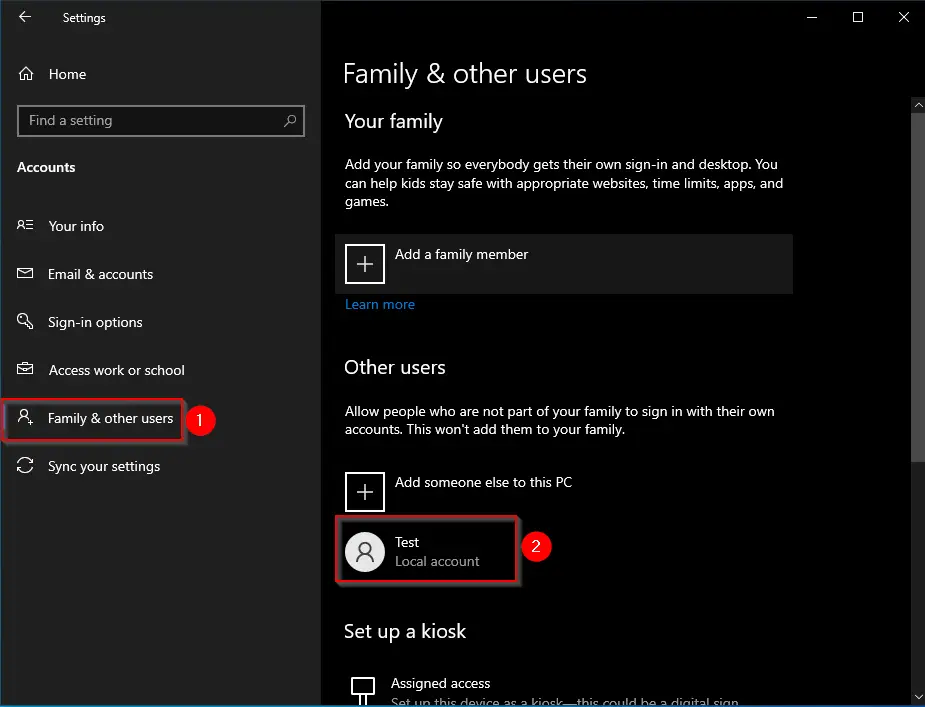
Step 2. Under the “Other users” section, you will find all the local user accounts and cloud accounts available on your computer or laptop. Click on the user account that you want to upgrade or grant administrative rights.
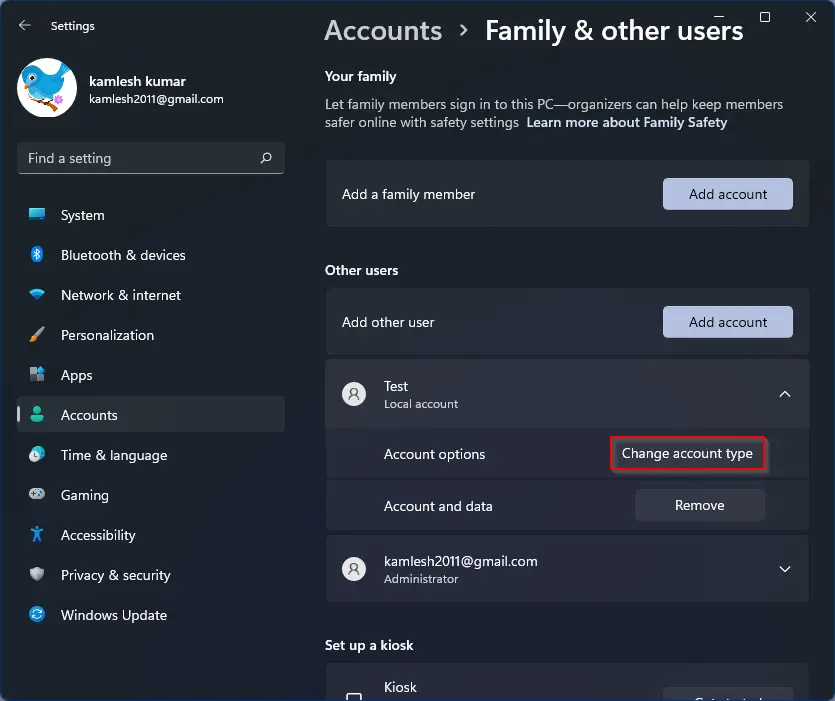
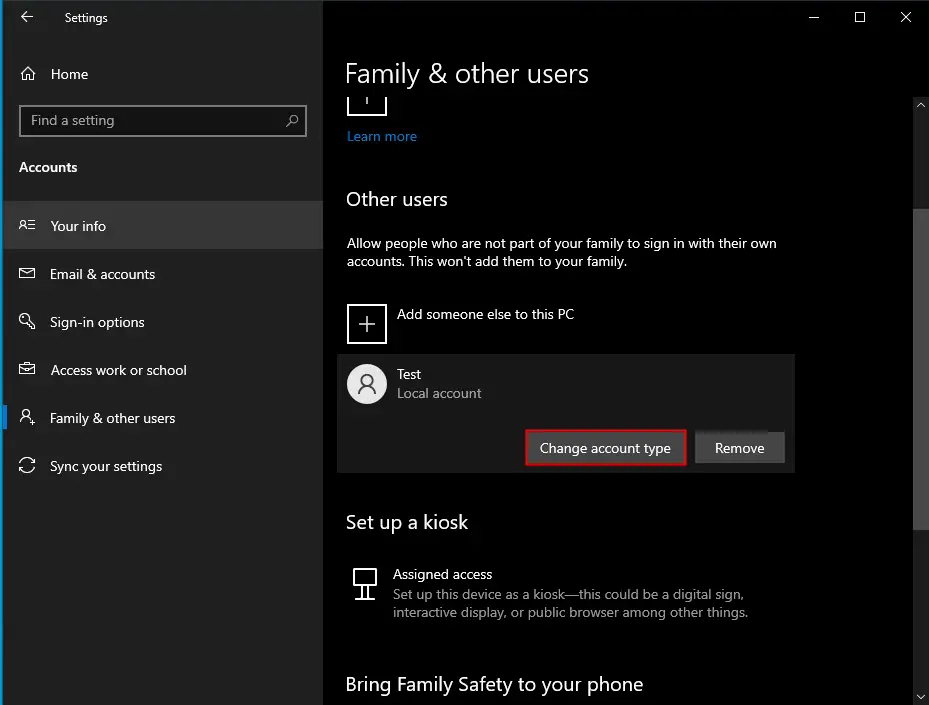
Step 3. Now, click on the Change account type button.
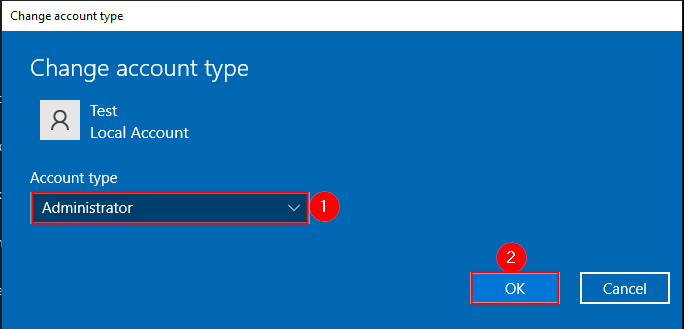
Step 4. Now, a new pop-up window will open “Change account type.” From the drop-down menu of “Account type,” select the Administrator option.
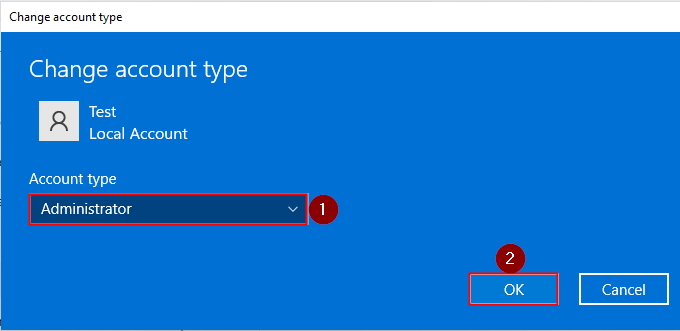
Step 5. Finally, click on the OK button. Now, your select user account will have administrator rights and can perform all the administrative tasks on your Windows 11 PC.
How to assign Administrator rights to a User Account on Windows 10 using the Settings App?
Follow these steps to assign Administrator rights to a User Account on Windows 10 using the Settings App:-
Step 1. Open the Settings app by pressing Windows + I keys from the keyboard and then click on the Accounts tab.
Step 2. Under Accounts, click on the Family & other users tab on the left side pane. On the right side of it, you should see all available local user accounts on your PC. Click on the User account name that you want to upgrade.
Step 3. Now click on the Change account type button.
Step 4. On the pop-up window that appears, click on the Account type drop-down menu and select Administrator from the available options.
Step 5. Finally, click on the OK button to raise the power of the local user account.
How to Change a User Account to Administrator using the Control Panel on Windows 11/10?
Follow these steps to change a User Account to Administrator using the Control Panel on Windows 11/10:-
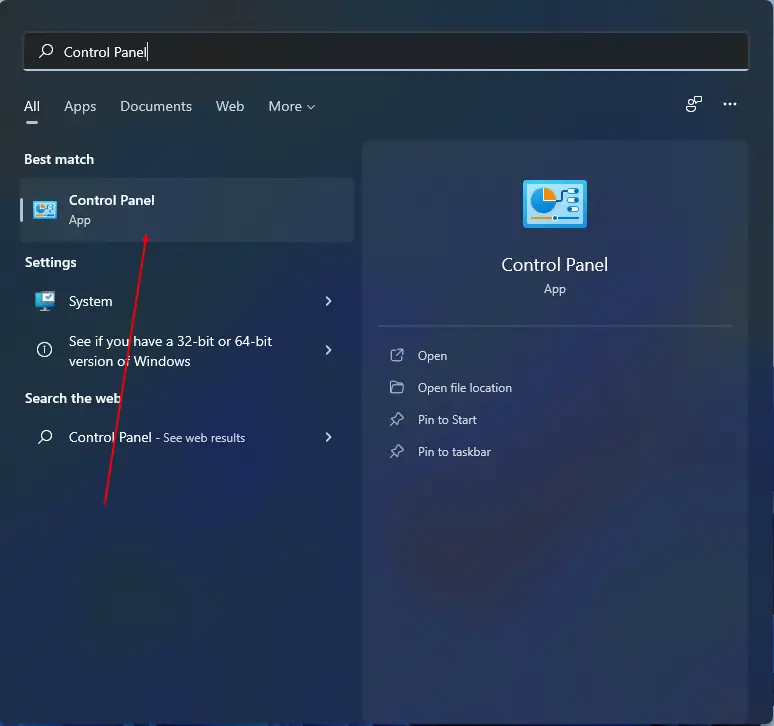
Step 1. Press the Windows logo key from the keyboard and then start typing Control Panel. Now click on the Control Panel entry to open it.
Also Refer: Multiple ways to open Control Panel in Windows 11?
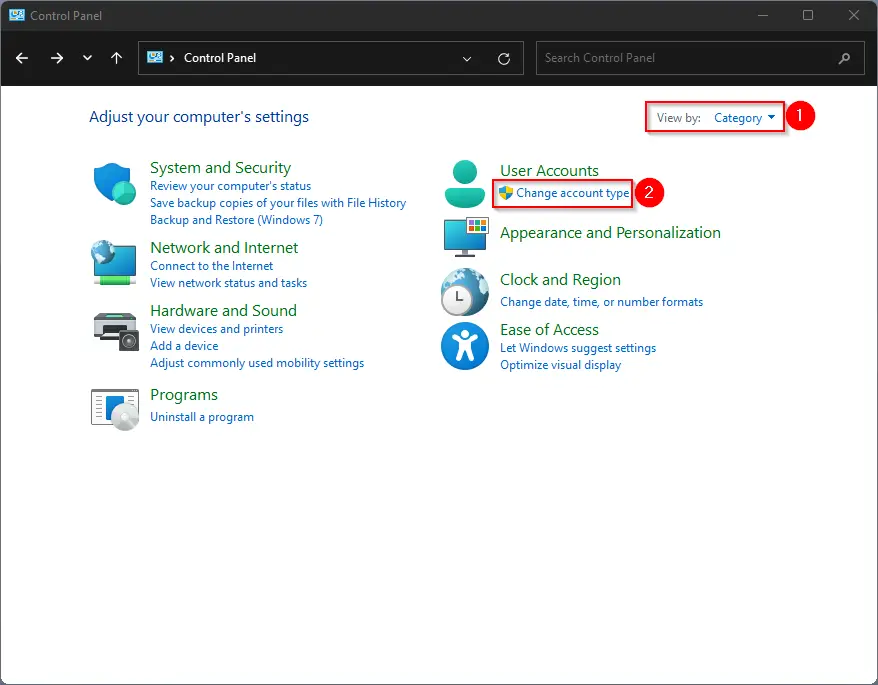
Step 2. In the Control Panel window, ensure “View by” is set to Category, and then click on the Change account type link under the User Accounts category.
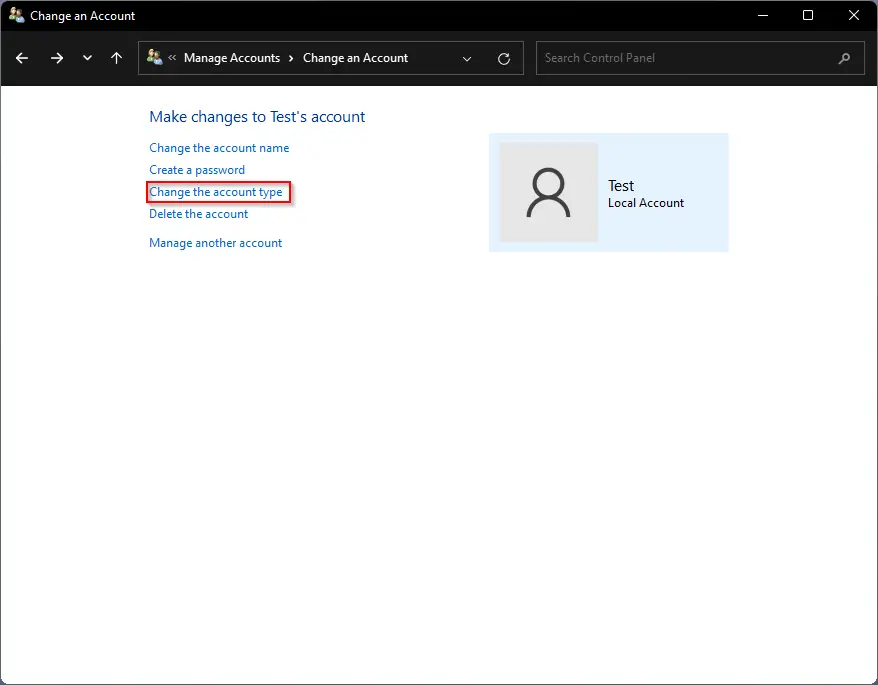
Step 3. Click on the Local Account that you want to upgrade.

Step 4. Now, click on the link labeled Change the account type.
Step 5. In the next window, select the Administrator option and then click on the Change Account Type button.
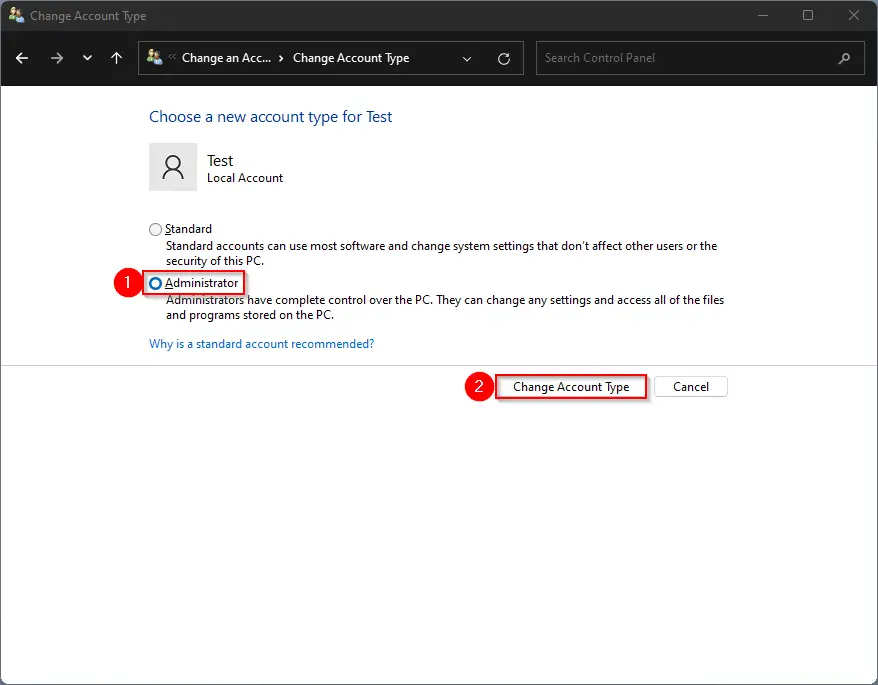
After performing the above steps, the selected account is promoted to administrator.
How to Convert a User Account to Administrator Using Computer Management?
This method is applicable to both Windows 11 and Windows 10 computers. You need to do the following steps:-
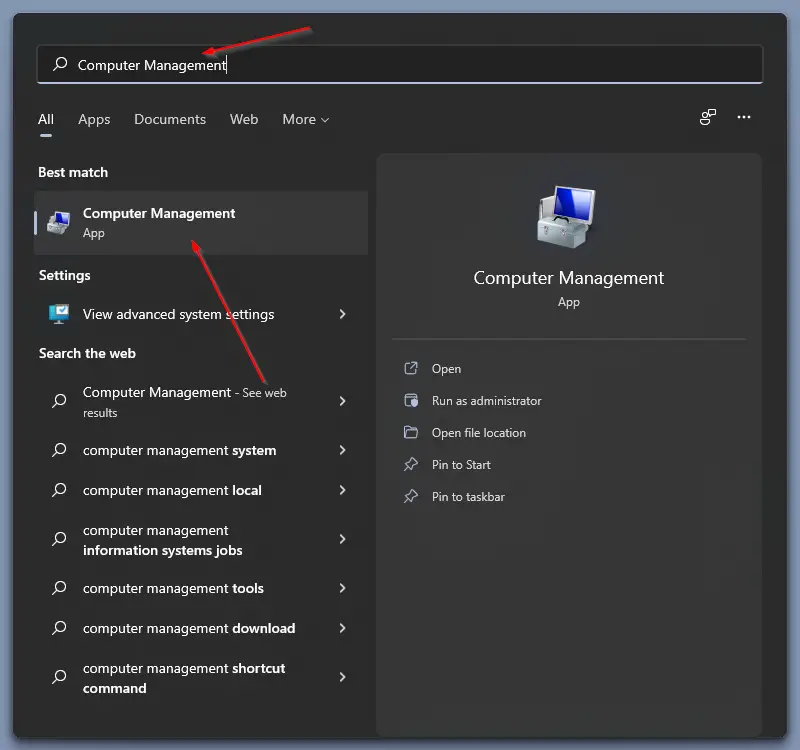
Step 1. Press the Windows logo button from the keyboard to open the Start menu. Type Computer Management, and from the search results, click on its entry to open it.
Also Read: Multiple ways to open Computer Management on Windows 10.
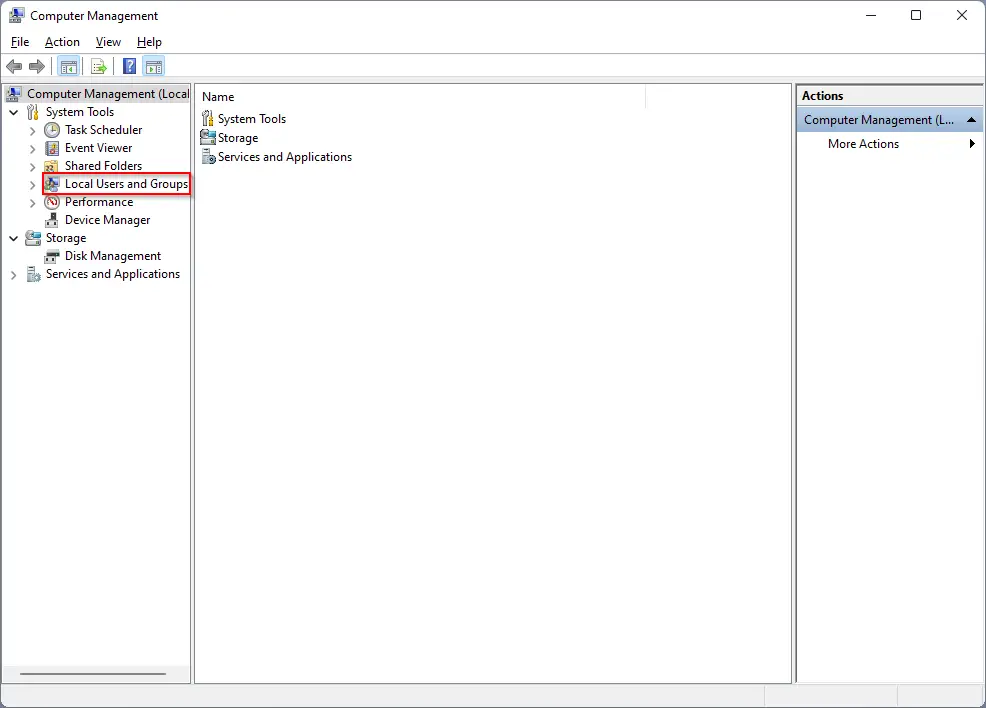
Step 2. On the Computer Management window, double-click on the Local Users and Groups from the left side pane to expand it.
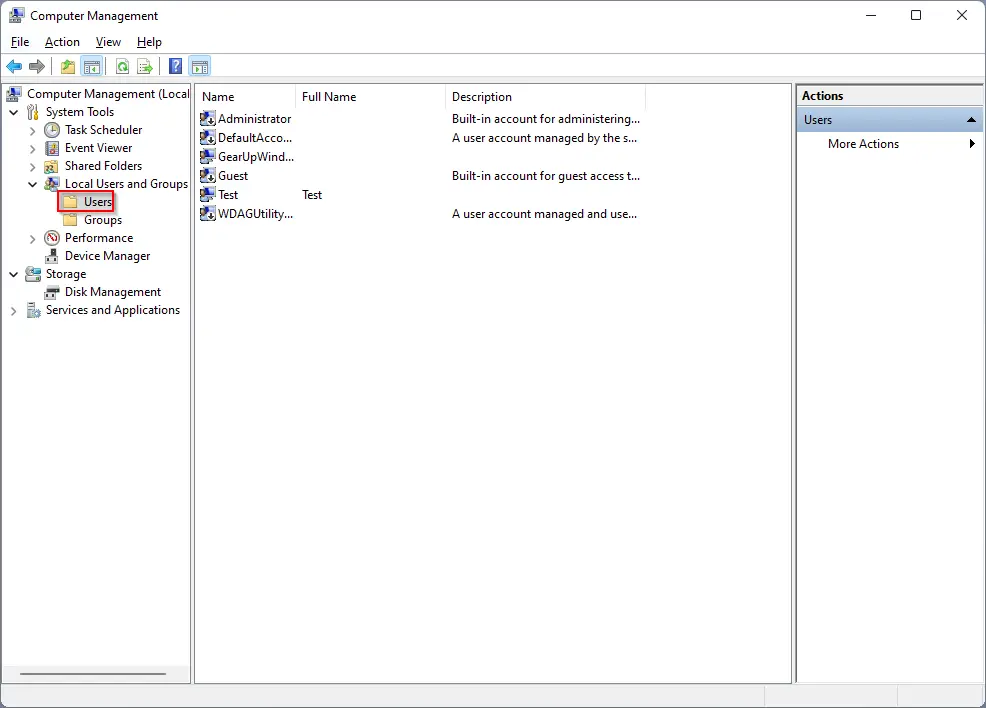
Step 3. Now, click on the Users folder.
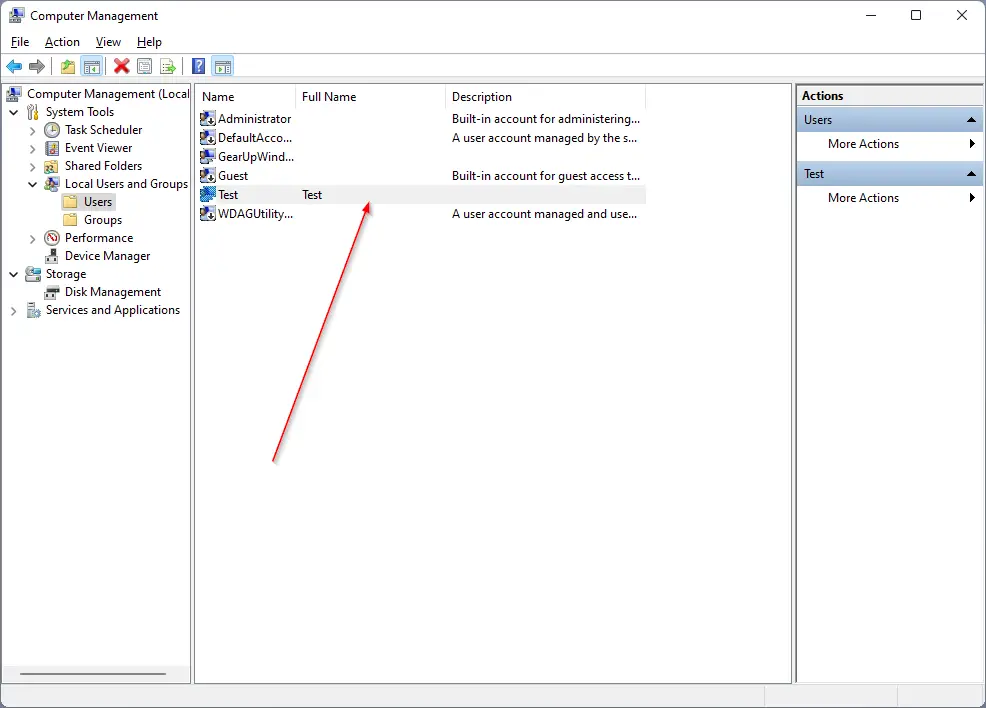
Step 4. After doing the above steps, you will see all the user accounts on your computer in the middle pane. Double-click the user account that you want to change to administrator from the middle column.
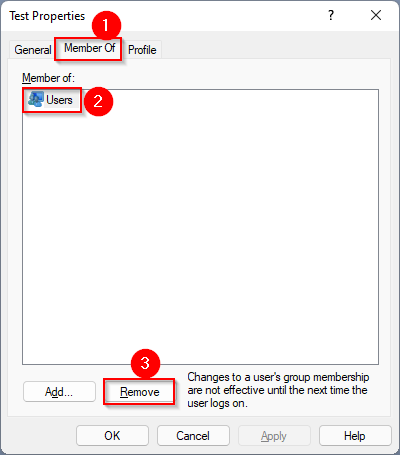
Step 5. On the properties dialog box that opens, click on the Member of tab. Now, under the “Member of” section, select Users and then click on the Remove button.
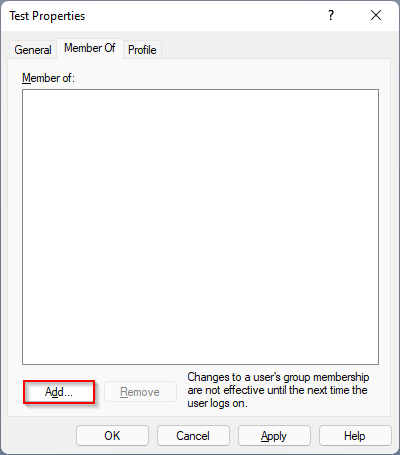
Step 6. Now, click on the Add button.
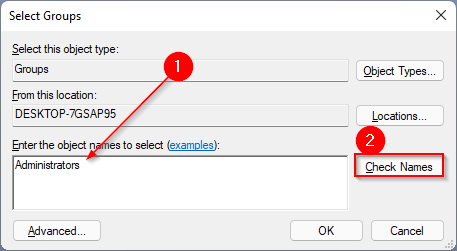
Step 7. In the pop-up window, type Administrators in the text field and then click on the Check Names button.
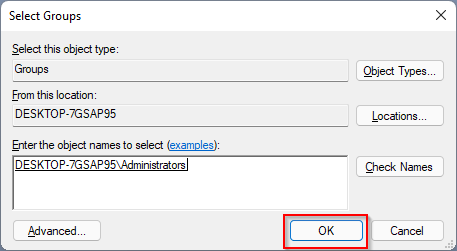
Step 8. Finally, click on the OK button to assign administrative powers to your selected user.
How to Change a User Account to Administrator Using the Command Prompt on Windows 11/10?
Follow these steps to change a User Account to Administrator Using the Command Prompt on Windows 11/10:-
Step 1. Open Command Prompt with administrator.
To open the Command Prompt window, first press Windows + R keys to access the “Run” box. Type cmd and then press Ctrl + Shift + Enter keys from the keyboard to launch the command prompt with elevated rights.
If the User Account Control dialog prompts, click on the Yes button.
Step 2. In the Command Prompt, type the following and then press Enter from the keyboard:-
net localgroup administrators "UserAccountName" /add
Note: Replace UserAccountName with your user account; that’s right, you would like to raise it.
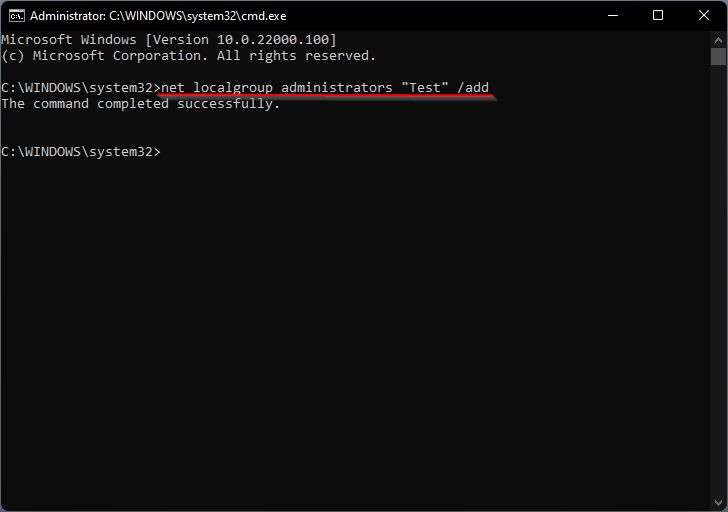
You will get a message, “the command completed successfully.” Now, your local user account rights have been raised to the administrator.
How to Change a User Account to Administrator Using the PowerShell?
PowerShell is another method to change a user account to administrator. Perform the following recommended steps:-
Step 1. Open Windows PowerShell with administrator privilege.
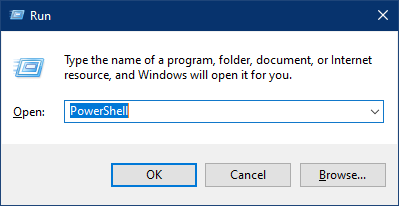
To launch Windows PowerShell with elevated rights, press Windows + R shortcut keys together on the keyboard to open the Run box. Type PowerShell in the Run box and then press Ctrl + Shift + Enter from the keyboard.
When the User Account Control dialog box appears, click on the Yes button.
Step 2. In the elevated PowerShell window, type the following and hit Enter from the keyboard:-
Add-LocalGroupMember -Group "Administrators" -Member "UserAccountName"
Note: Replace UserAccountName with your user account; that’s right, you want to raise it.

That’s it. Once you execute that above command in PowerShell, a limited user will be an administrator on your computer.
How to Change a User Account to Administrator Using the Netplwiz or Control Userpasswords2 Command?
Netplwiz and Control Userpasswords2 are two commands through which you can change the user account privilege on all versions of Windows, including Win 11 and 10.
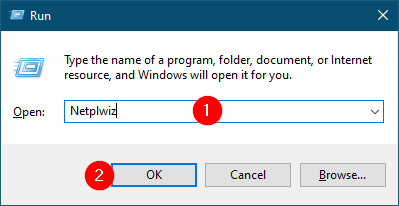
Step 1. Press Windows + R keys from the keyboard to open the Run command box.
Step 2. In the Run dialog box, type the following and hit Enter from the keyboard:-
Netplwiz
or
Control Userpasswords2
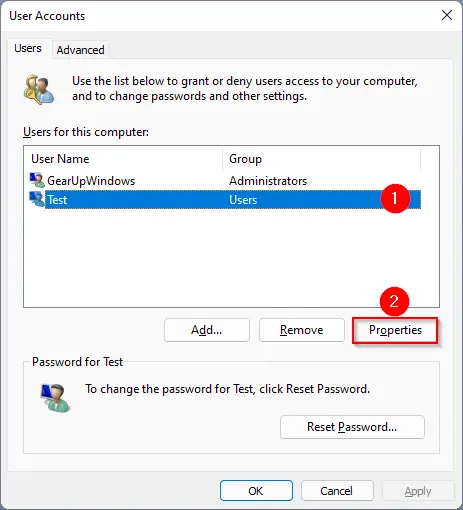
Step 3. On the User Account window, select the user account under the “Users for this computer” box and then click on the Properties button.
Step 4. In the User Properties window, select the Administrator option. Then click Apply/OK.
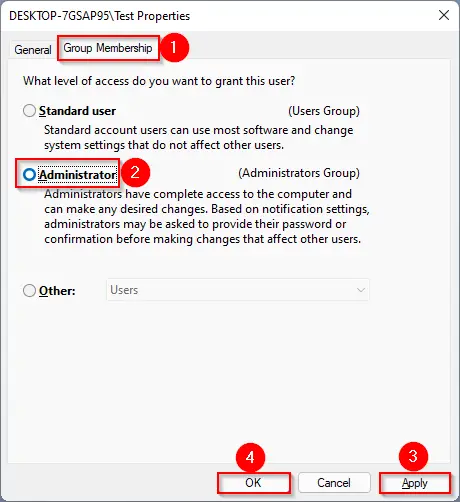
That’s all.
Conclusion
In conclusion, changing a user account to an administrator on Windows 11/10 can be necessary to perform administrative tasks on the computer. By default, Windows creates a limited user account, but it is possible to upgrade the account to the administrator using the Settings app, Control Panel, Computer Management, or Command Prompt. These methods are easy to follow and do not require any advanced technical knowledge. It is important to have at least two user accounts on the computer in case of troubleshooting or recovery situations.