
Microsoft Excel is a versatile tool that allows you to create, analyze, and manage data effectively. One common task you might need to perform is exporting your Excel data as a PDF file. PDFs are a universal format that can be easily shared and viewed on various devices without worrying about compatibility issues. In this gearupwindows article, we’ll guide you through the process of exporting a cell range or an entire Excel workbook as a PDF document.
How to Export a Cell Range as a PDF?
If you want to export a specific cell range from your Excel spreadsheet as a PDF, follow these steps:
Step 1. Launch Microsoft Excel and open the workbook containing the data you want to export to PDF.
Step 2. Click and drag your mouse to select the range of cells you want to export. This range can be a single cell, a group of cells, or an entire table. Ensure that your selection includes all the data you want in the PDF.

Step 3. In the top left corner of Excel, click on the “File” tab to open the File menu.
Step 4. In the backstage, click on the Export option in the left sidebar.
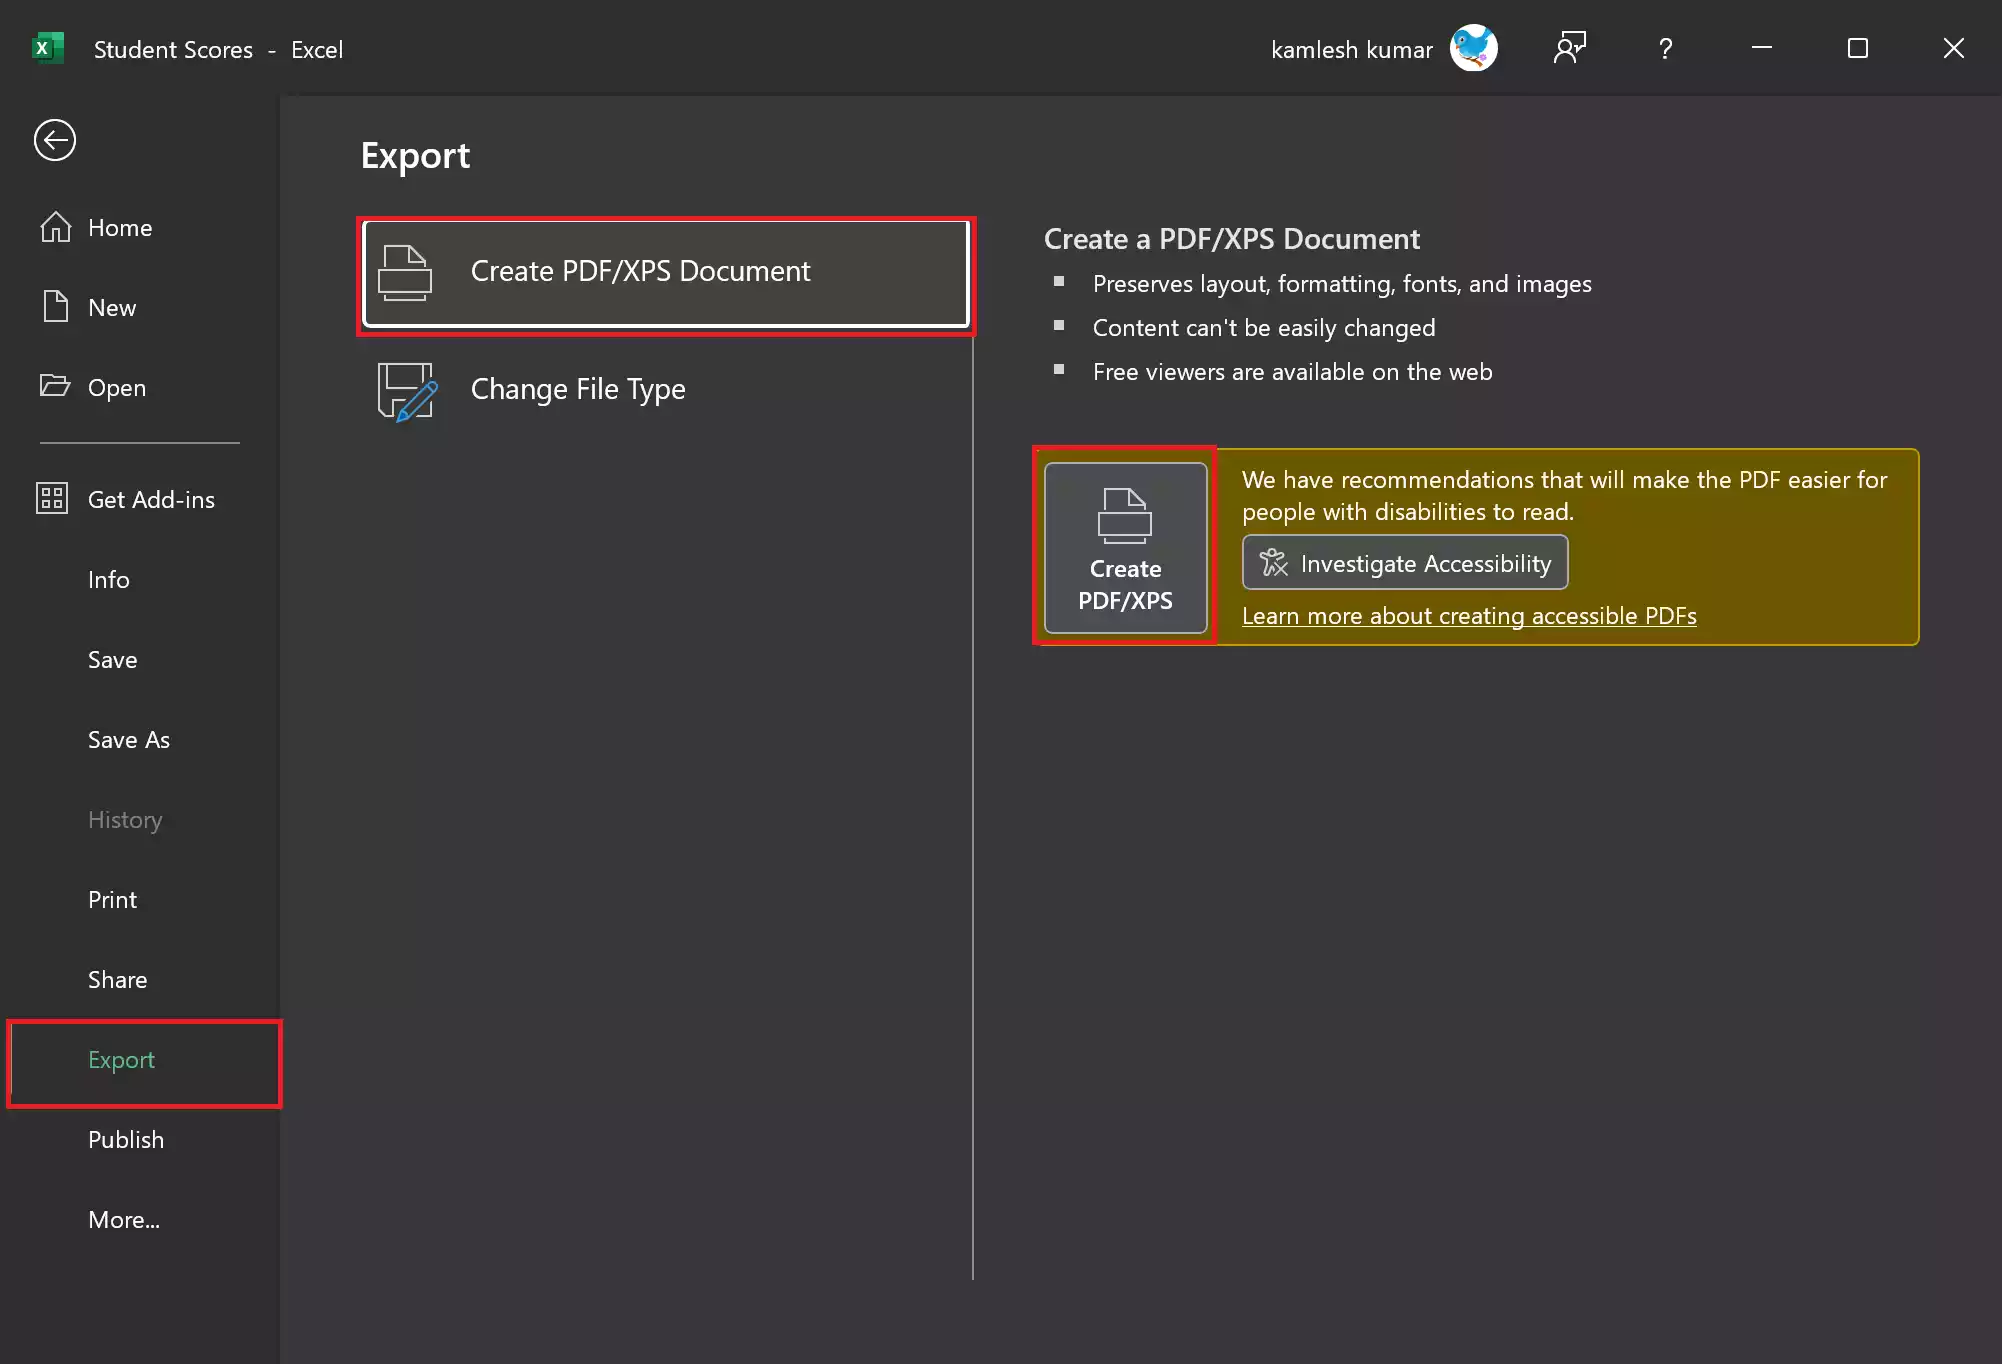
Step 5. Under the Export section, click on the “Create PDF/XPS Document” option.
Step 6. Next, click on the “Create PDF/XPS Document” button.
Step 7. In the “Publish as PDF or XPS” dialog box, navigate to the location where you want to save the PDF file. In the “Save as type” dropdown menu, choose “PDF (*.pdf)” as the file format.
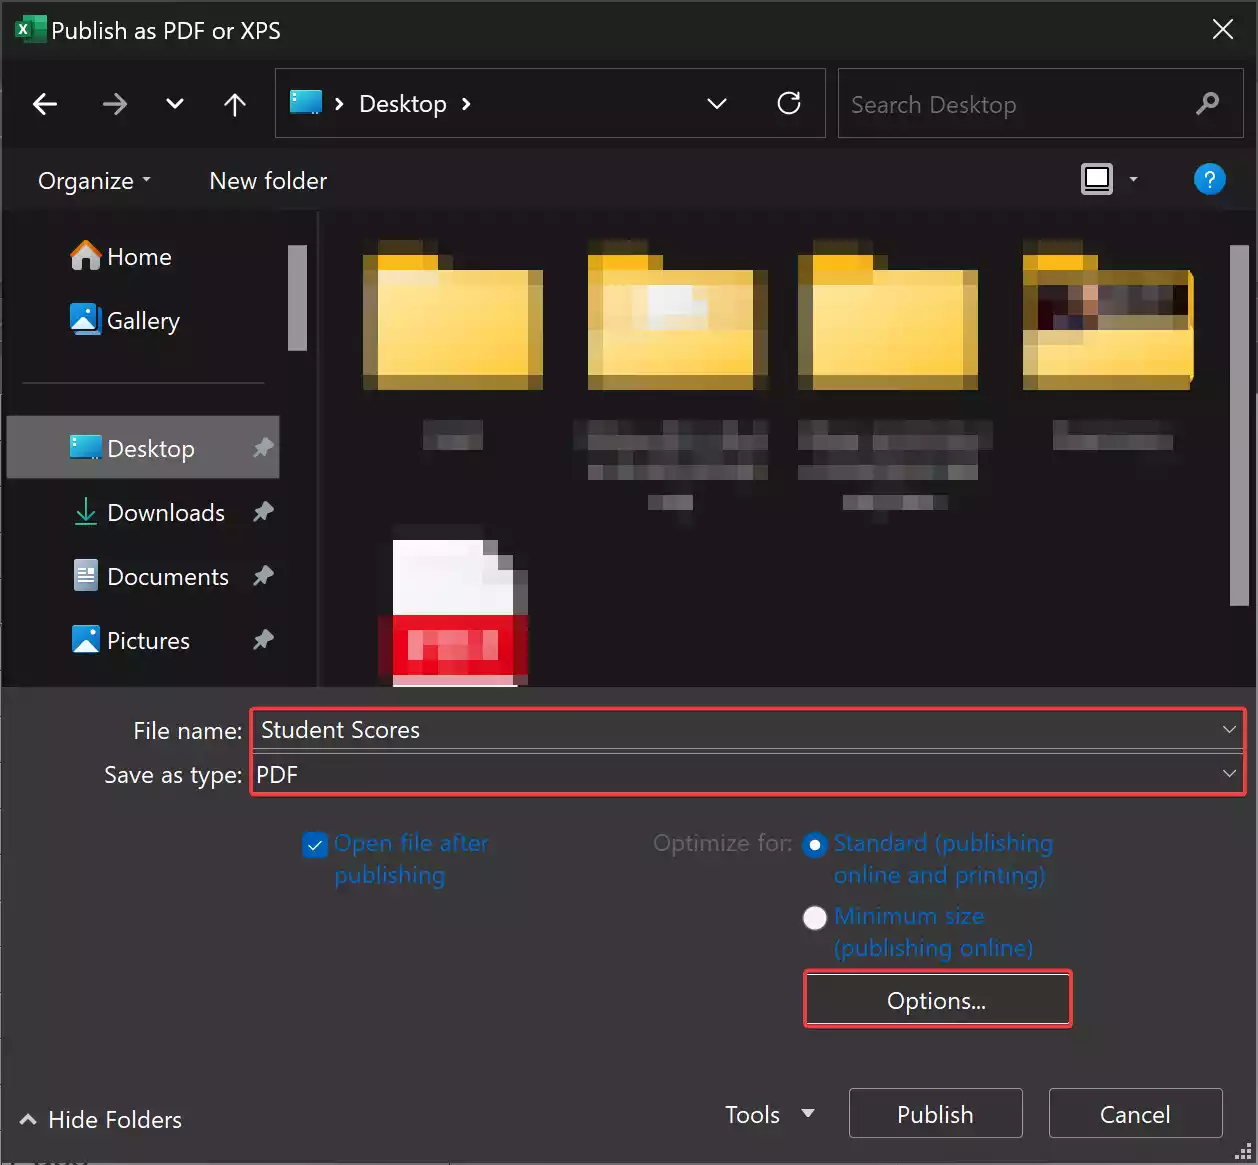
Step 8. Enter a name for your PDF file and select the folder where you want to save it. Ensure the file location is easily accessible.
Step 9. Click the “Options” button if you want to configure the PDF options. Here, you can adjust the page orientation, scaling, and other settings according to your preferences. Ensure to select “Selection” in the “Publish what” section. Click “OK” when you’re satisfied with your other choices.

Step 10. Click the “Publish” button, and Excel will generate the PDF document based on your selected cell range.
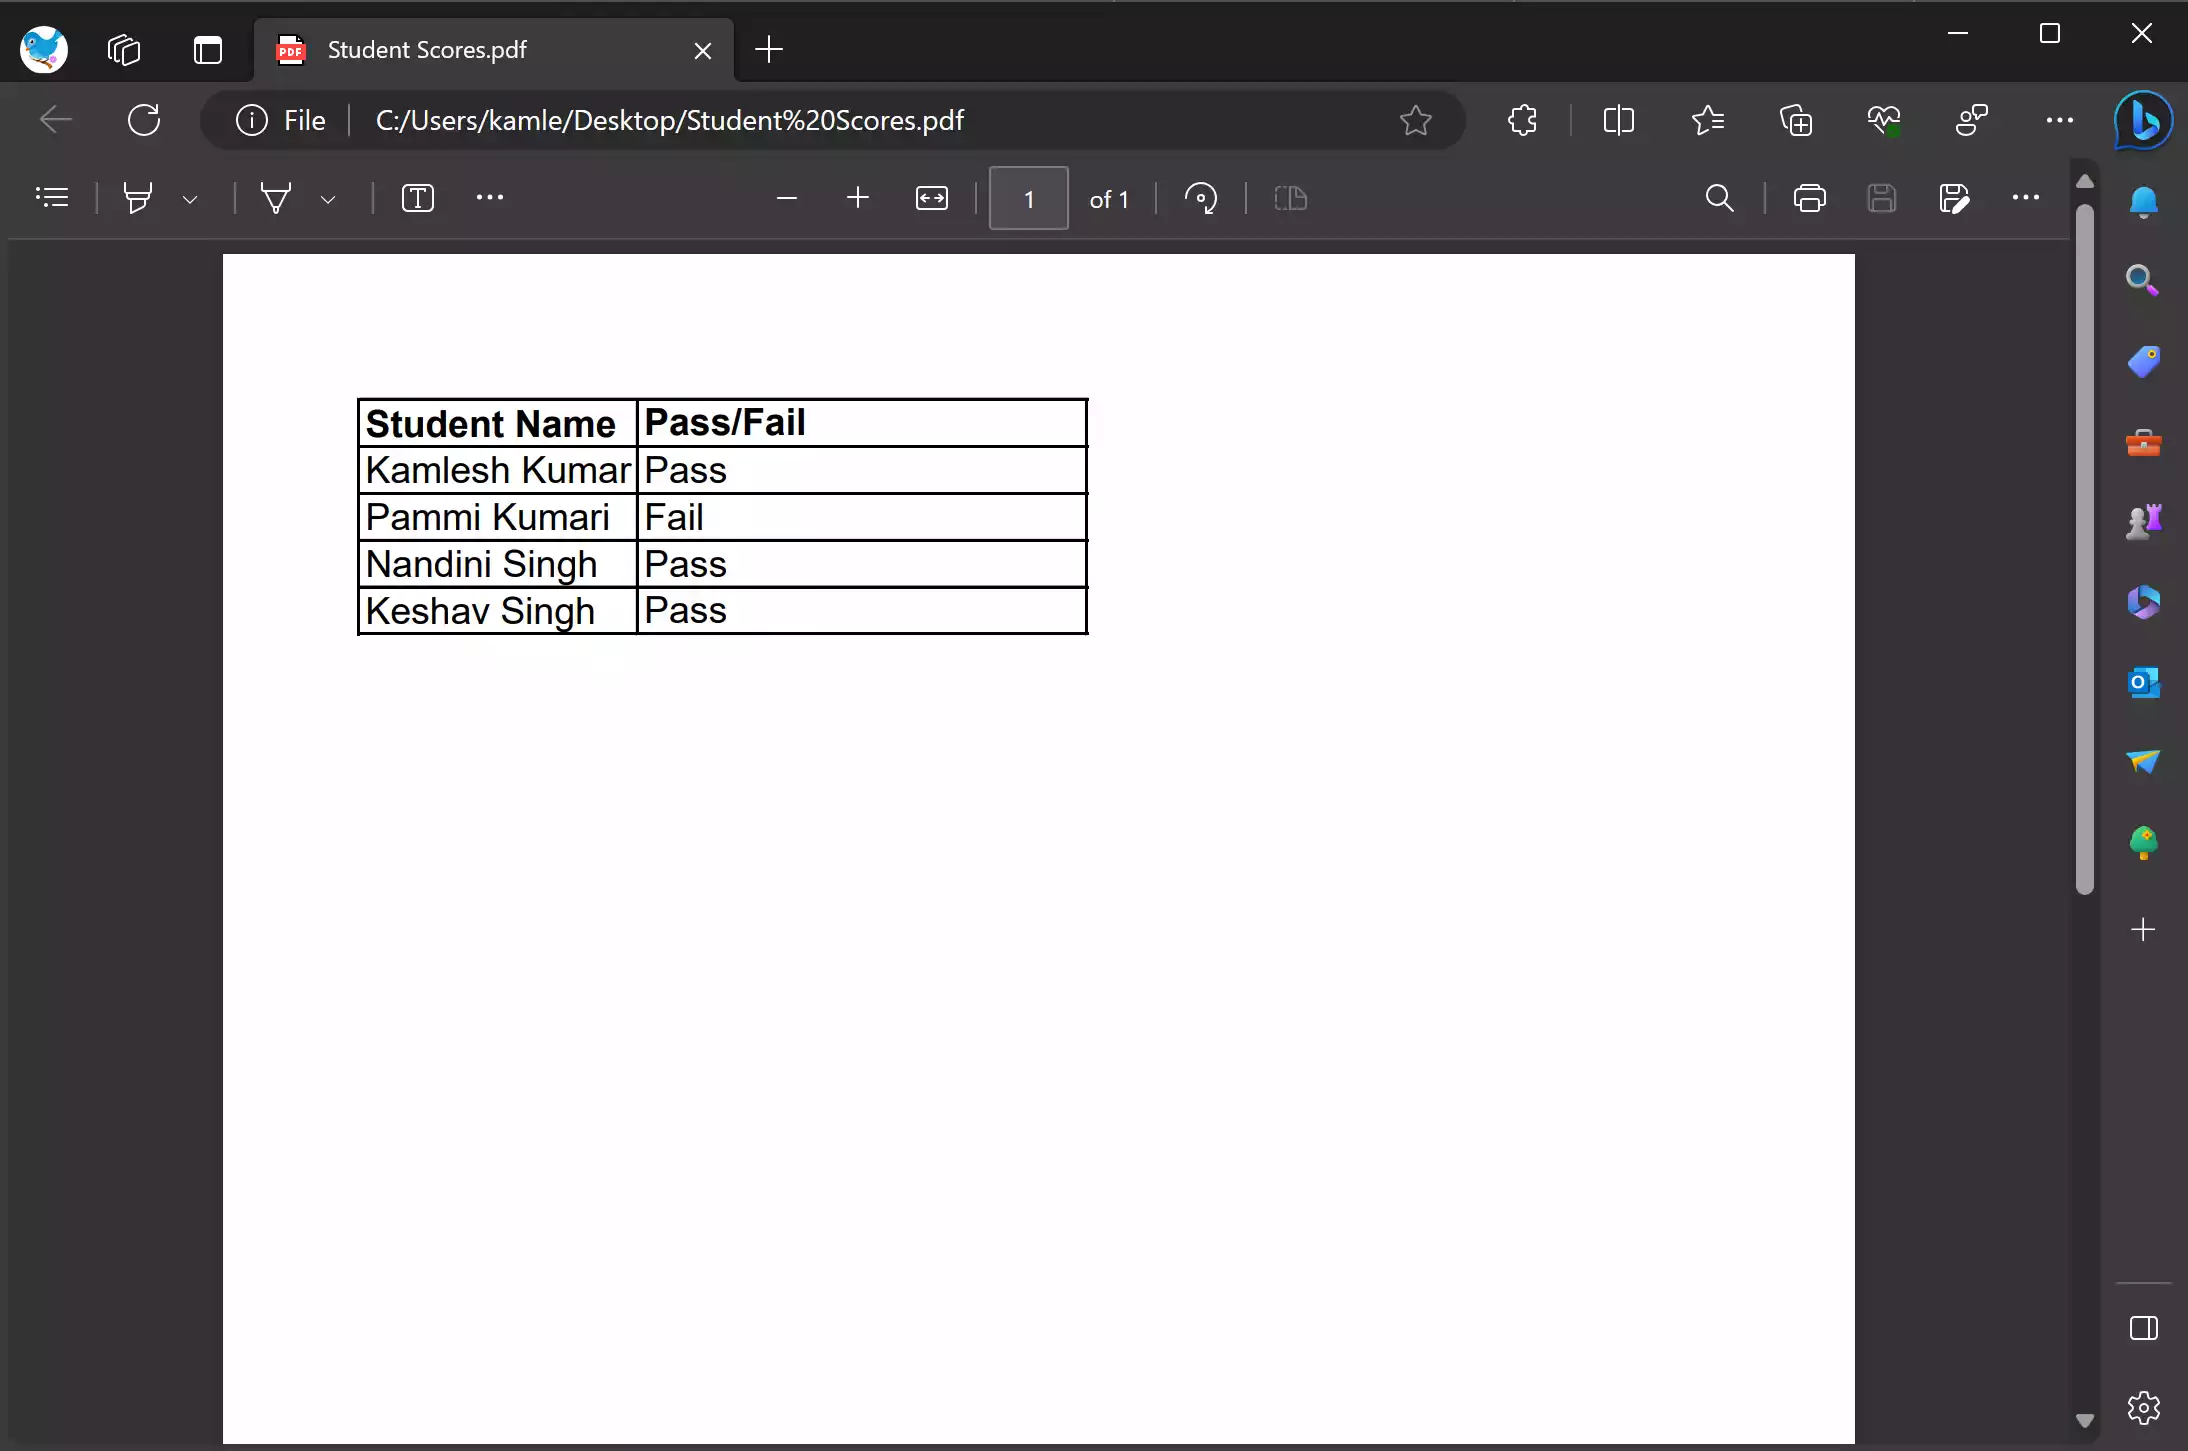
Congratulations! You have successfully exported a specific cell range from your Excel spreadsheet as a PDF.
How to Export an Entire Workbook as a PDF?
If you need to export the entire Excel workbook, including multiple sheets, as a PDF, here’s how to do it:–
Step 1. Launch Microsoft Excel and open the workbook you want to convert to a PDF.
Step 2. Click the “File” tab in the top left corner of Excel to open the File menu.
Step 3. In the backstage, click on the Export option in the left sidebar.
Step 4. Under the Export section, click on the “Create PDF/XPS Document” option.
Step 5. Next, click on the “Create PDF/XPS Document” button.
Step 6. In the “Publish as PDF or XPS” dialog box, navigate to the location where you want to save the PDF file. In the “Save as type” dropdown menu, choose “PDF (*.pdf)” as the file format.
Step 7. Enter a name for your PDF file and select the folder where you want to save it. Ensure the file location is easily accessible.
Step 8. Click the “Options” button if you want to configure the PDF options. Here, you can adjust the page orientation, scaling, and other settings according to your preferences. Ensure to select “Entire workbook” in the “Publish what” section. Click “OK” when you’re satisfied with your other choices.
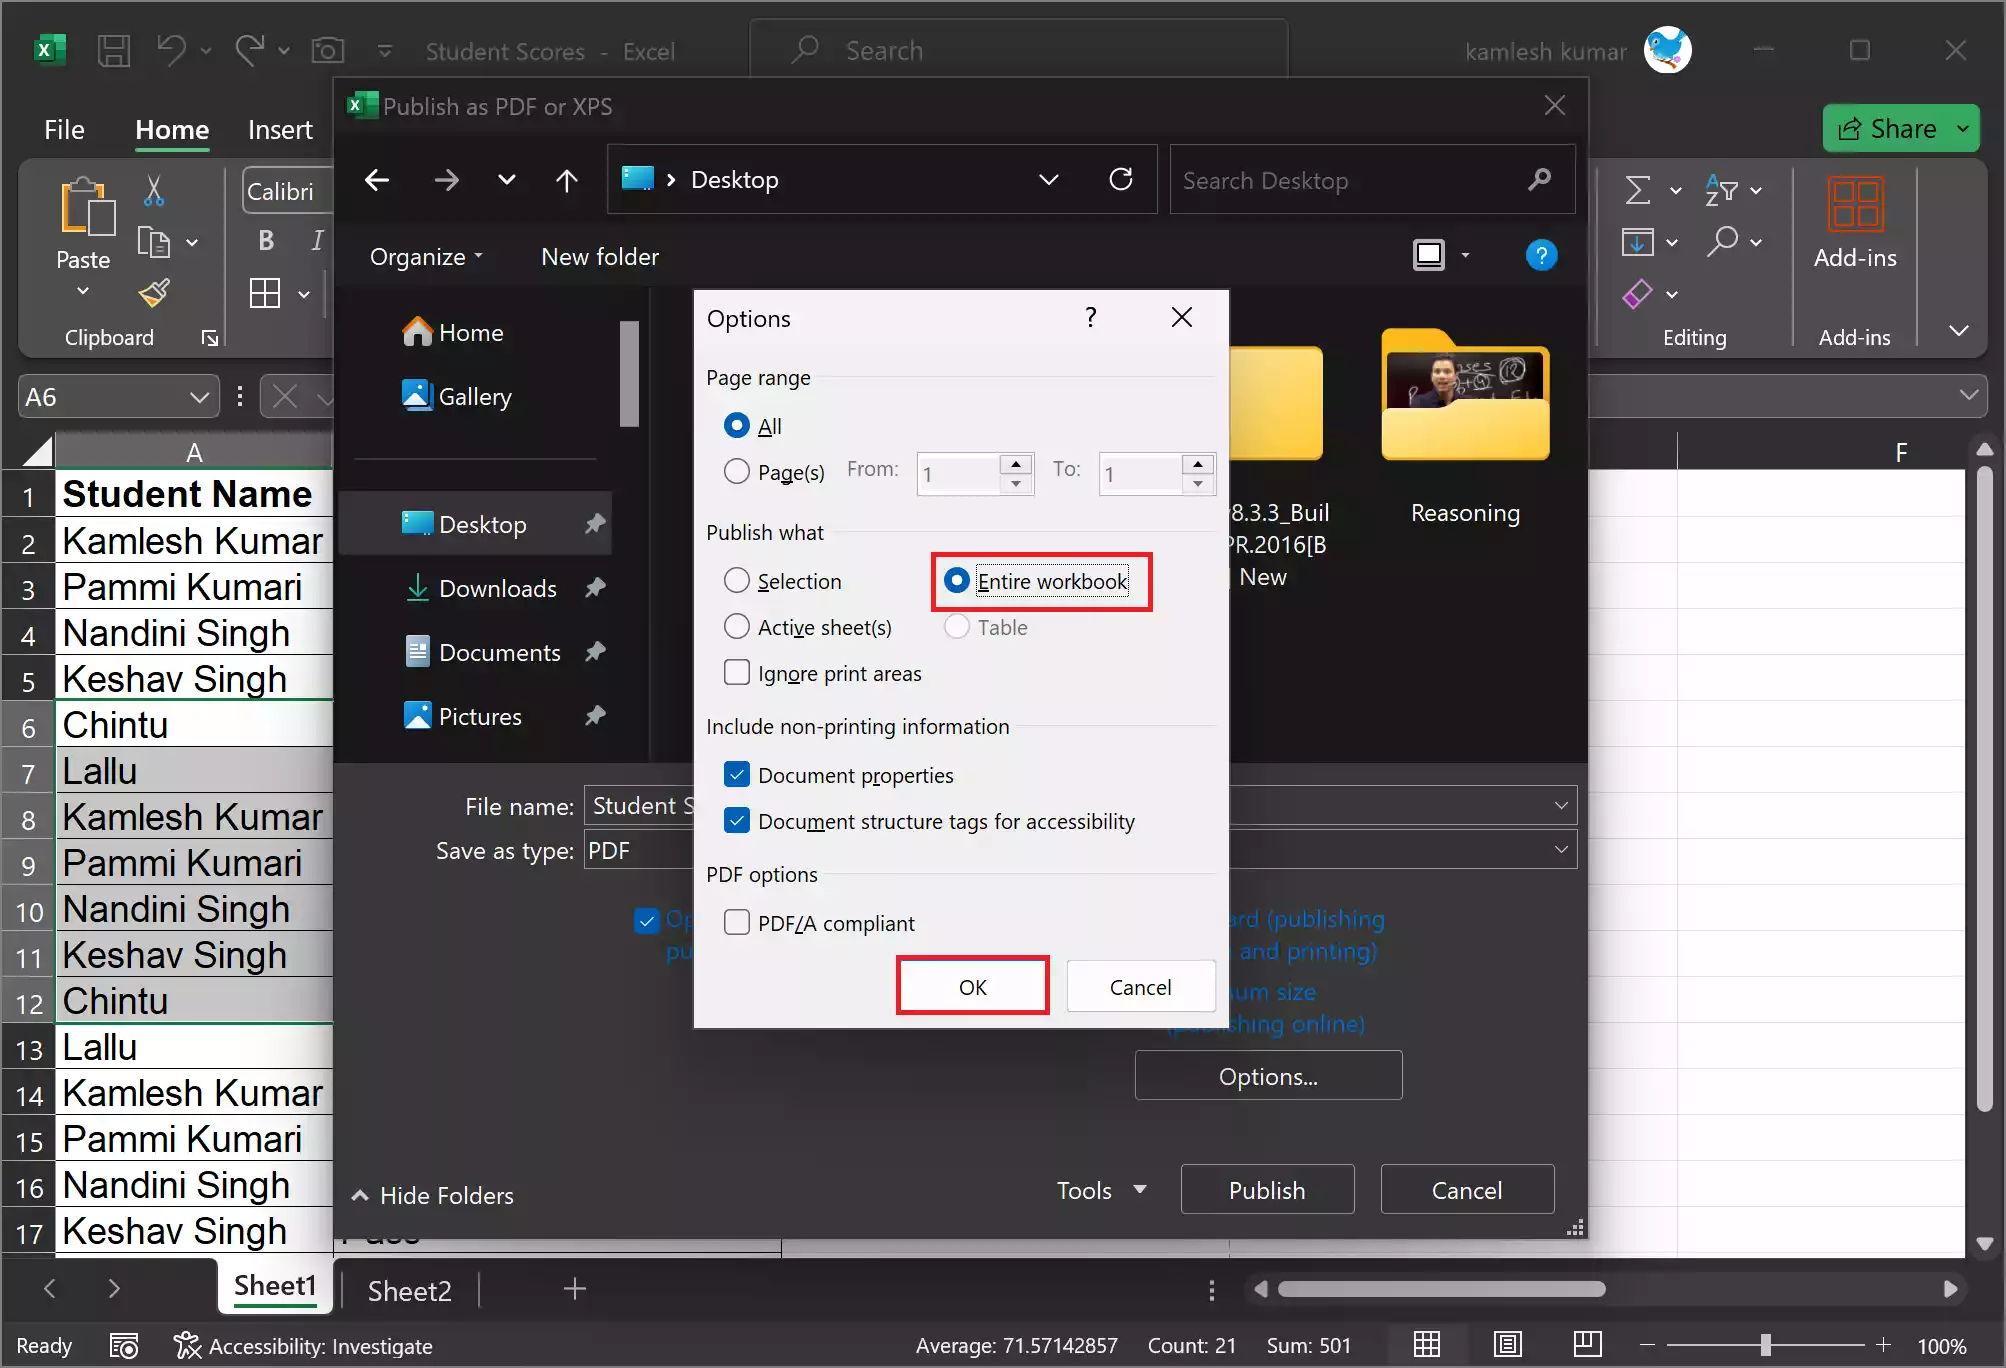
Step 9. Click the “Publish” button, and Excel will generate a single PDF document for the entire workbook.
Now, you have successfully exported your Excel workbook as a PDF with all sheets as per your preferences.
Conclusion
Exporting an Excel cell range or workbook as a PDF is a valuable skill for sharing and preserving your data. Whether you need to send a report to a colleague or archive important information, following the steps in this guide will help you easily convert your Excel data into a universally readable PDF format.