
System Restore in Windows 11/10 works like a time machine, helping you undo problematic system changes. It captures a snapshot of your system at a certain point, allowing you to restore it to a stable state. Whether your PC crashes after a new update, driver, or app installation—or due to changes made through the Registry—System Restore allows you to roll back without affecting your personal files.
You can even delete specific or all System Restore points when needed.
However, this feature is turned off by default in Windows 11/10. So, before restore points can be created, you must enable it manually.
In this guide, you’ll learn how to:
- Enable the System Restore Point
- Create a System Restore point manually
- Recover Windows using System Restore
How to Enable System Restore Point on Windows 11/10?
Follow these steps to activate System Restore on your PC:
Step 1. Open the Start menu and search for Create a restore point.
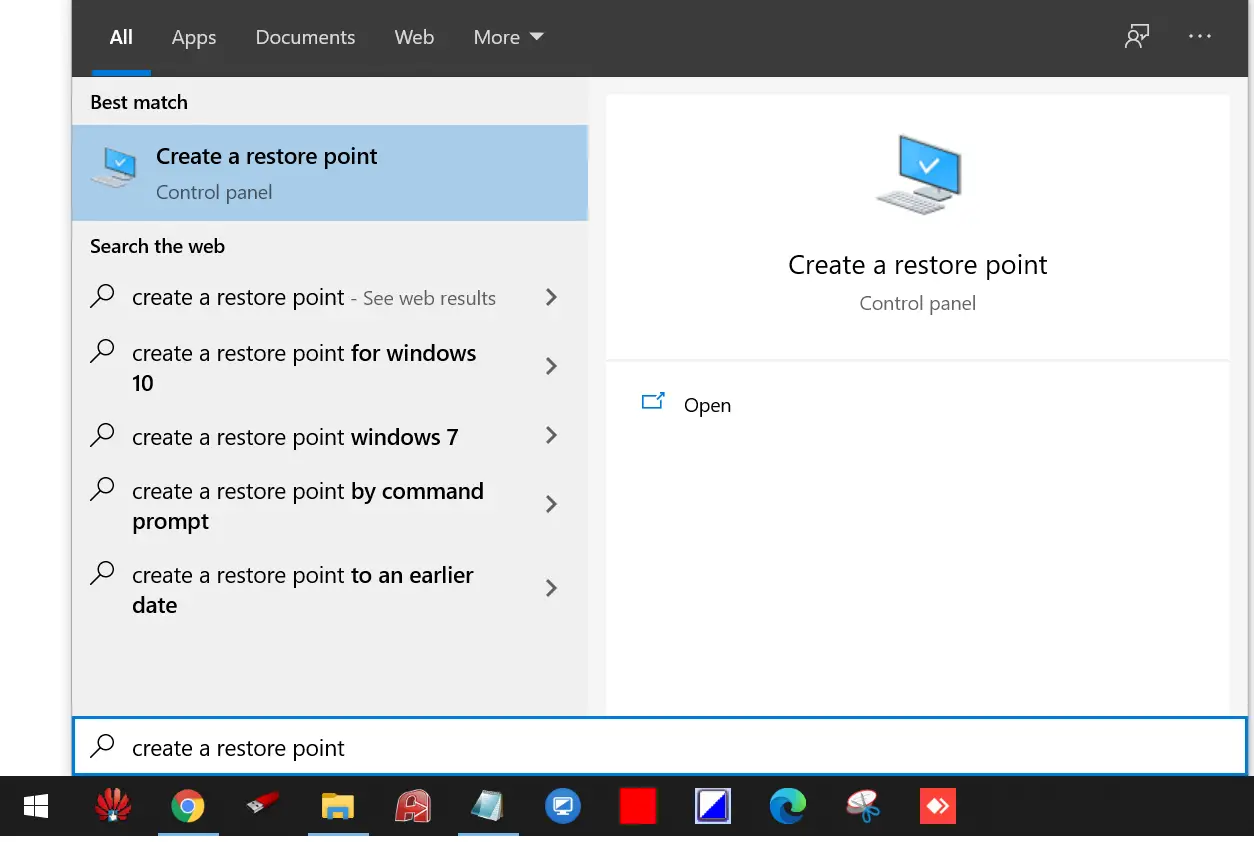
Step 2. Click on the Create a restore point app from the results to open System Properties.
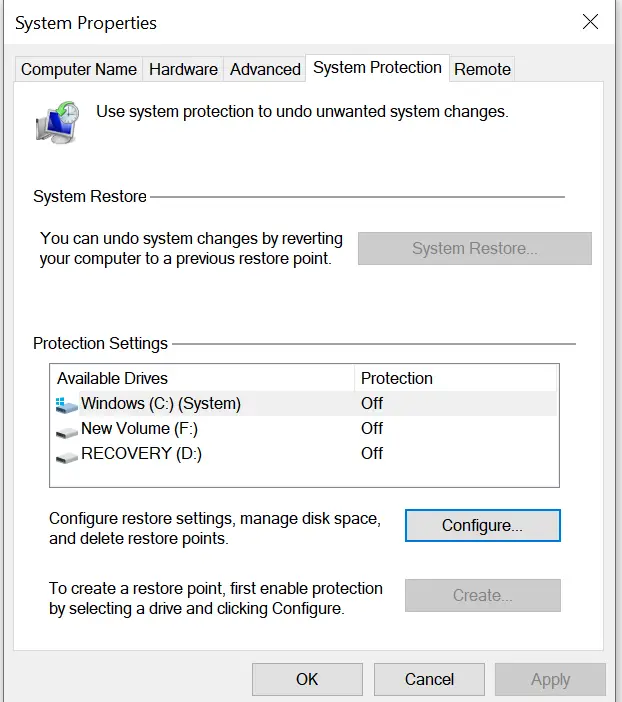
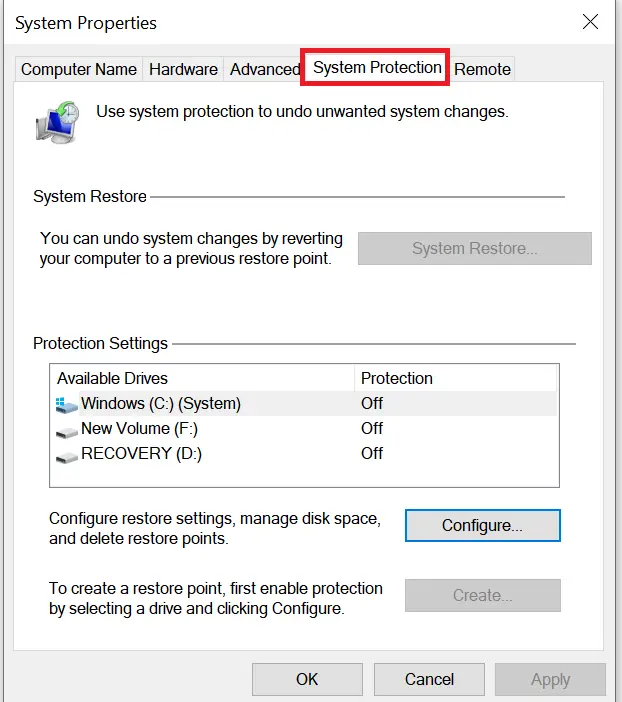
Step 3. Go to the System Protection tab.
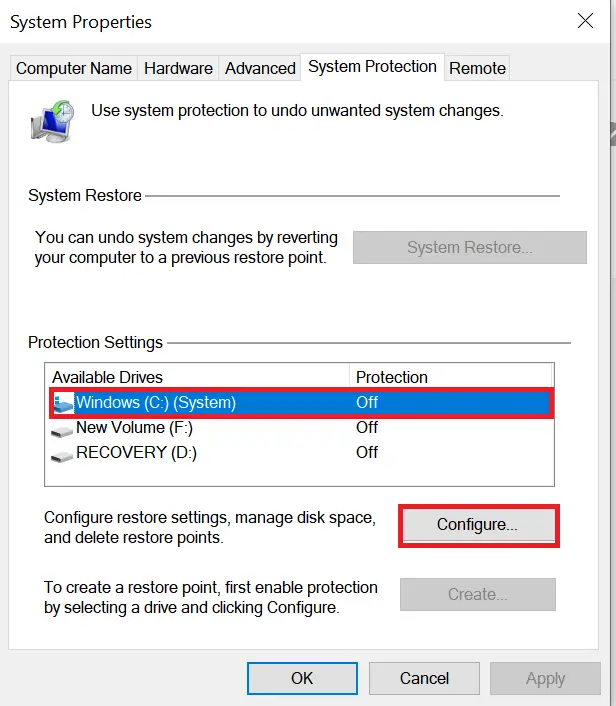
Step 4. Under the “System Protection” section, select your system drive (usually C:) and click Configure.
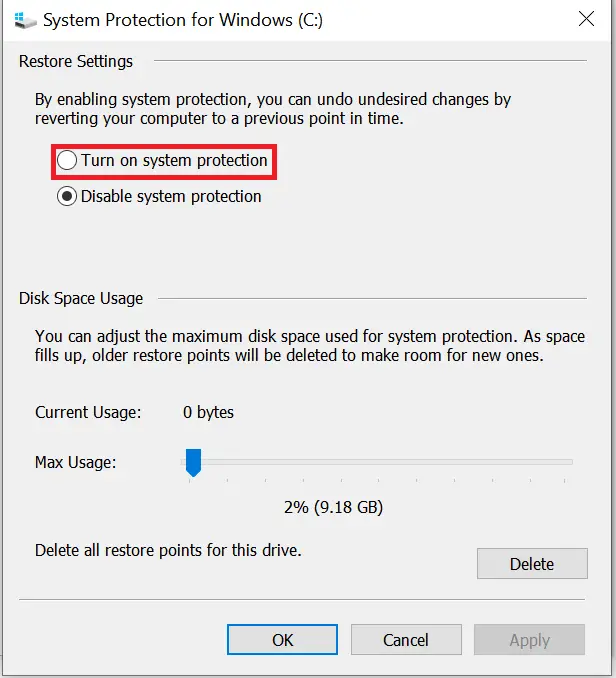
Step 5. Choose Turn on system protection.
Step 6. Click Apply and then OK.
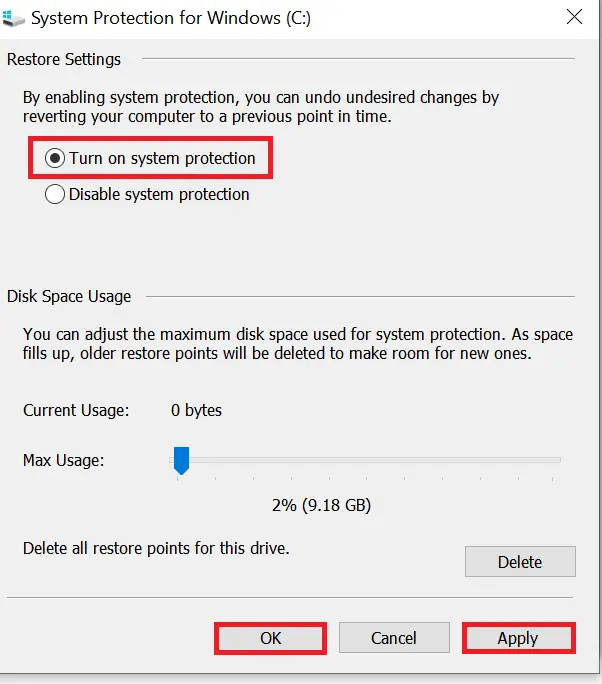
Quick Tips: Under “Disk Space Usage,” use the slider to adjust how much disk space to allocate for restore points. Windows manages it automatically if left unchanged.
Note: System Restore is only available for system drives.
How to Create a System Restore Point Manually on Windows 11/10?
To manually create a restore point, do the following:
Step 1. Open the Start menu and search for Create a restore point.
Step 2. Click the Create a restore point app.
Step 3. Under the System Protection tab, click Create.
Step 4. Enter a descriptive name for the restore point.
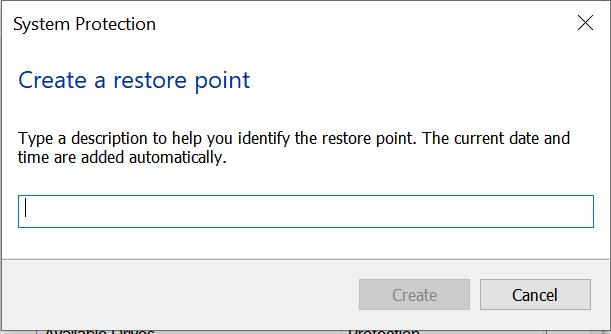
Step 5. Click Create again.

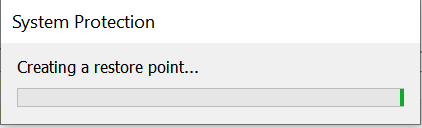
Step 6. Wait for the process to finish.
Step 7. You will see a message saying, “The restore point was created successfully.”

Step 8. Close the window.
How to Recover Windows Using System Restore?
System Restore can help fix issues caused by updates or settings changes. You can do it from the desktop or Advanced Startup if Windows won’t boot.
From the Desktop:
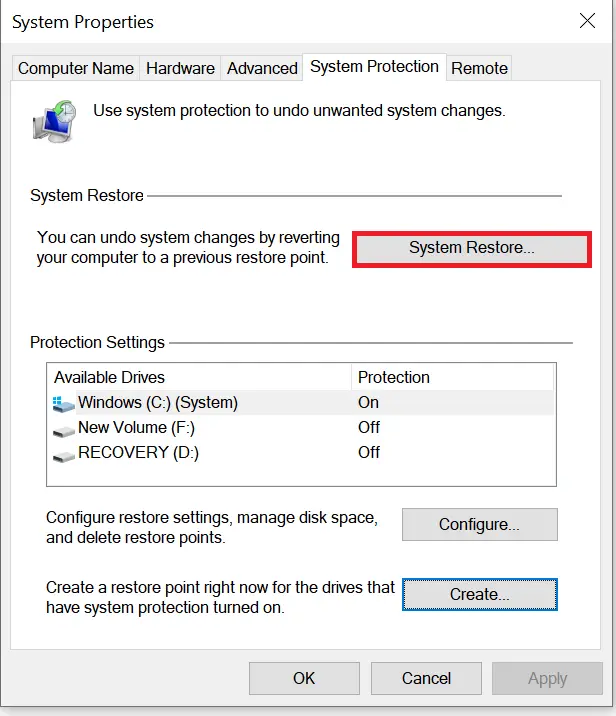
Step 1. Open the Start menu and search for Create a restore point.
Step 2. Open the Create a restore point app.
Step 3. Click System Restore.
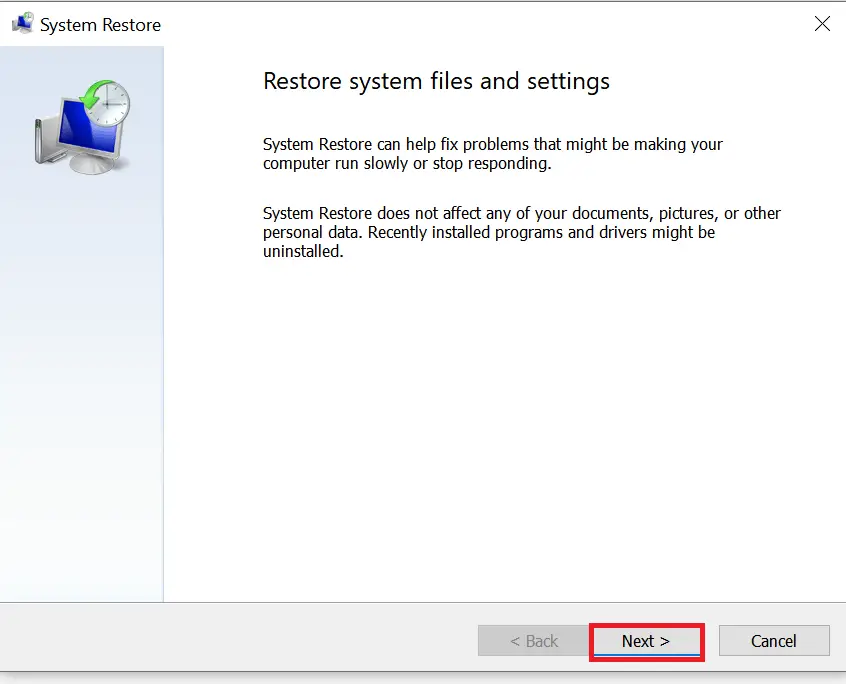
Step 4. Click Next.
Step 5. Select a restore point.
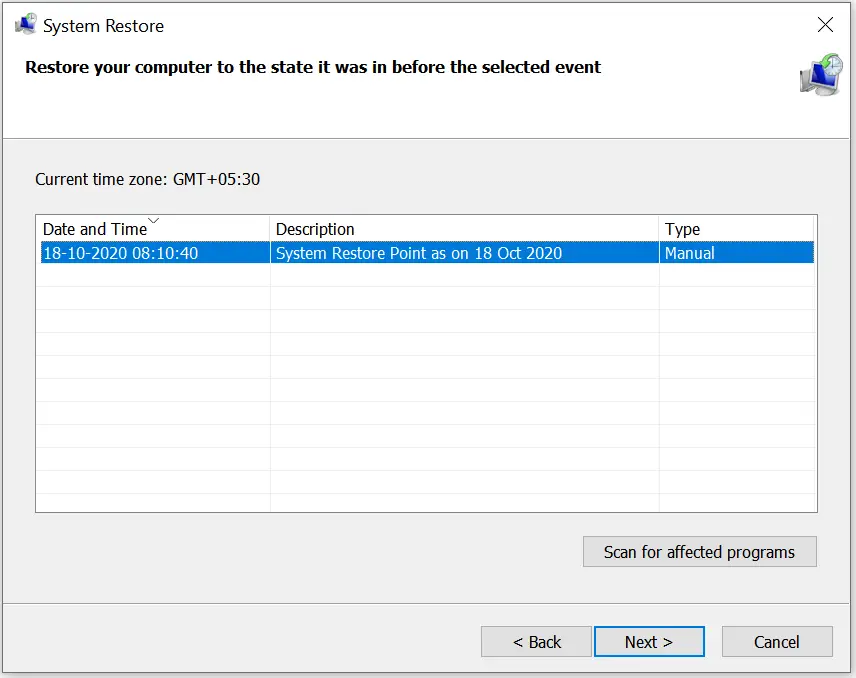
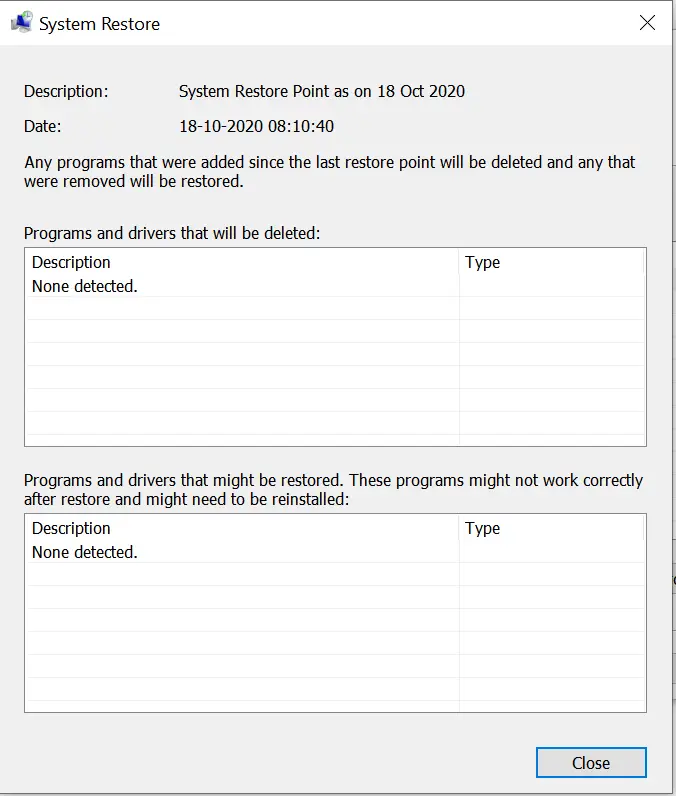
Step 6. Click Scan for affected programs to view removed apps after restore.

Step 7. It will scan affected programs.
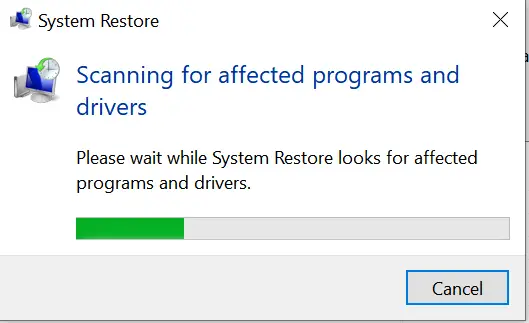
Step 8. View and note affected items, then click Close.
Step 9. Click Next.
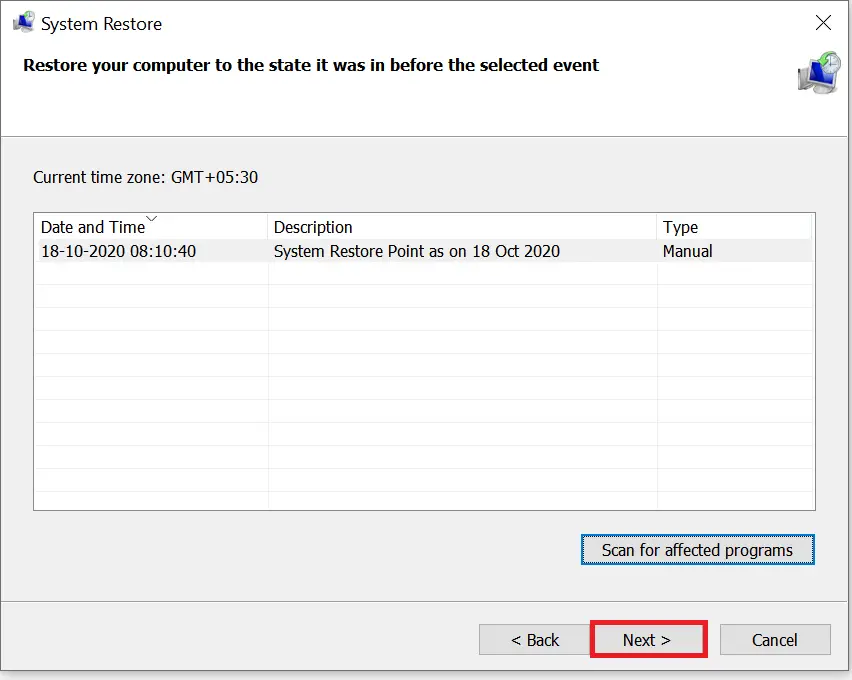
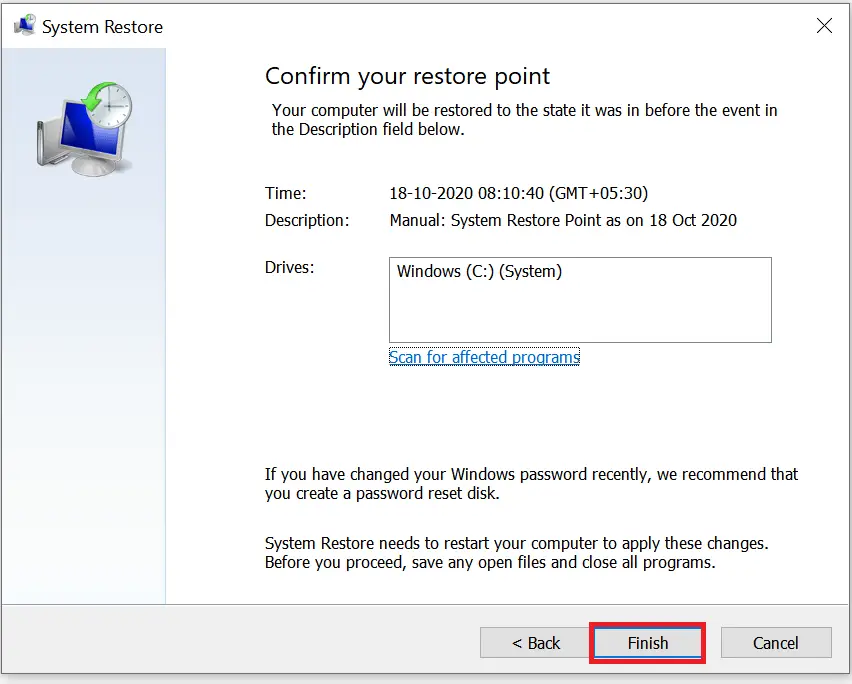
Step 10. Click Finish to restore.

From Advanced Startup:
Step 1. Turn on your PC.
Step 2. Interrupt boot by pressing the power button when the Windows logo appears.
![]()
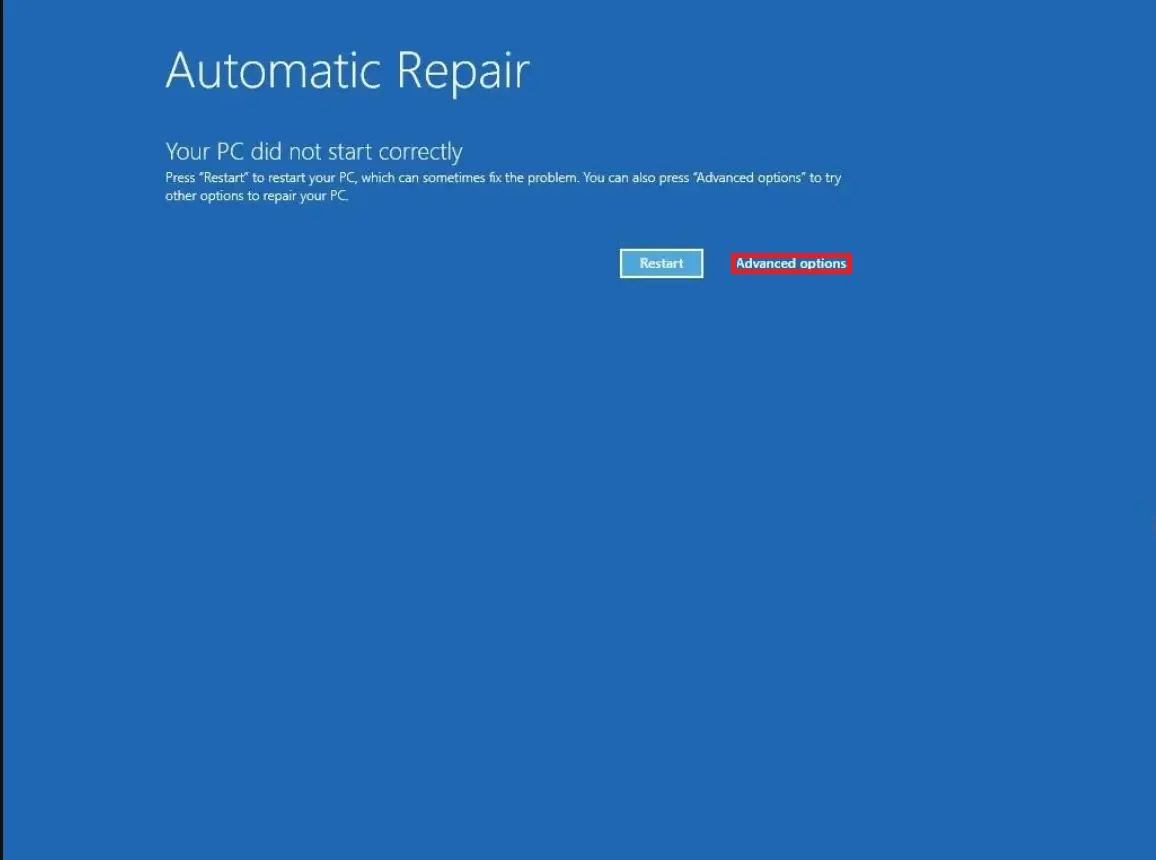
Step 3. Repeat steps 1 and 2 until recovery mode starts.
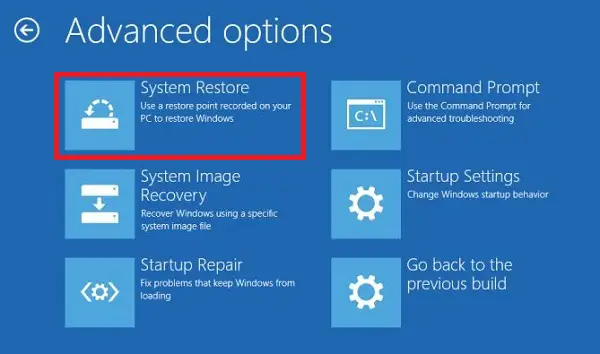
Step 4. Click Advanced options.
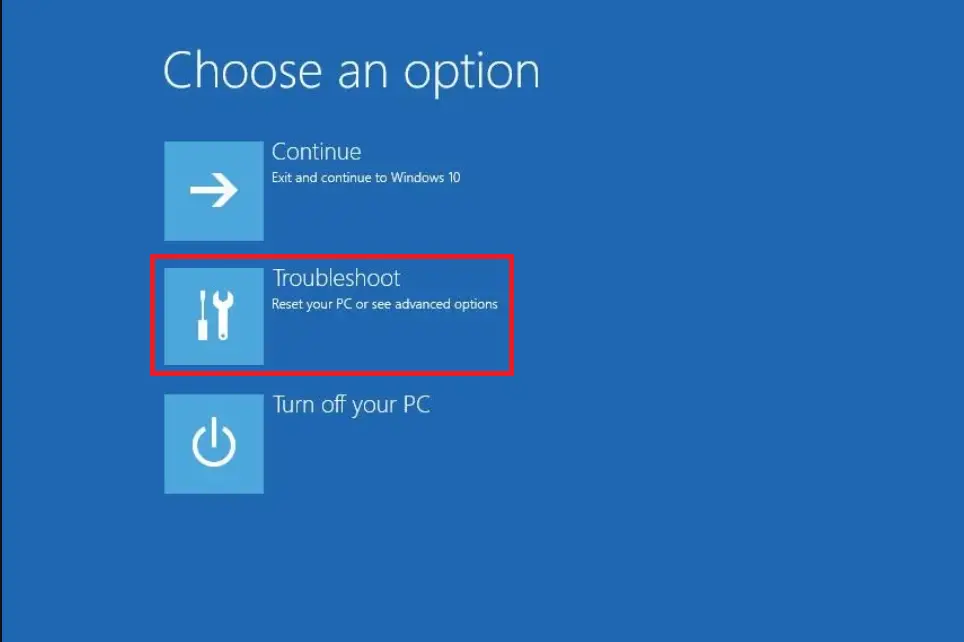
Step 5. Click Troubleshoot.
Step 6. Click Advanced options.

Step 7. Click System Restore.
Step 8. Click Next.
Step 9. Select a restore point.

Step 10. Click Scan for affected programs if needed.
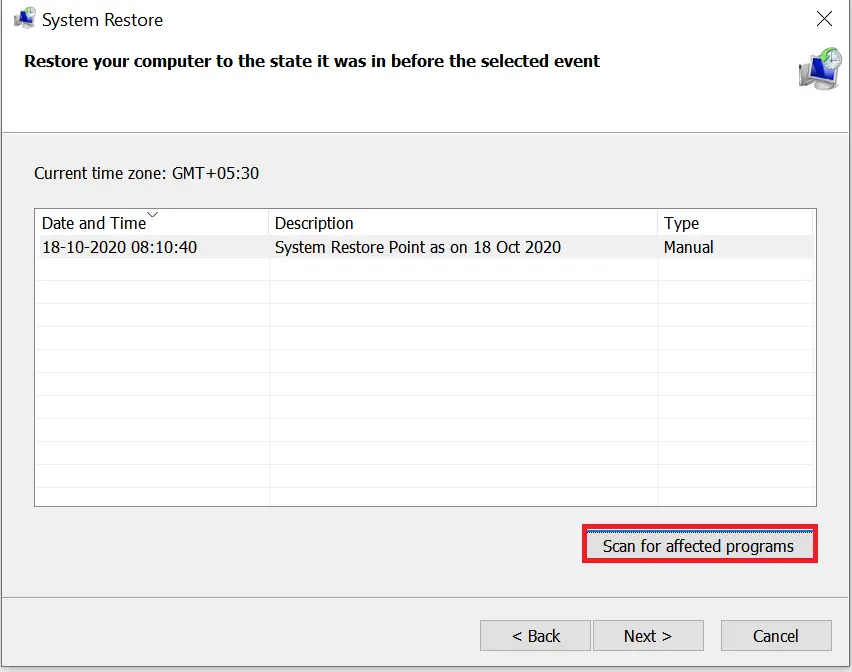
Step 11. Scanning starts.
Step 12. View and note affected items.
Step 13. Click Close.
Step 14. Click Next.
Step 15. Click Finish.
FAQs
Does System Restore delete my personal files?
No. System Restore only affects system settings, drivers, registry changes, and installed apps. Your documents, photos, and personal files remain untouched.
Why is System Restore turned off by default?
Windows 11/10 disables it by default to reduce disk space usage. Restore points require storage, so Microsoft leaves it optional for users who want extra protection.
How often does Windows create restore points automatically?
Windows creates restore points during major system events such as driver installations, Windows updates, or significant Registry changes—provided System Restore is enabled.
How much disk space should I allocate to System Restore?
Allocate at least 5–10% of your system drive. More space allows more restore points, improving your chances of rolling back to a stable version when needed.
Can I use System Restore if Windows won’t boot?
Yes. You can access System Restore through Advanced Startup (Recovery Mode). This allows you to repair your PC even if it isn’t able to start normally.
What happens to apps installed after a restore point?
Apps installed after the selected restore point will be removed. System Restore also lists affected programs before you proceed.
Can System Restore fix issues caused by Windows updates or drivers?
Yes. It is one of the most effective ways to roll back faulty updates, incorrect drivers, or problematic Registry tweaks.
Is System Restore the same as resetting Windows?
No. System Restore only reverts system changes, while Reset reinstalls Windows and removes apps. Restore is faster and less disruptive.
Why can’t I create a restore point?
This usually happens when System Protection is disabled, the disk space allocation is too low, or the Volume Shadow Copy service isn’t running.
How long does System Restore take?
Most restores complete within 5–20 minutes, depending on your drive speed and the number of changes. Larger systems may take longer.
Can I delete old restore points?
Yes. You can remove individual or all restore points anytime using the System Protection settings to free up disk space.
Conclusion
System Restore is a powerful recovery tool in Windows 11/10 that helps undo critical system changes. By restoring your device to an earlier state, it can fix issues without affecting your files. While disabled by default, enabling and using System Restore can save time and avoid bigger problems after updates or system tweaks. With both desktop and recovery environment options available, it’s an essential feature for troubleshooting and maintaining system stability.