
On a Windows PC, services run silently in the background and typically don’t need your direct interaction. Depending on the application and its role, a related service will start or stop automatically as required. Many core Windows components rely on these services, including File Explorer, Print, Windows Updates, Windows Search, and others.
By default, some Windows services start as soon as the PC boots up. Others run on demand. For instance, when you manually start or stop Windows Updates, the associated service starts or stops automatically. You don’t need to open the Services Manager to do this manually. Some services are configured to start after a delay—only after all essential services have started. Additionally, certain services depend on others. When you stop a parent service, the dependent (child) services will stop too. However, restarting the parent service doesn’t automatically start its dependent services. You’ll need to start those manually.
If you’re new to Windows, here are a few important terms to understand about service startup types:
- Automatic – The service starts automatically when Windows boots.
- Automatic (Delayed Start) – The service starts shortly after boot, giving priority to other critical services.
- Manual – You must manually start or stop the service when needed.
- Disabled – The service won’t start unless you re-enable it manually.
How to Turn On a Service in Windows 11 or 10?
To enable a service in Windows 11 or 10, follow these steps:-
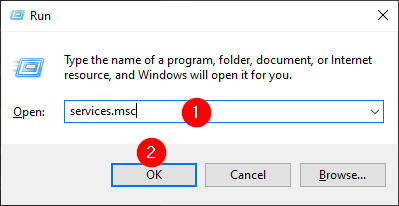
Step 1. Press Windows + R to open the Run dialog box. Type services.msc and click OK to launch the Services window.
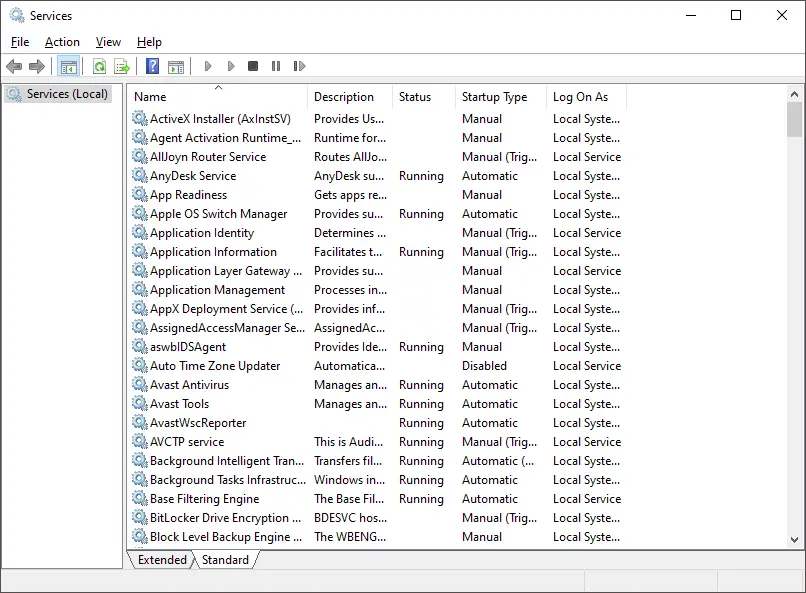
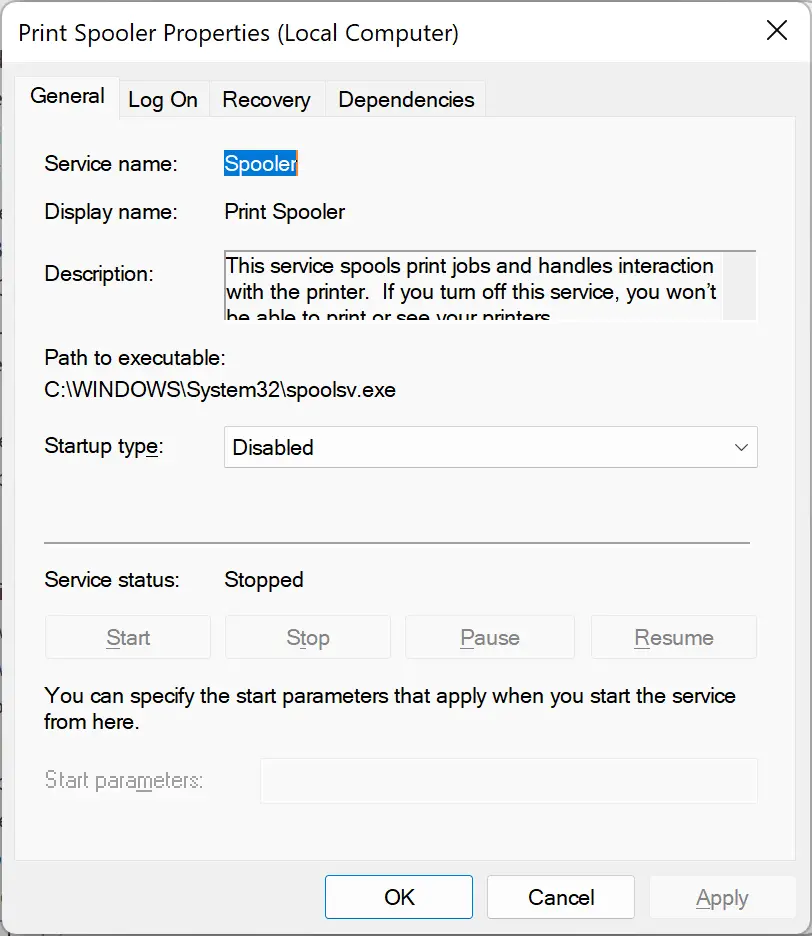
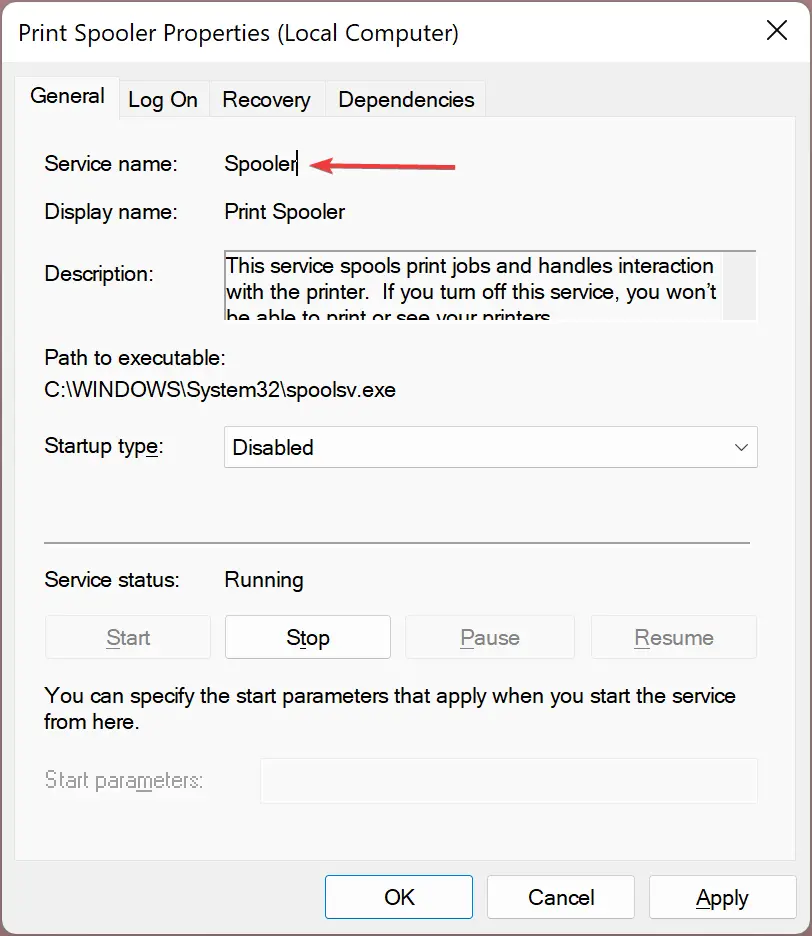
Step 2. Double-click the service you want to enable. This opens the Properties dialog for that service.
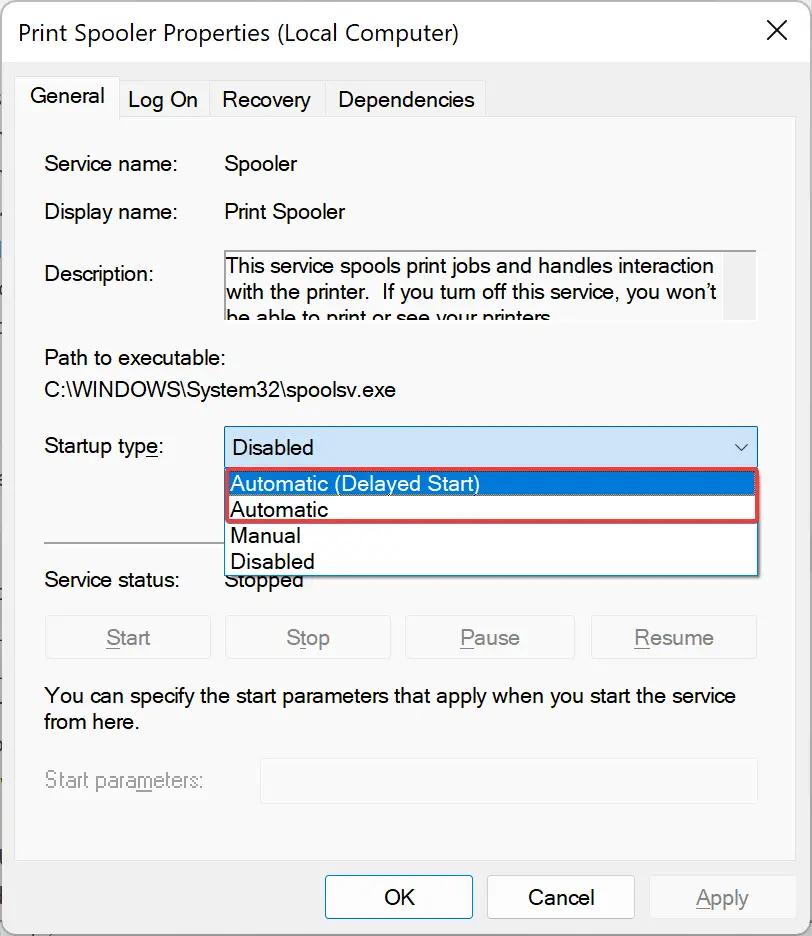
Step 3. From the “Startup type” drop-down, choose either Automatic or Automatic (Delayed Start).
Step 4. Click Apply.
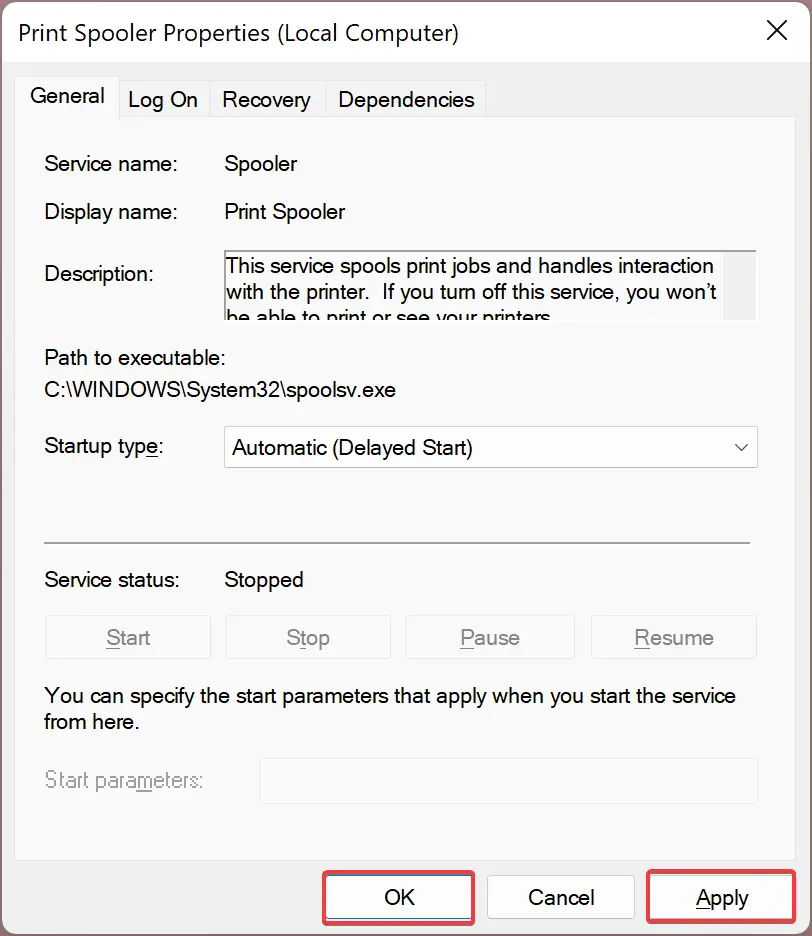
Step 5. Finally, click OK to exit the Properties window.
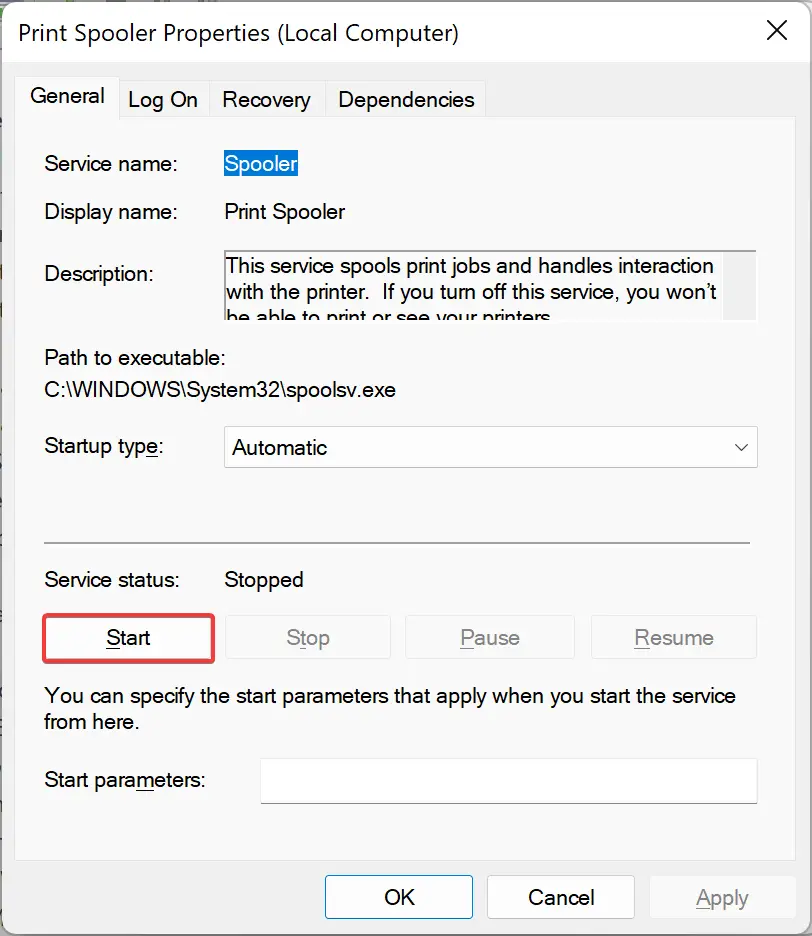
Once done, the service will automatically start with Windows. To start it immediately, click the Start button under “Service status.”
How to Turn Off a Service in Windows 11 or 10?
If you want to disable a service in Windows 11 or 10, use the steps below:-
Step 1. Press Windows + R, type services.msc, and click OK to open the Services window.
Step 2. Double-click the service you wish to disable to open its Properties dialog box.
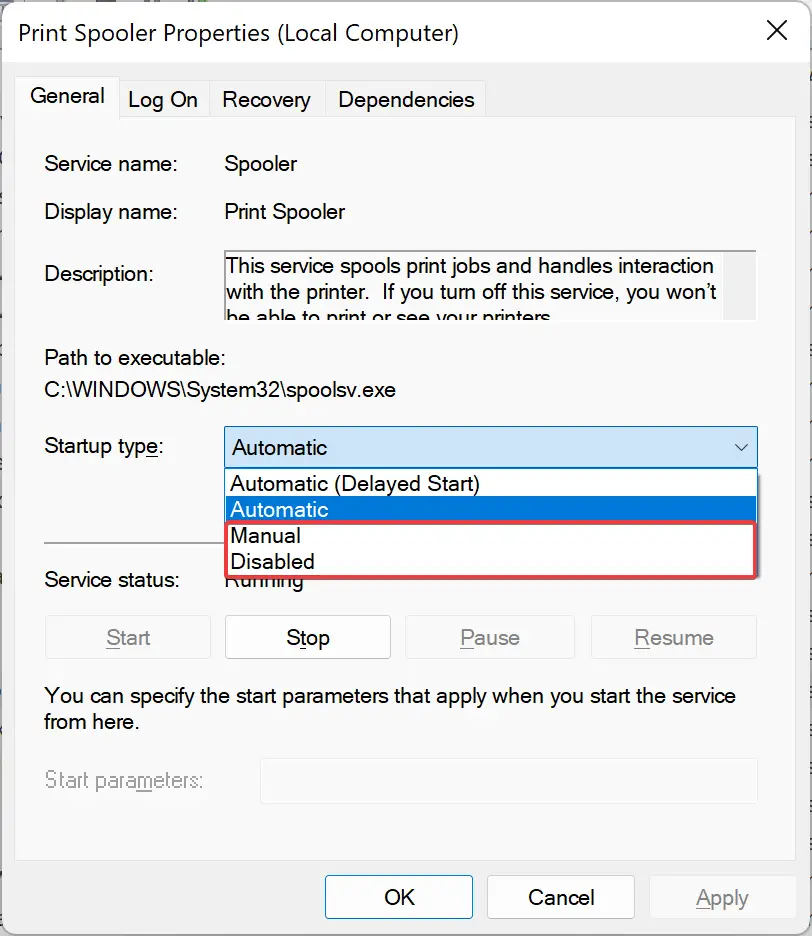
Step 3. In the “Startup type” drop-down menu, select Disabled or Manual.
Step 4. If the service is running, click Stop to terminate it.
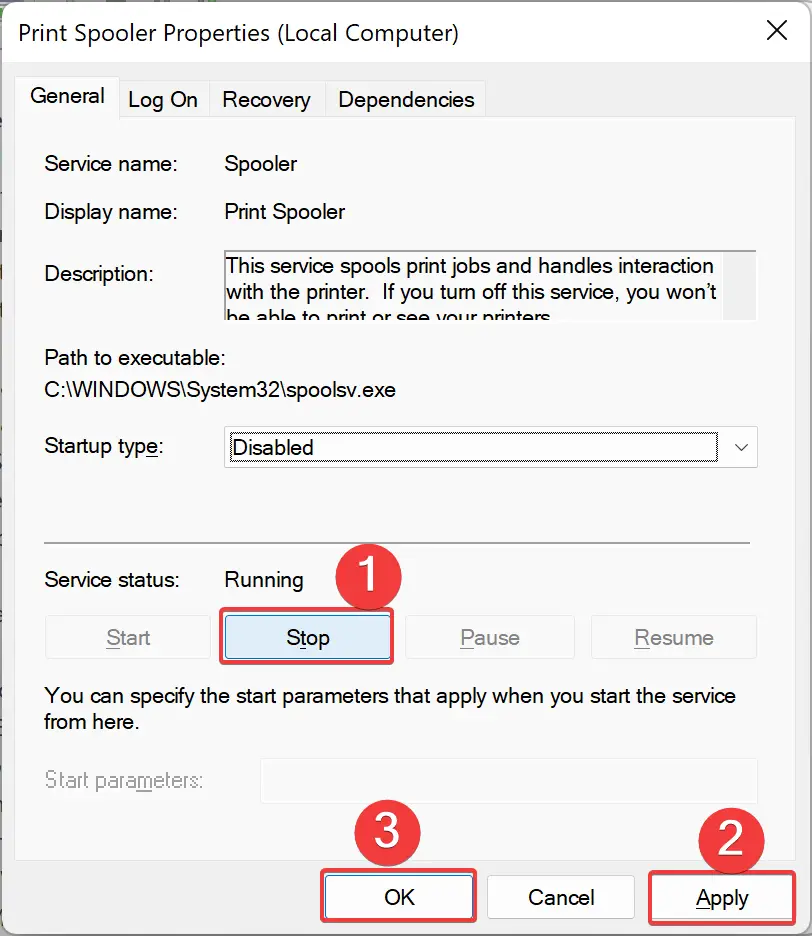
Step 5. Click Apply.
Step 6. Click OK to close the window.
Once completed, the selected service will stop and won’t start again unless manually re-enabled.
How to Enable or Disable a Service using Command Prompt in Windows 11 or 10?
To manage services using Command Prompt in Windows 11 or 10, follow these steps:-
Step 1. Open the Command Prompt with administrative privileges.
Step 2. Use these commands to configure the service:
Change the Startup type to Automatic:
sc config "service name" start=auto
Change Startup type to Automatic (Delayed Start):
sc config "service name" start=delayed-auto
Stop and disable a service:
sc stop "service name" && sc config "service name" start=disabled
Set the Startup type to Manual and start it:
sc config "service name" start=demand && sc start "service name"
Quick Note: Replace service name with the actual name of the service you wish to control. To find it, double-click the service and check the Service name field in its Properties window.
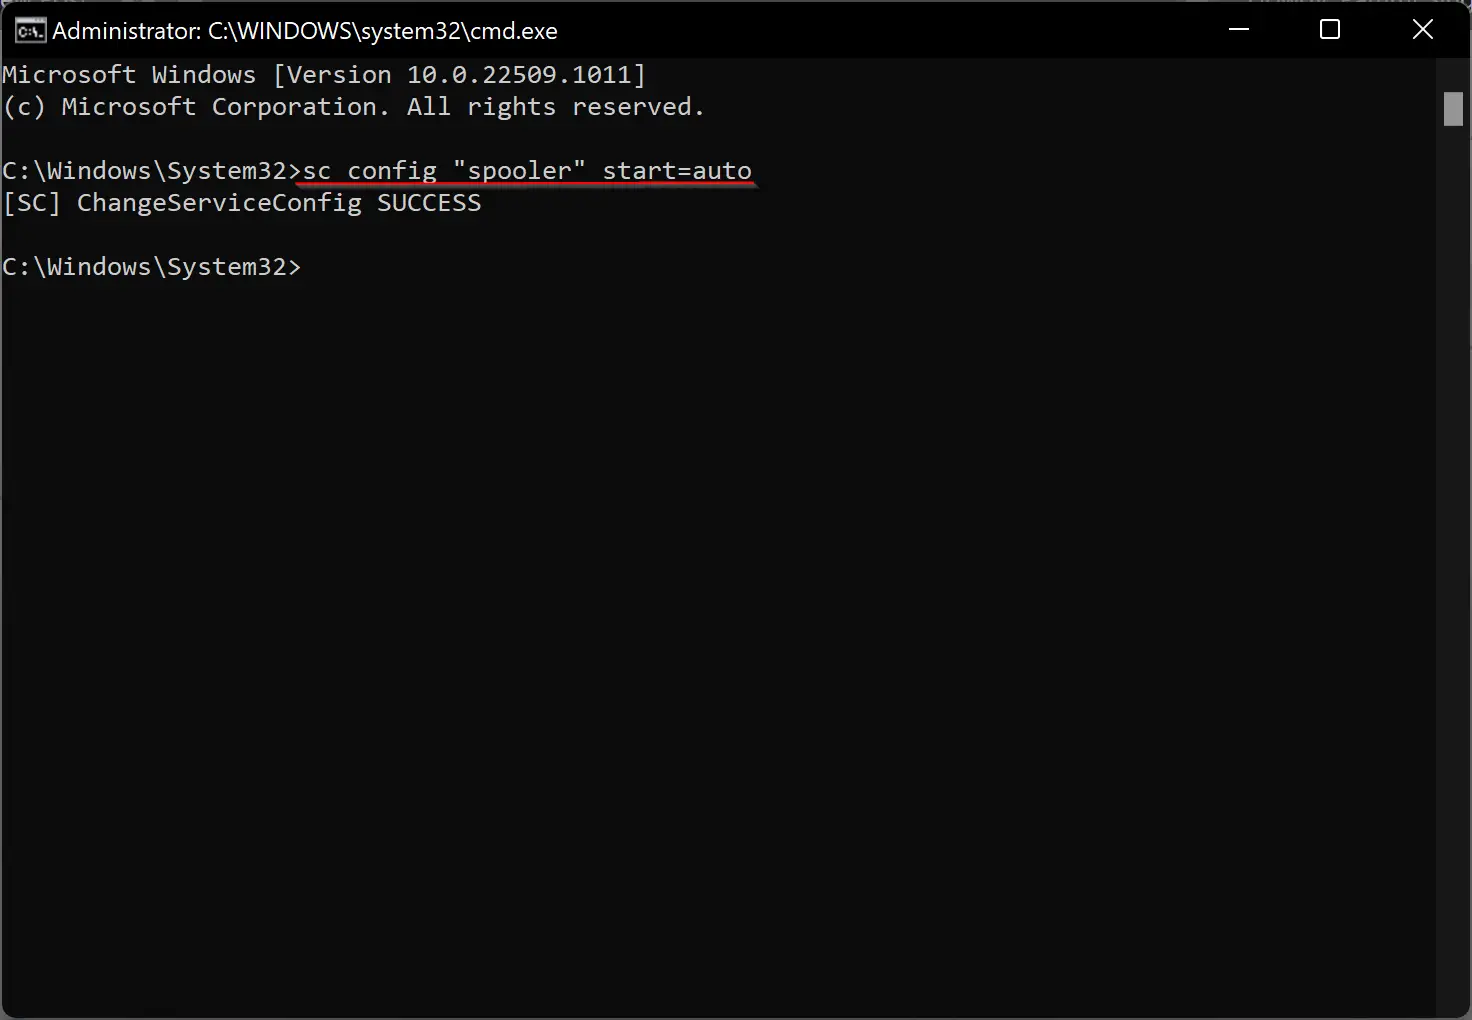
For example, to change the Print Spooler service’s startup type to Automatic, use this command:
sc config "spooler" start=auto
Conclusion
In conclusion, Windows services are crucial background processes that keep the system and applications running smoothly. Each service has a specific startup type: Automatic, Manual, Delayed Start, or Disabled. While many services run on their own, users can manually enable or disable them if needed. This guide has shown you how to manage services through the Services window and Command Prompt in Windows 11 or 10. Learning how to control services can help boost system performance and resolve technical issues.