
In this gearupwindows guide, we’ll show you how to enable or disable Storage Sense on your Windows 11 PC using Settings. This built-in tool automatically frees up space by deleting unnecessary files like temporary data and recycle bin contents.
What Is Storage Sense in Windows 11?
Storage Sense is a handy feature in Windows 11 that helps manage disk space efficiently. When turned on, it can automatically clean up junk files, temporary files, and even content in your Downloads folder or Recycle Bin.
It is especially useful if you’re running low on space or want your system to stay clutter-free without manual effort.
How to Enable Storage Sense via Settings?
Follow these steps to turn on Storage Sense using the Settings app:
Step 1. Open the Settings app by pressing Windows + I.
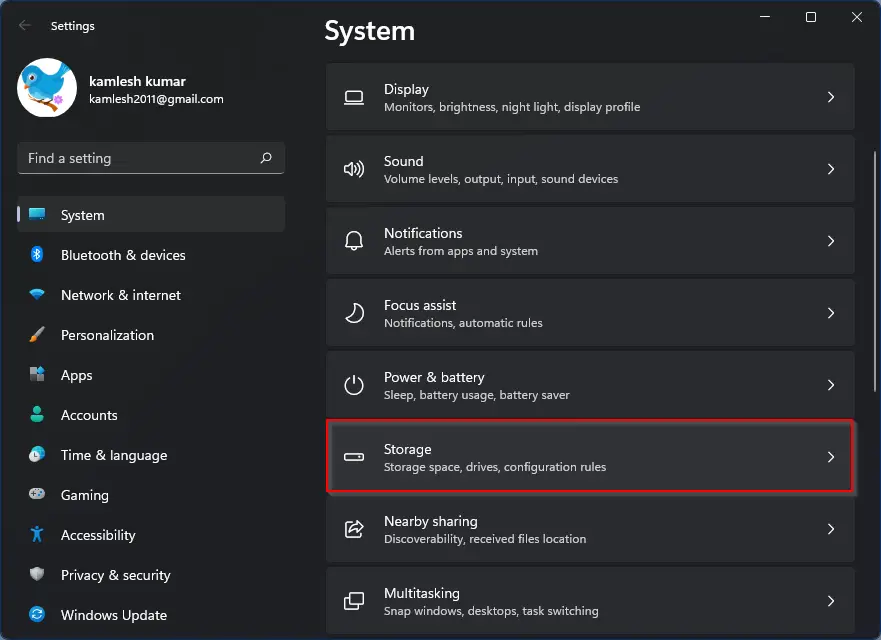
Step 2. Go to System > Storage.

Step 3. Under Storage management section, switch on toggle Storage Sense.
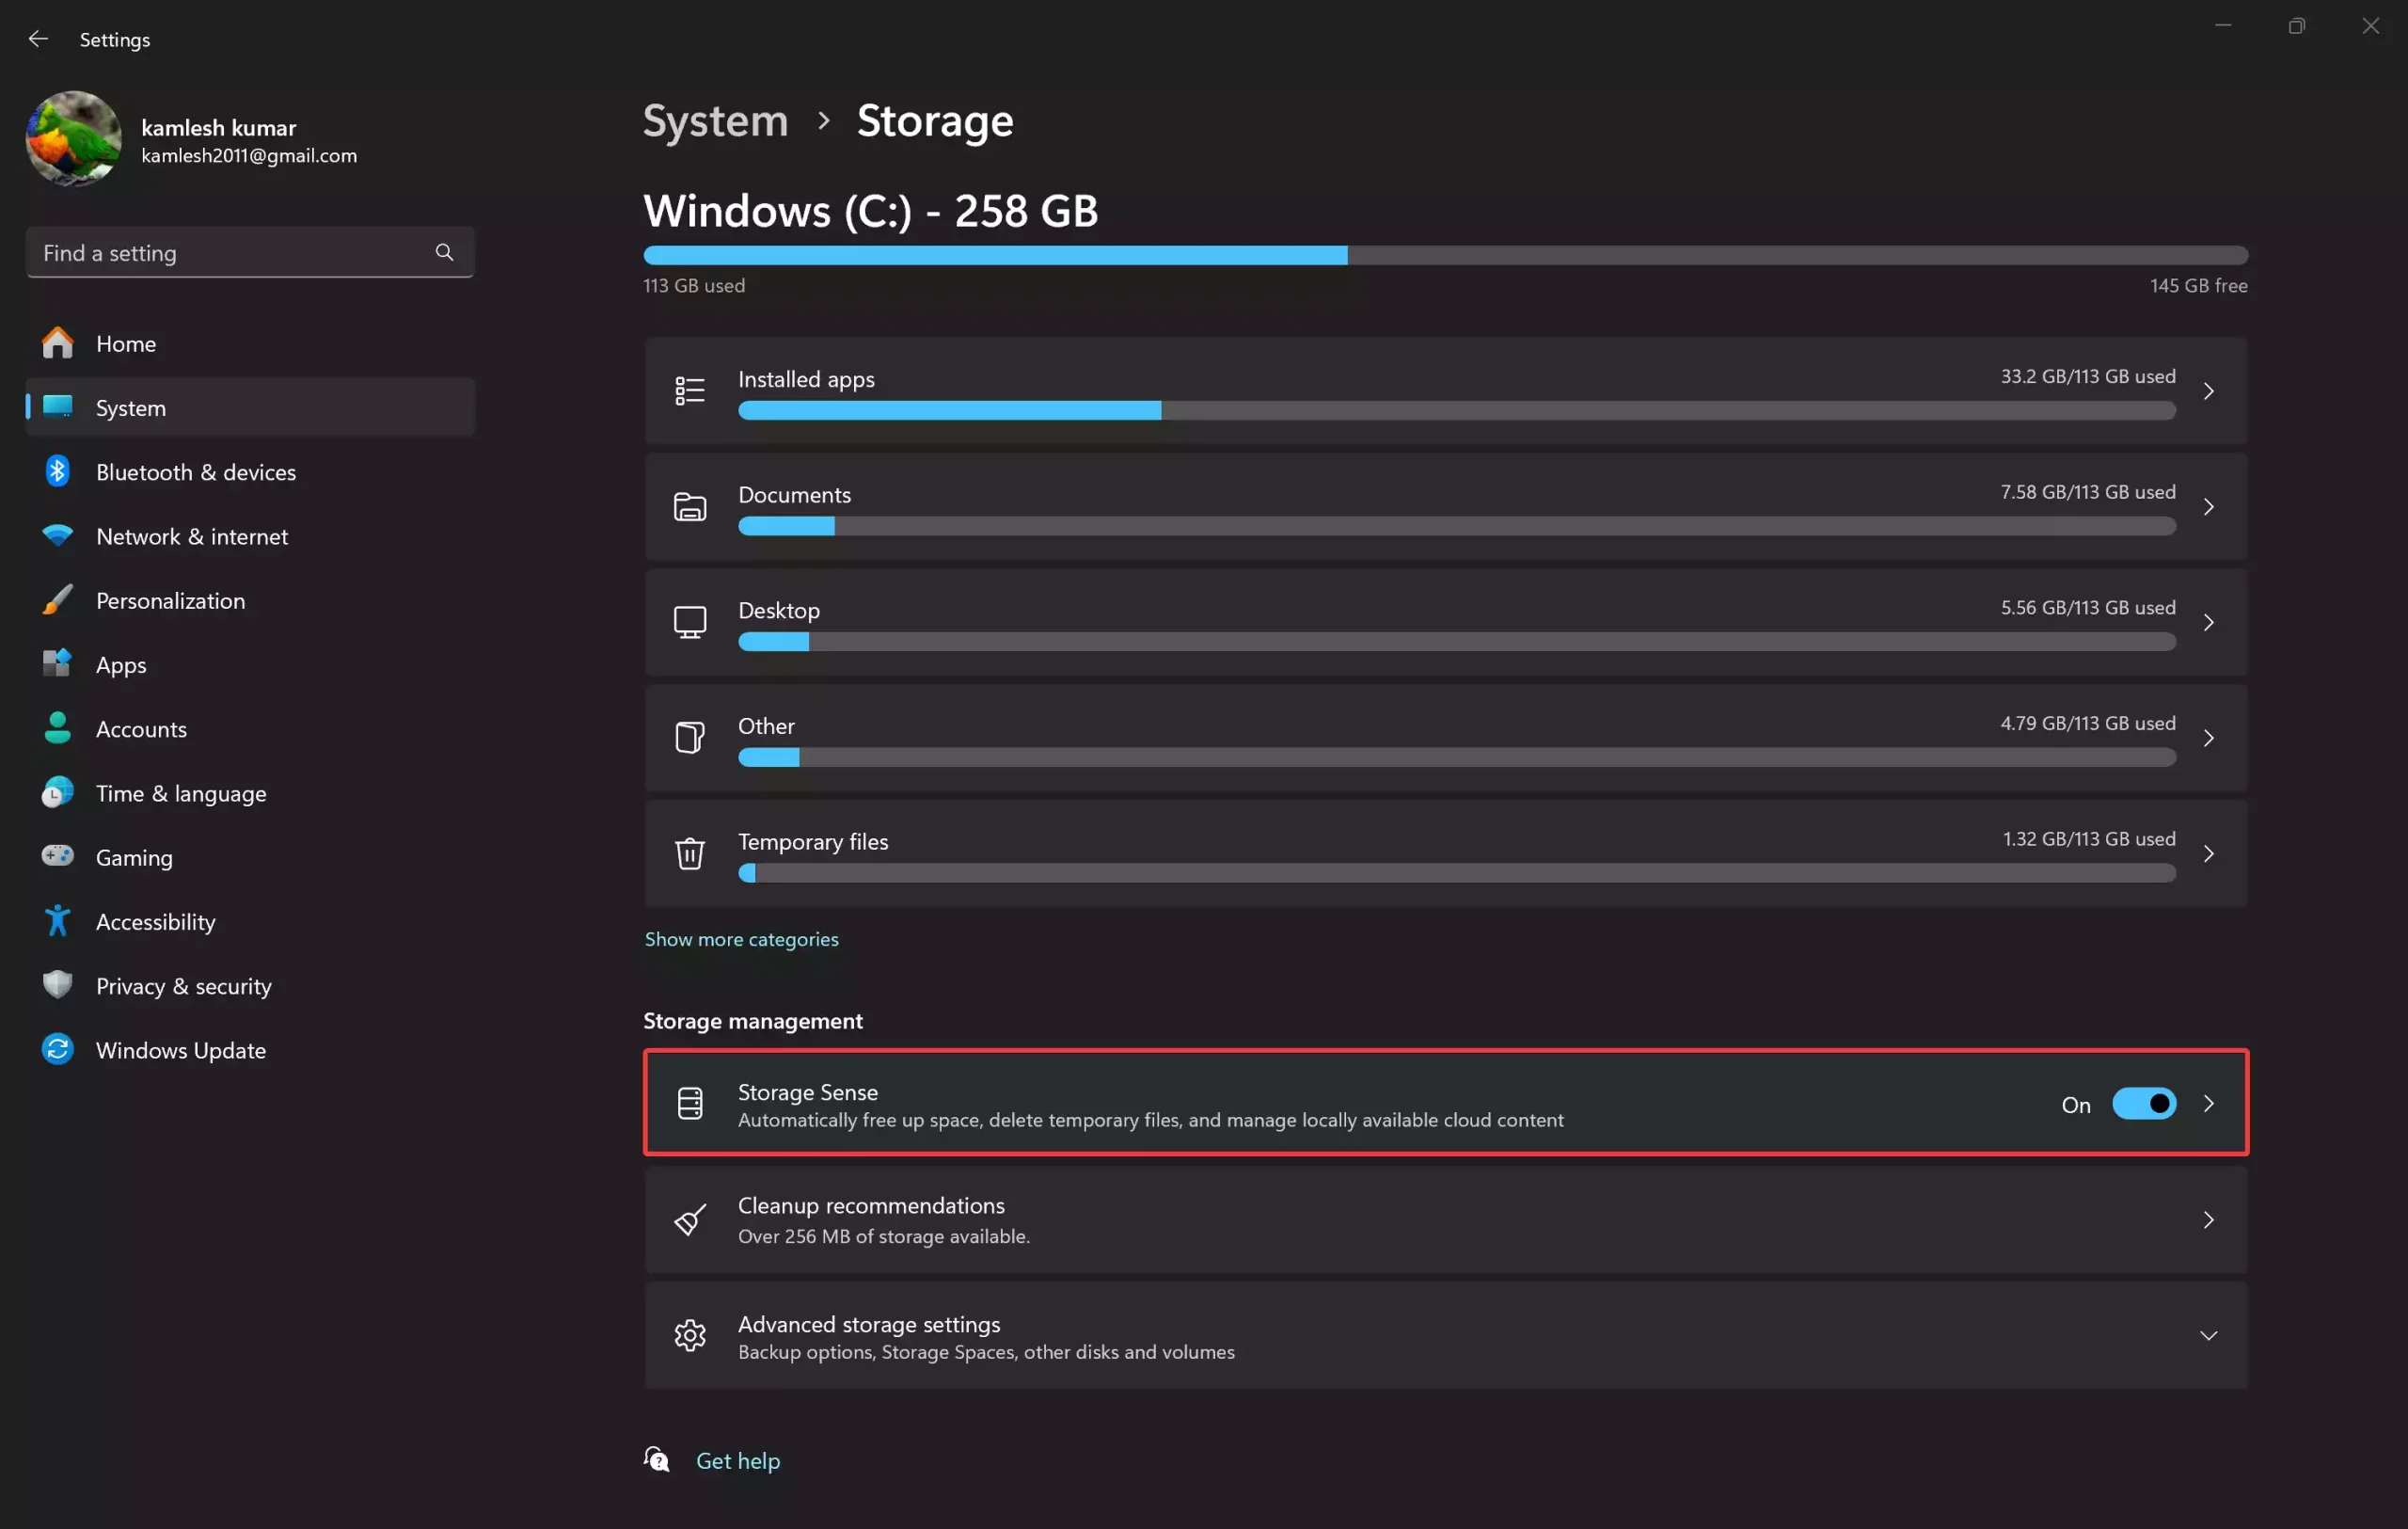
You can also configure how often Storage Sense runs, and whether it should delete temp files, items in the Downloads folder, or content in the Recycle Bin.
How to Disable Storage Sense via Settings?
To stop Windows from automatically deleting files, here’s how you can disable Storage Sense:
Step 1. Open the Settings app (Windows + I).
Step 2. Click System, then Storage.
Step 3. Under Storage Sense section, toggle the switch off that says Storage Sense.
This will prevent Windows 11 from cleaning up space automatically.
Why Use Storage Sense?
Using Storage Sense can keep your PC clean and running smoothly. It’s especially useful if:
- You don’t have time for manual cleanup.
- Your storage drive is small or nearly full.
- You want a clutter-free experience without using third-party tools.
For more cleanup tools, you may also explore free file shredders for Windows to delete data securely.
Conclusion
That’s how you can enable or disable Storage Sense in Windows 11 using Settings. This feature is helpful for automatic maintenance, but you can disable it anytime if you prefer manual control. If you’re also facing disk space issues, don’t miss our guide on using Disk Cleanup effectively.