
Most people are familiar with the basic text editor, Notepad, but fewer are aware of WordPad, which is also included in the Windows operating system. While Notepad is suitable for simple text editing, WordPad offers more advanced features like text formatting, changing font styles, altering font colors, aligning text, and inserting images into documents. Although WordPad offers more advanced features than Notepad, it doesn’t support more complex functions like grammar checking, table insertion, or background color changes.
If you are already using an advanced word processor program like MS Word, having WordPad on your Windows 10 PC may seem redundant. Fortunately, Windows 10 allows you to uninstall this built-in app. There are two ways to install or uninstall WordPad: through the Settings App and the Command Prompt. This post will provide a step-by-step guide on how to perform these actions on your Windows 10 PC.
How to uninstall WordPad from Windows 10 using the Settings app?
Follow these steps to uninstall WordPad from Windows 10 using the Settings app:-
Step 1. Click on the Start button/menu and type Settings.
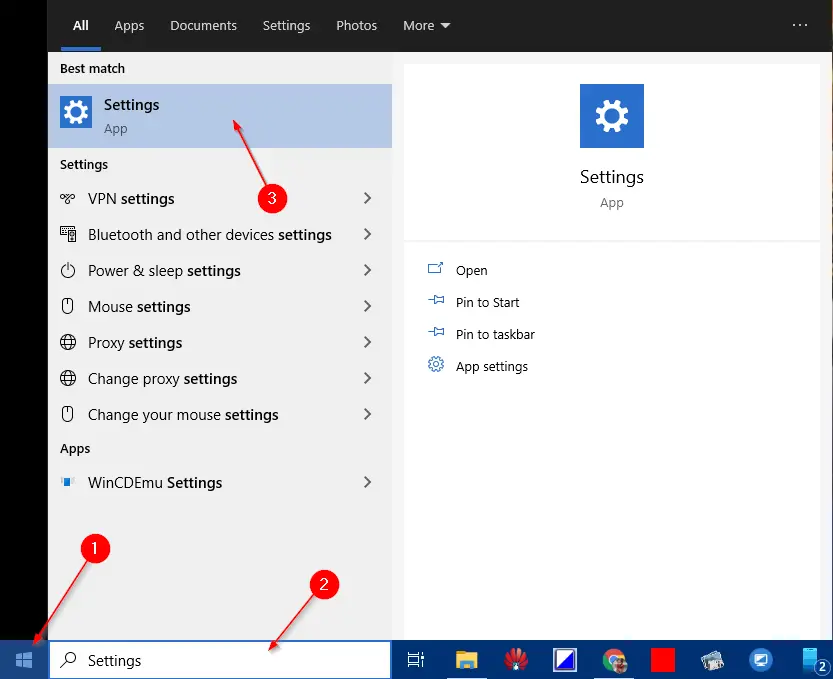 Step 2. Click on the Settings app from the search results to launch the same.
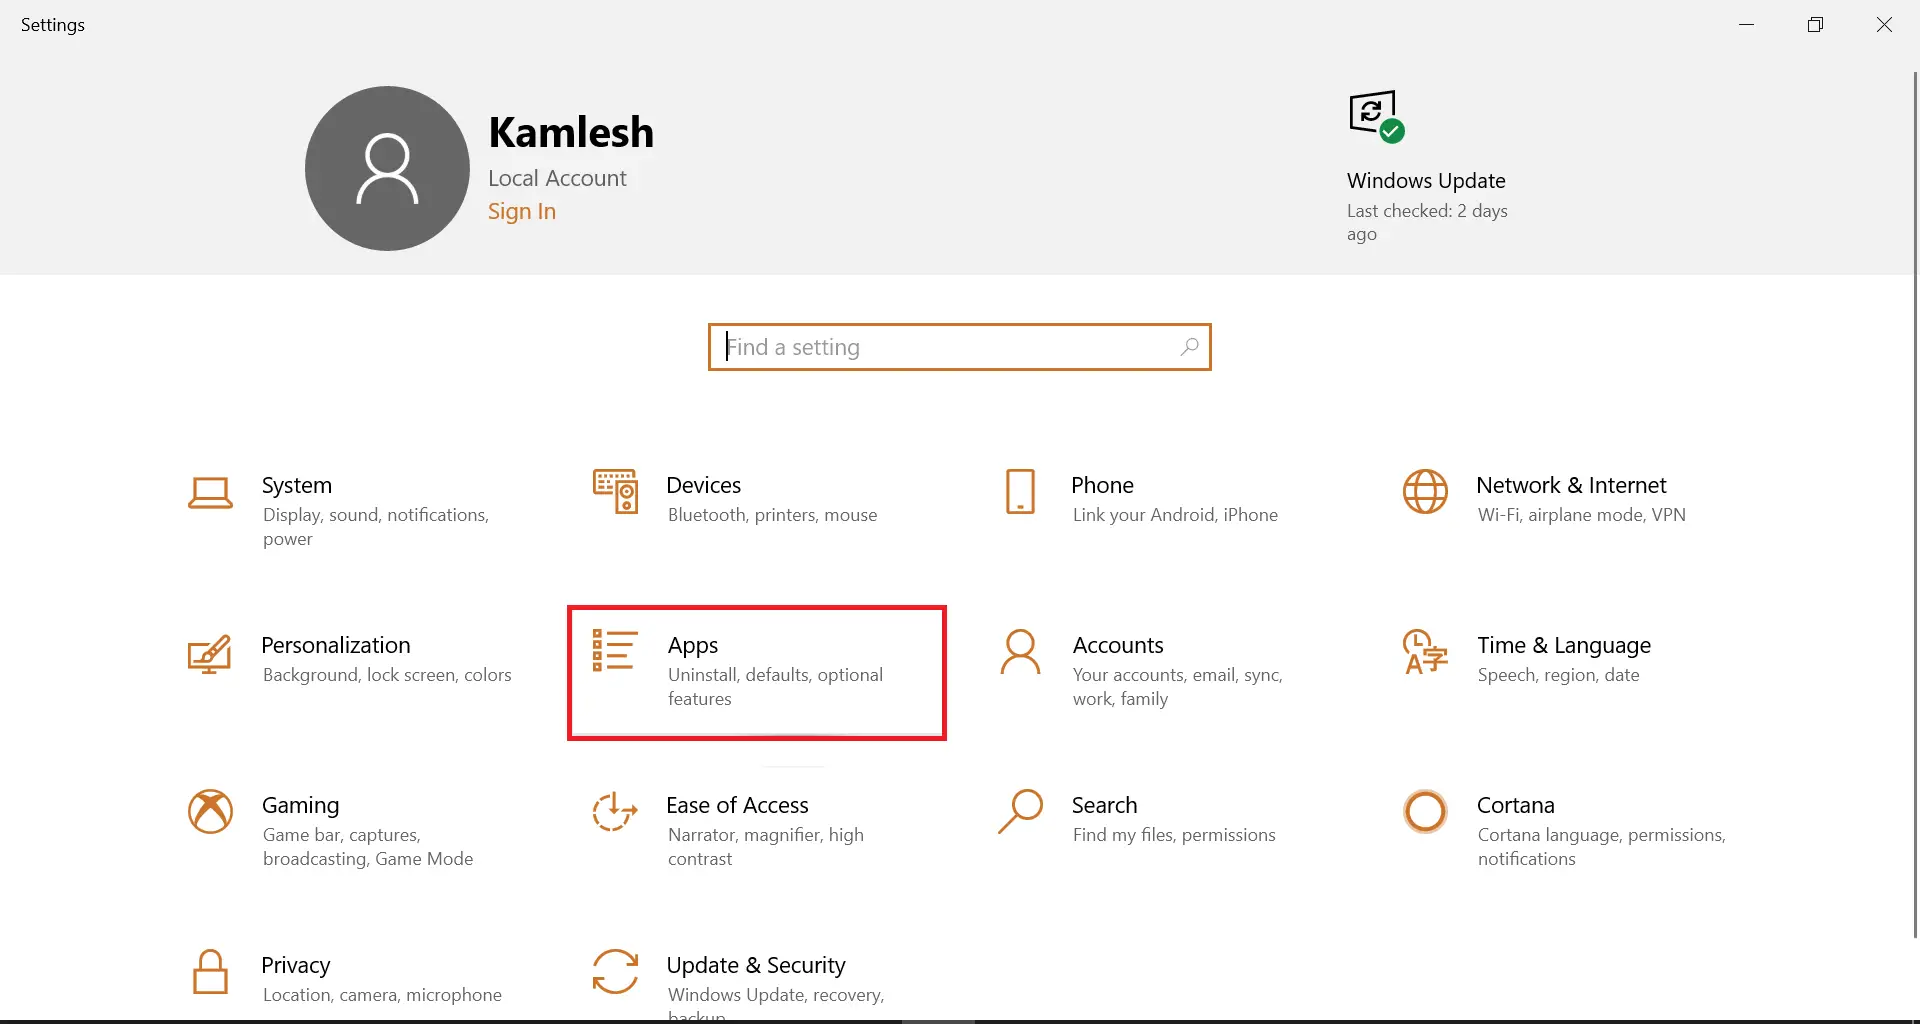
Step 3. Then, click on Apps.
 Step 4. Click on Apps & features.
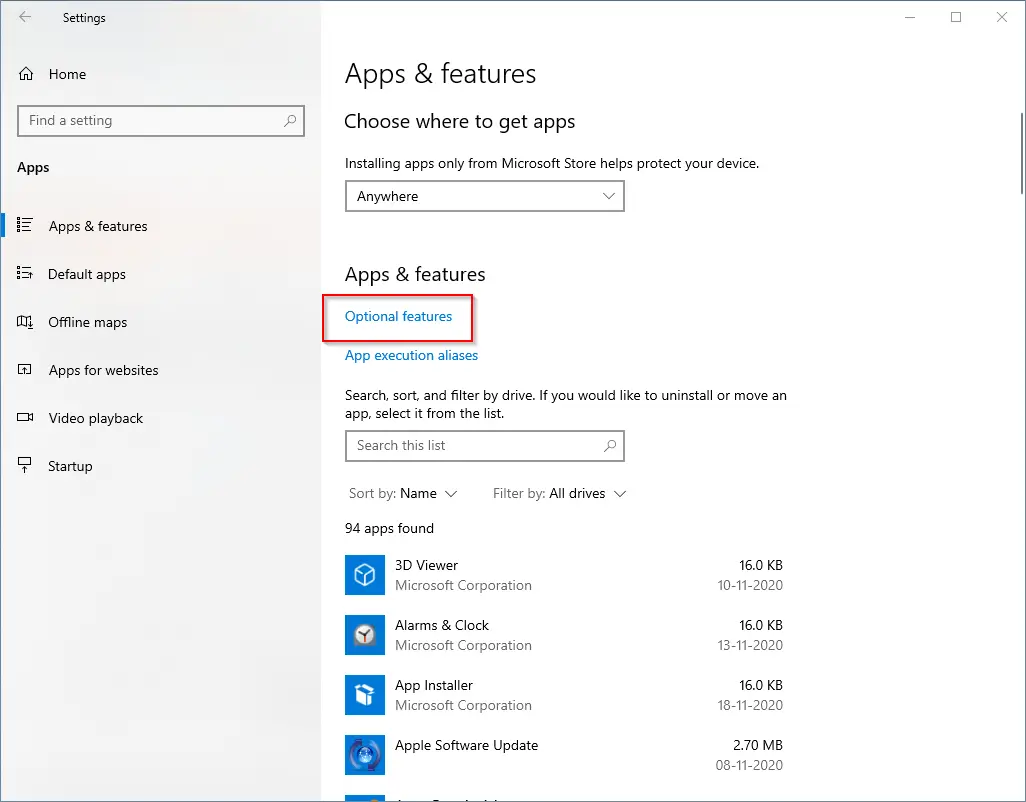
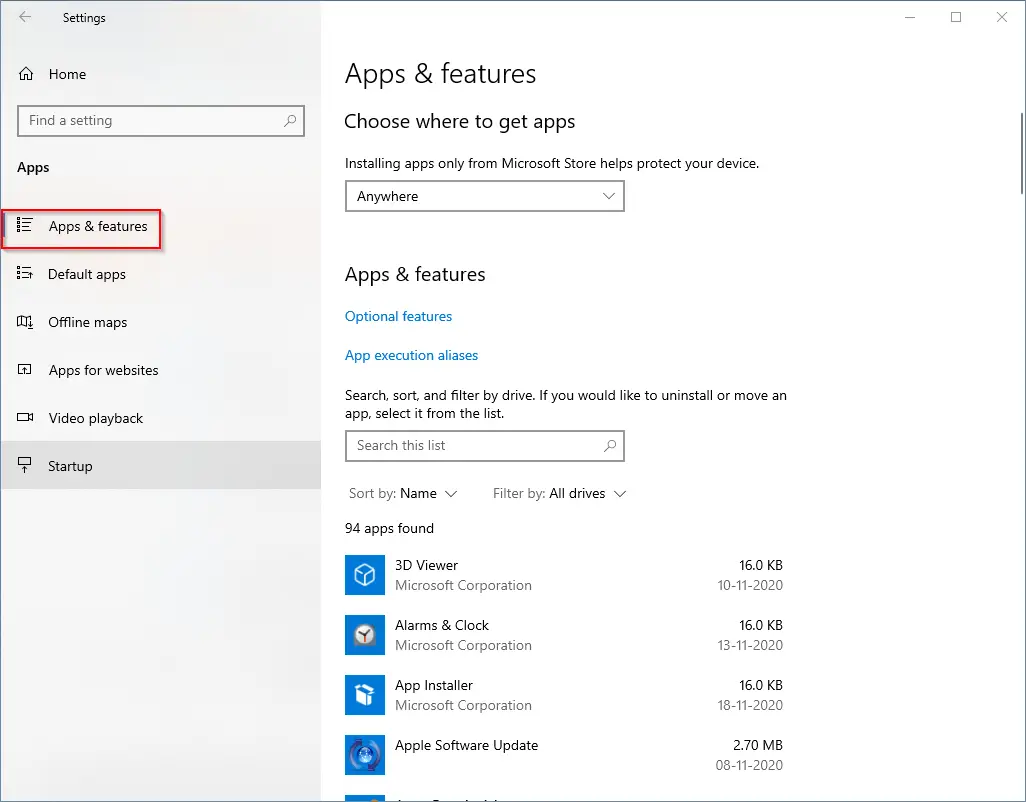 Step 5. Under Apps & features, click on the Optional features link.
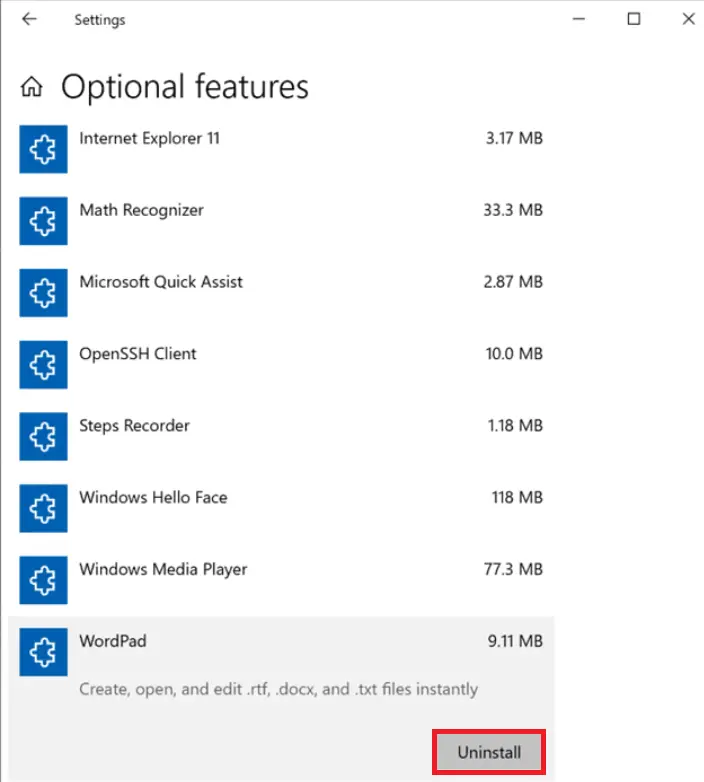
 Step 6. Scroll down and click on the WordPad entry. Click the Uninstall button to remove it from your Windows 10 PC.
 WordPad will be removed from your Windows 10 machine.
How to install WordPad in Windows 10 using the Settings app?
If in your Windows 10 PC, WordPad is missing for any reason, do the following:-
Step 1. Click on the Start button/menu and type Settings.
Step 2. Click on the Settings app from the search results to launch the same.
Step 3. Click on Apps.
Step 4. Click on Apps & features.
Step 5. Under Apps & features, click on the Optional features link.
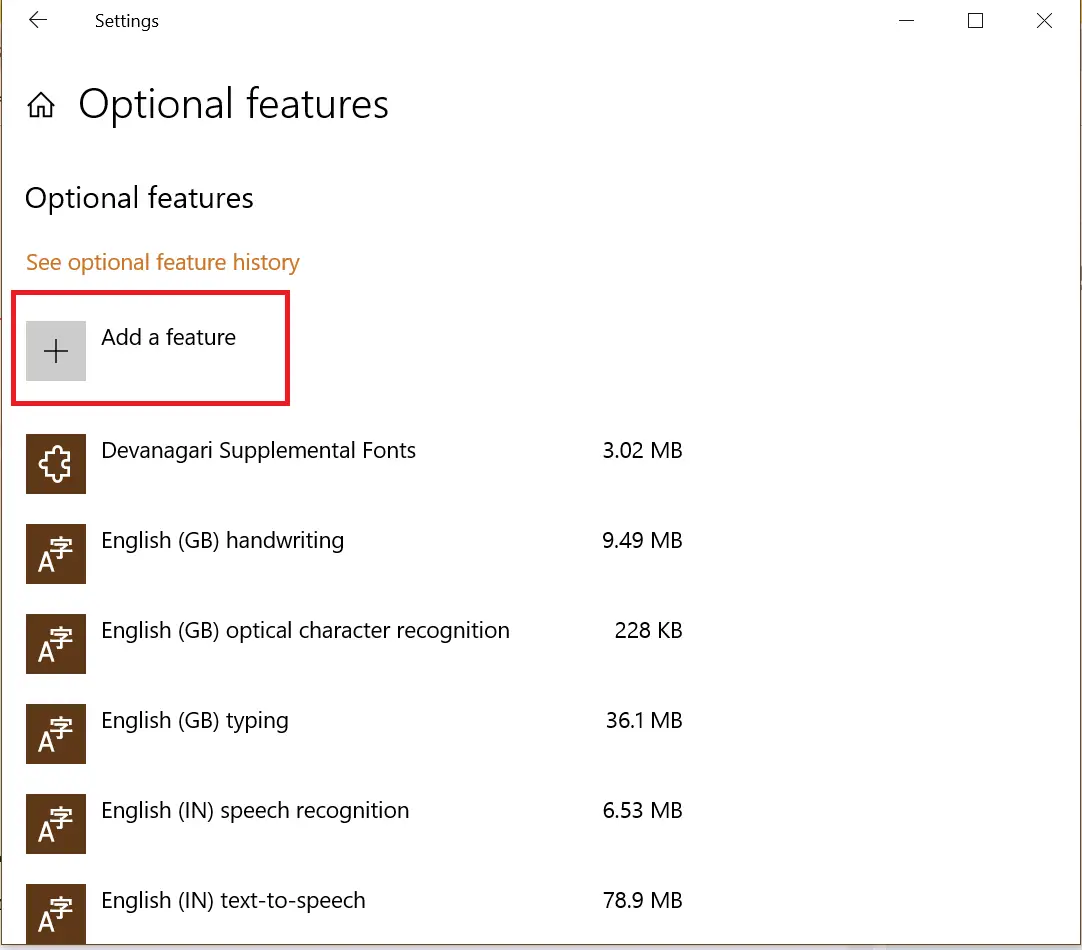
Step 6. Click Add a feature.
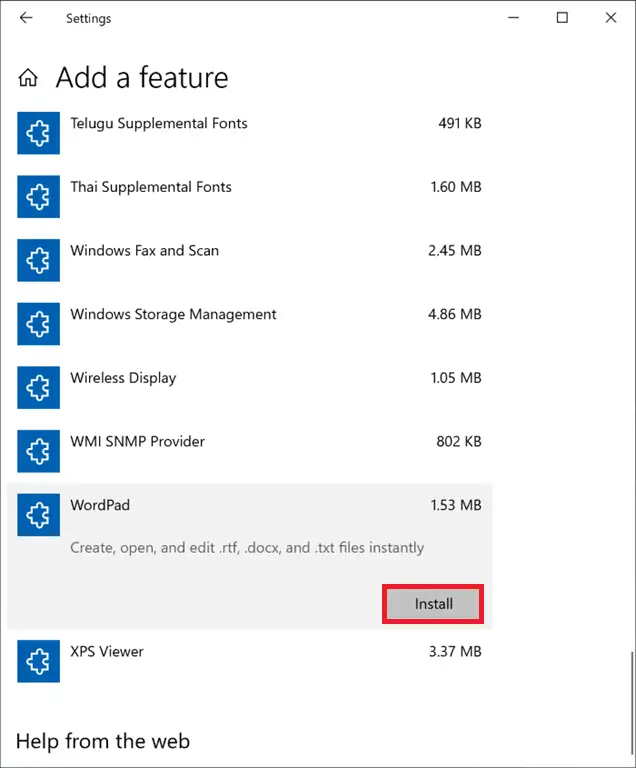
 Step 7. Scroll down the list until you find the entry for WordPad. Click on WordPad to see the Install button. Finally, click on the Install button to get the WordPad program installed on your Windows 10 PC.
 Once the above steps are completed successfully, WordPad will be installed on your PC.
If you don’t want to proceed with the above long steps, you can uninstall or install WordPad using Command Prompt.
How to Uninstall or Install WordPad Using the Command Prompt on Windows 10?
To uninstall WordPad from a Windows 10 PC or laptop, do the following:-
Step 1. Open Command Prompt with administrative privileges.
To open the Command Prompt with administrative privilege, click on the Start menu and type cmd.
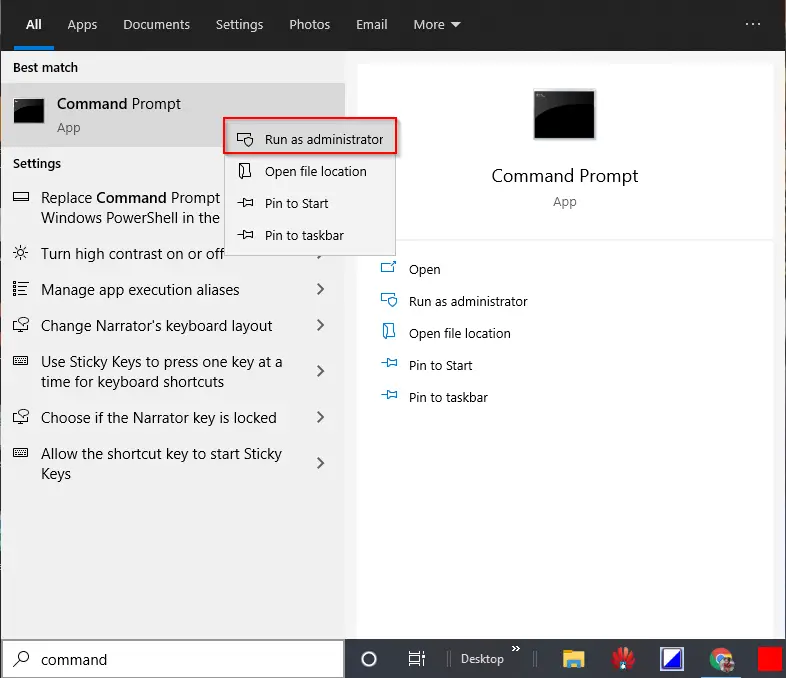
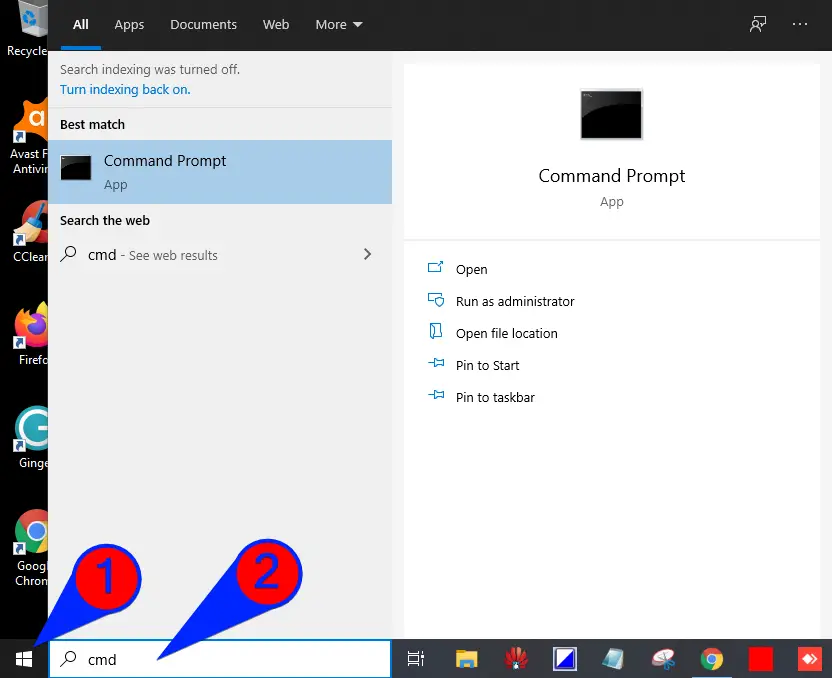 From the available results, right-click on the “Command Prompt” and select “Run as administrator” from the available options.
 Step 2. At the Command Prompt, type the following command to uninstall WordPad from the Windows 10 operating system:
dism /Online /Remove-Capability /CapabilityName:Microsoft.Windows.WordPad~~~~0.0.1.0
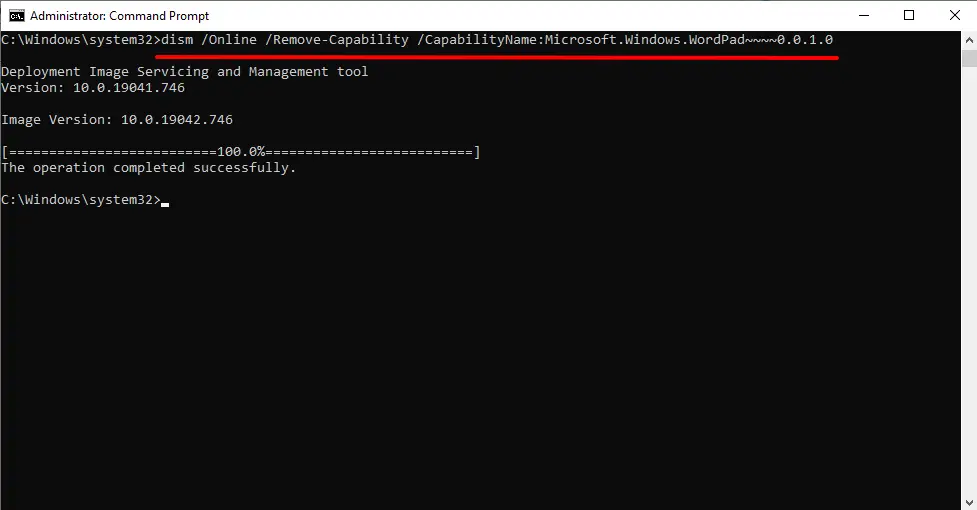 Step 3. Press Enter on the keyboard to execute the command line.
WordPad will be removed from your PC.
To install WordPad from a Windows 10 PC or laptop, do the following:-
Step 1. Open Command Prompt with elevated rights.
To open the Command Prompt with administrative privilege, click on the Start menu and type cmd.
From the available results, right-click on the “Command Prompt” and select “Run as administrator” from the available options.
Step 2. At the Command Prompt, type the following command to uninstall WordPad from the Windows 10 operating system:
dism /Online /Add-Capability /CapabilityName:Microsoft.Windows.WordPad~~~~0.0.1.0
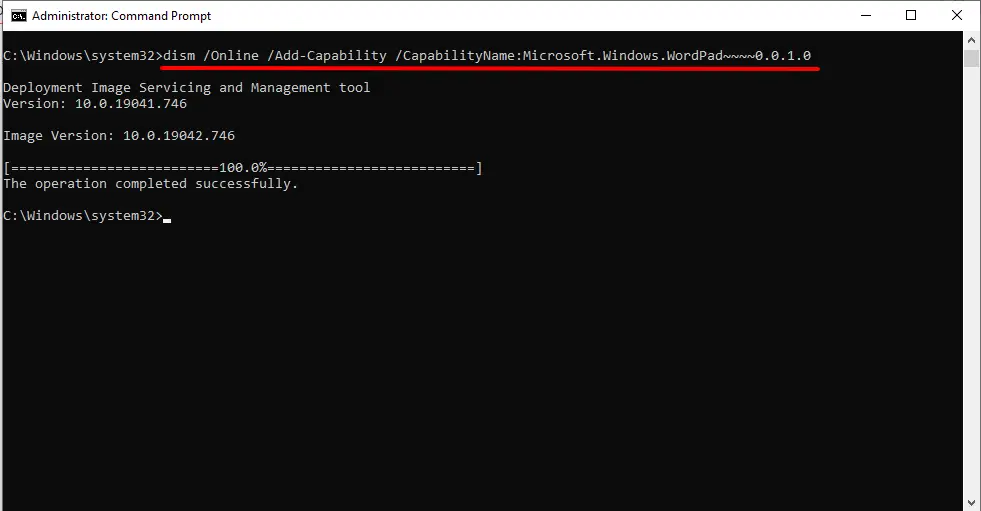
Step 3. Press Enter on the keyboard to execute the command line.
Once you have executed the above command, WordPad will be installed on your Windows 10 PC.
FAQs
Is WordPad still available in Windows 10?
Yes, WordPad is still available in Windows 10 as an optional feature. If it is missing, you can install it through the Optional Features section in the Settings app or by using a DISM command in Command Prompt.
Can I reinstall WordPad after uninstalling it?
Yes, WordPad can be reinstalled anytime. Just go to Settings → Apps → Optional features → Add a feature → Select WordPad → Install. You can also reinstall it using the DISM command.
Does uninstalling WordPad affect other Windows features?
No, uninstalling WordPad does not affect any other Windows apps or system components. It is completely safe to remove if you do not use it.
What is the difference between Notepad and WordPad?
Notepad is a simple text editor meant for plain text. WordPad supports font formatting, alignment, images, and basic document styling. However, it does not include advanced features like tables, grammar check, or themes.
Is WordPad free to use?
Yes, WordPad is a free built-in text editor included with Windows. You do not need a subscription or license to use it.
Can WordPad open MS Word (.doc or .docx) files?
WordPad can open simple .docx files, but formatting may break because it does not support advanced elements like tables, styles, or complex layouts. For full compatibility, MS Word or another full word processor is recommended.
Why is WordPad missing on my PC?
WordPad may be missing if it was manually uninstalled earlier or removed during a Windows update. You can reinstall it anytime using the Optional Features section in Settings.
Conclusion
In conclusion, WordPad is a text editing program included in the Windows operating system that offers more advanced features than the basic text editor, Notepad. While WordPad lacks the more complex functions of advanced word processing programs like MS Word, it can still be a useful tool for simple formatting and editing tasks. If you find that WordPad is redundant on your Windows 10 PC, you can easily uninstall it through the Settings app or Command Prompt. On the other hand, if WordPad is missing on your PC, you can install it again using the same methods. Overall, WordPad is a convenient tool for basic text editing tasks on Windows 10.