
When upgrading from an older version of Windows to Windows 10, the local user account is automatically transferred. However, during a clean installation of Windows 10, a local user account must be created in the installation process. If you would like to add a new local user account to your Windows 10 PC, this guide will walk you through the steps.
Many users share the primary administrator account with others instead of creating separate accounts for each user. However, this is a bad practice and can compromise the security of your PC. For security reasons, it is essential to create a secondary account for yourself, so you are not always logged in with administrator privileges, which can greatly increase your machine’s security.
Creating separate local accounts for your children or other users also allows them to configure their settings and have their own user files, documents, images, and more. This ensures that everyone has their own personalized experience and can keep their data and settings separate from others who may use the same PC.
How do I configure my new local user account on Windows 10?
Follow these steps to configure my new local user account on Windows 10:-
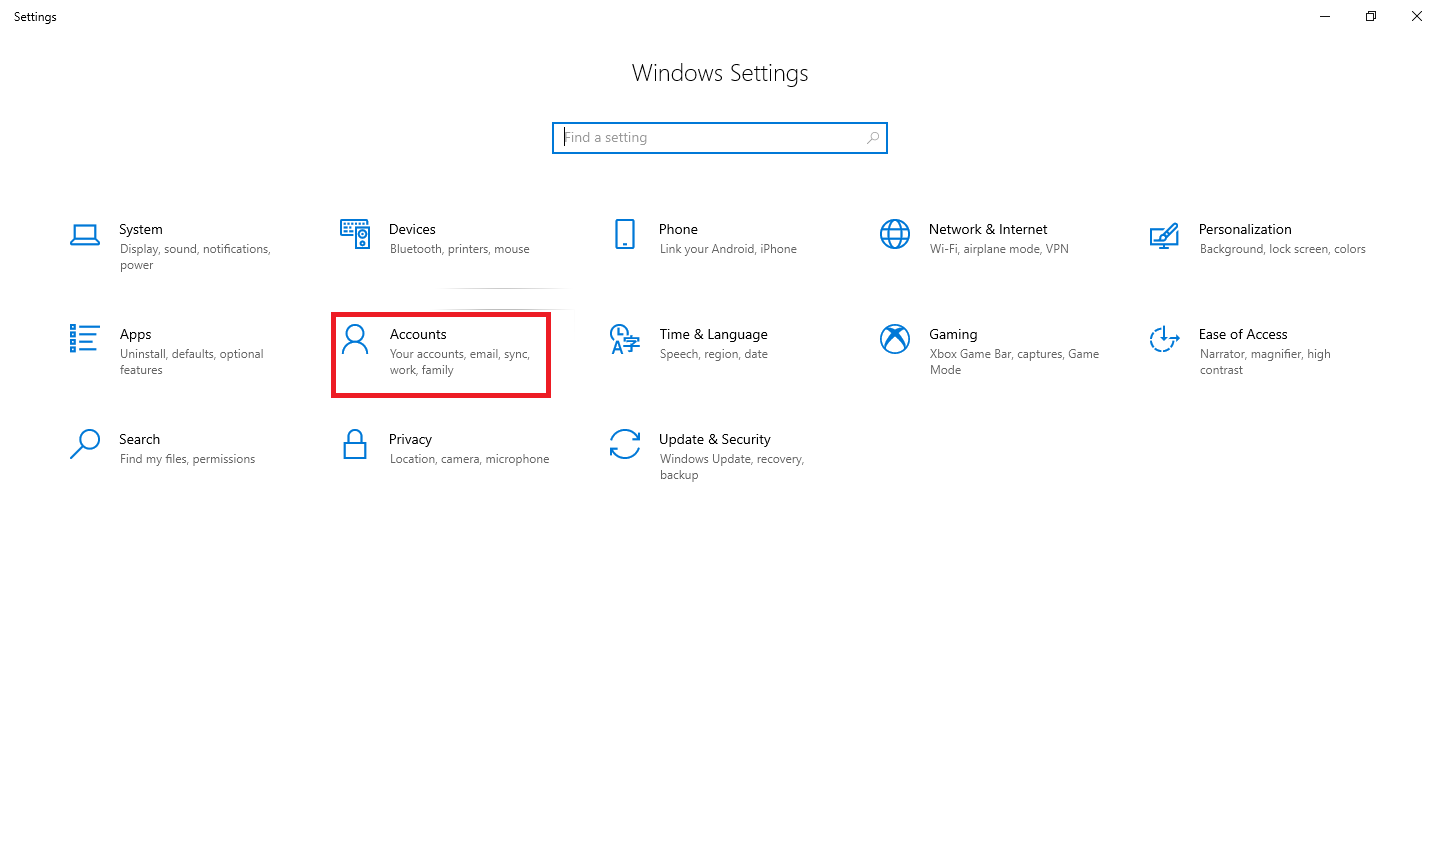
Step 1. Press Windows + I to view the Settings application, and then click Accounts.
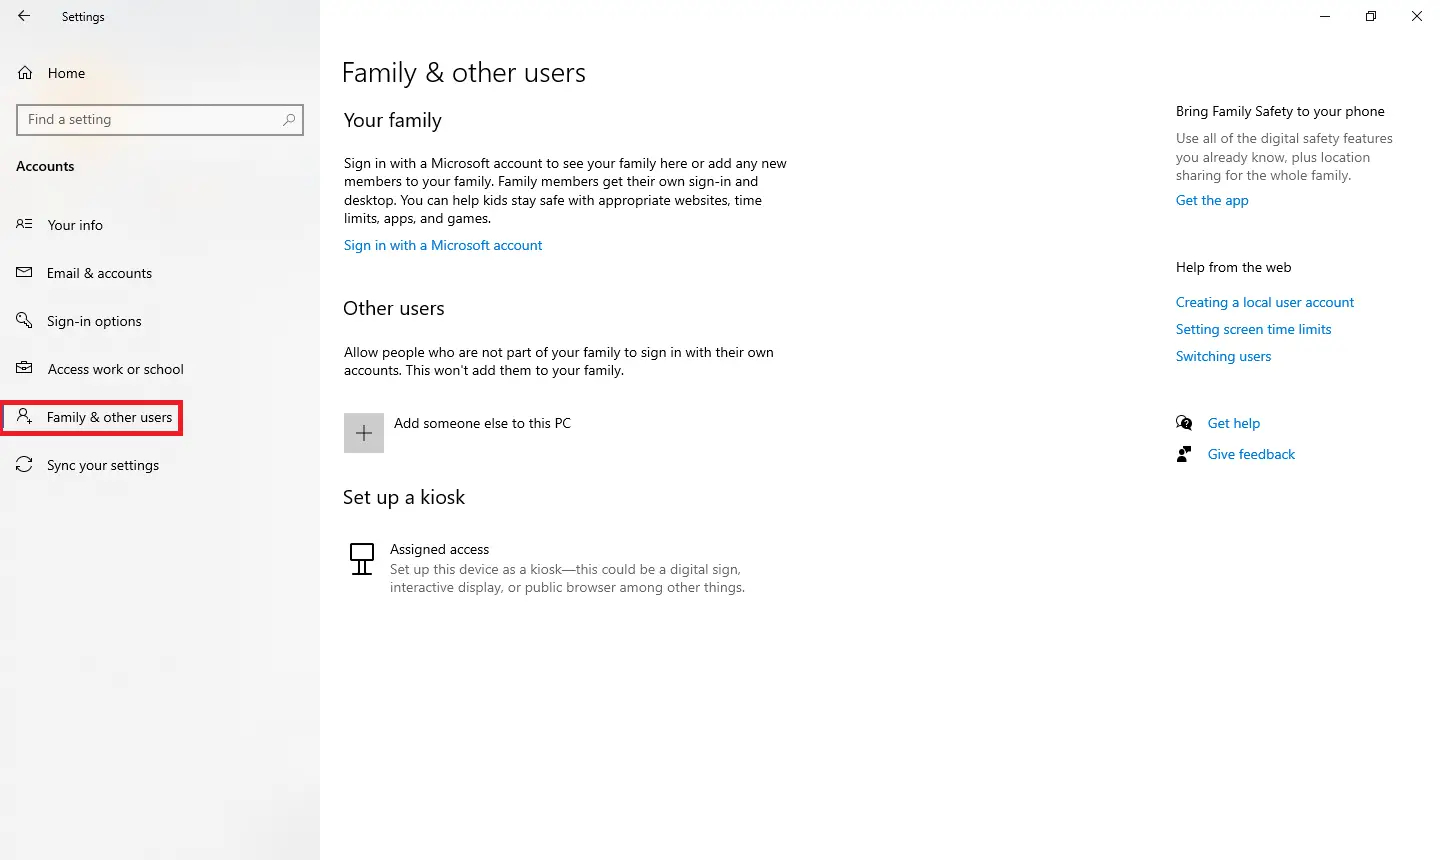
Step 2. From the Accounts page, open the “Family and other users” tab.
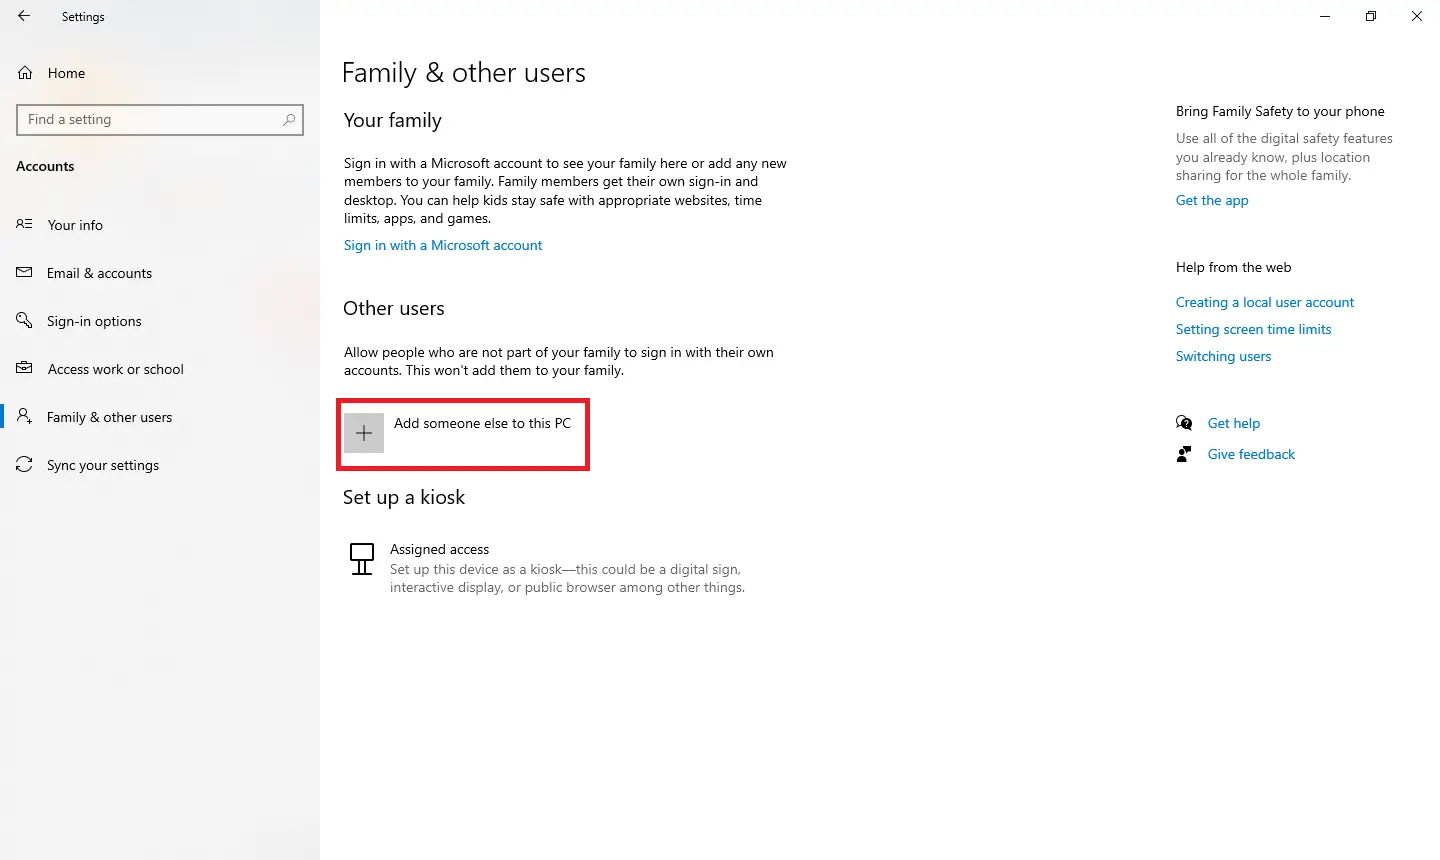
 Step 3. From the right-side pane, click the “Add someone else to this PC” button.
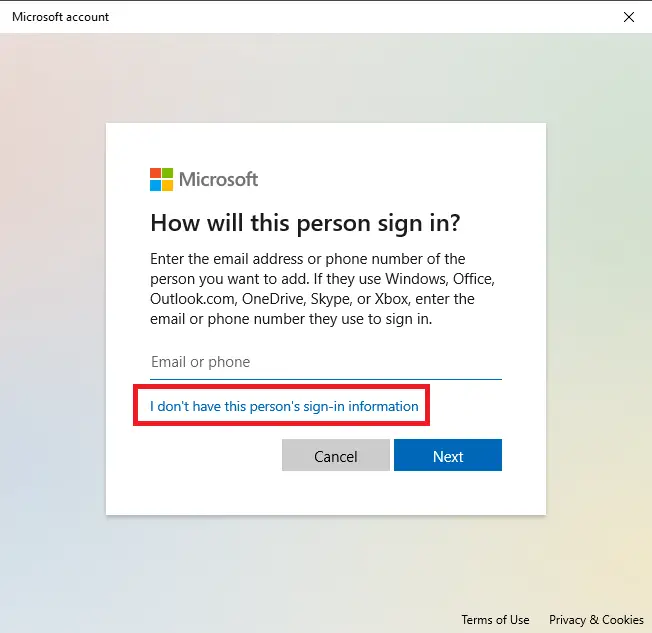
 Step 4. In the Microsoft Account window that pops up, you will be directed to create a Microsoft Online account. Ignore the invitation to provide an e-mail or phone number; click on the “I do not have this person’s login information” link at the bottom of the page.
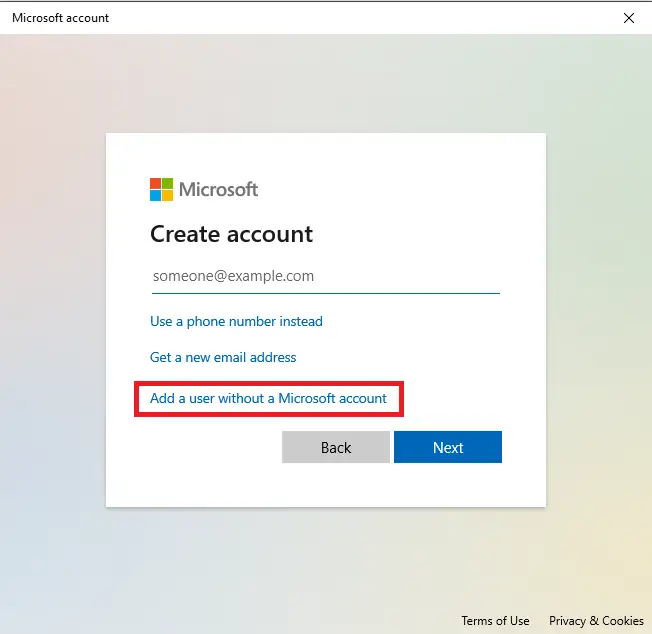
 Step 5. On the next page, Windows will offer you to create an online account. Again, ignore everything and click on the ‘Add a user without a Microsoft account‘ link at the bottom of the page.
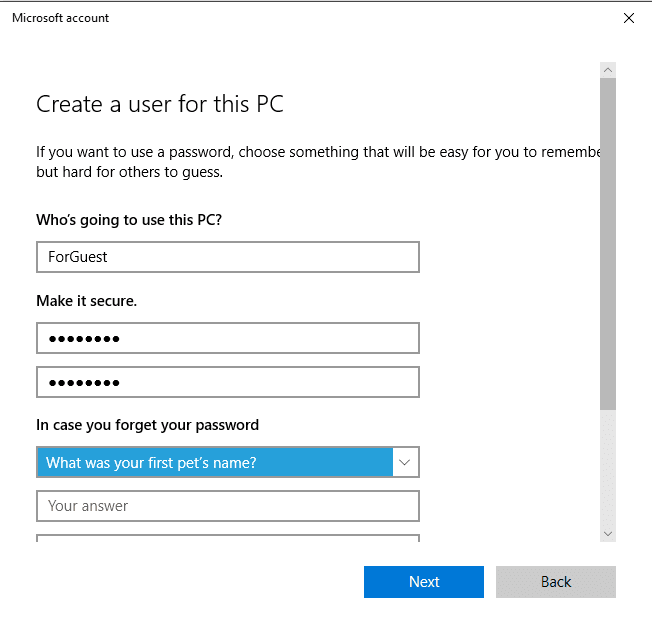
Step 6. Enter a username, password, confirm the password, set three security questions and answers, and then click on the Next button.
 Step 7. Clicking the “Next” button will lead you to the previous “Family and other users” window. This will show you that your new account is listed. The first time someone logs in using the account, Windows will create user folders and complete the setup.
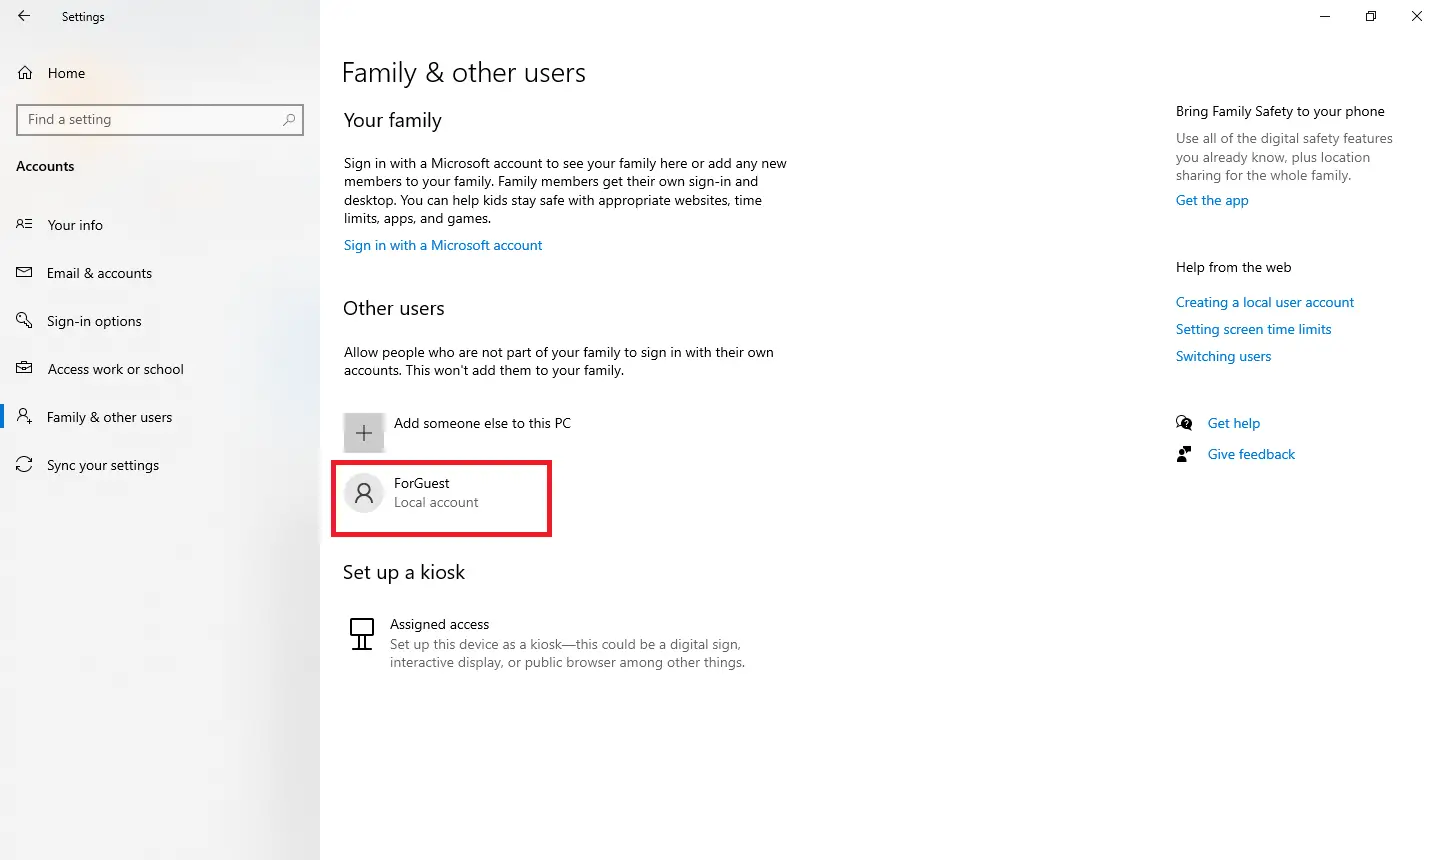 By default, your local user account is set to a limited account, which means that it cannot install apps or make administrative changes to the machine. If you wish to give admin privileges, click on the user account.
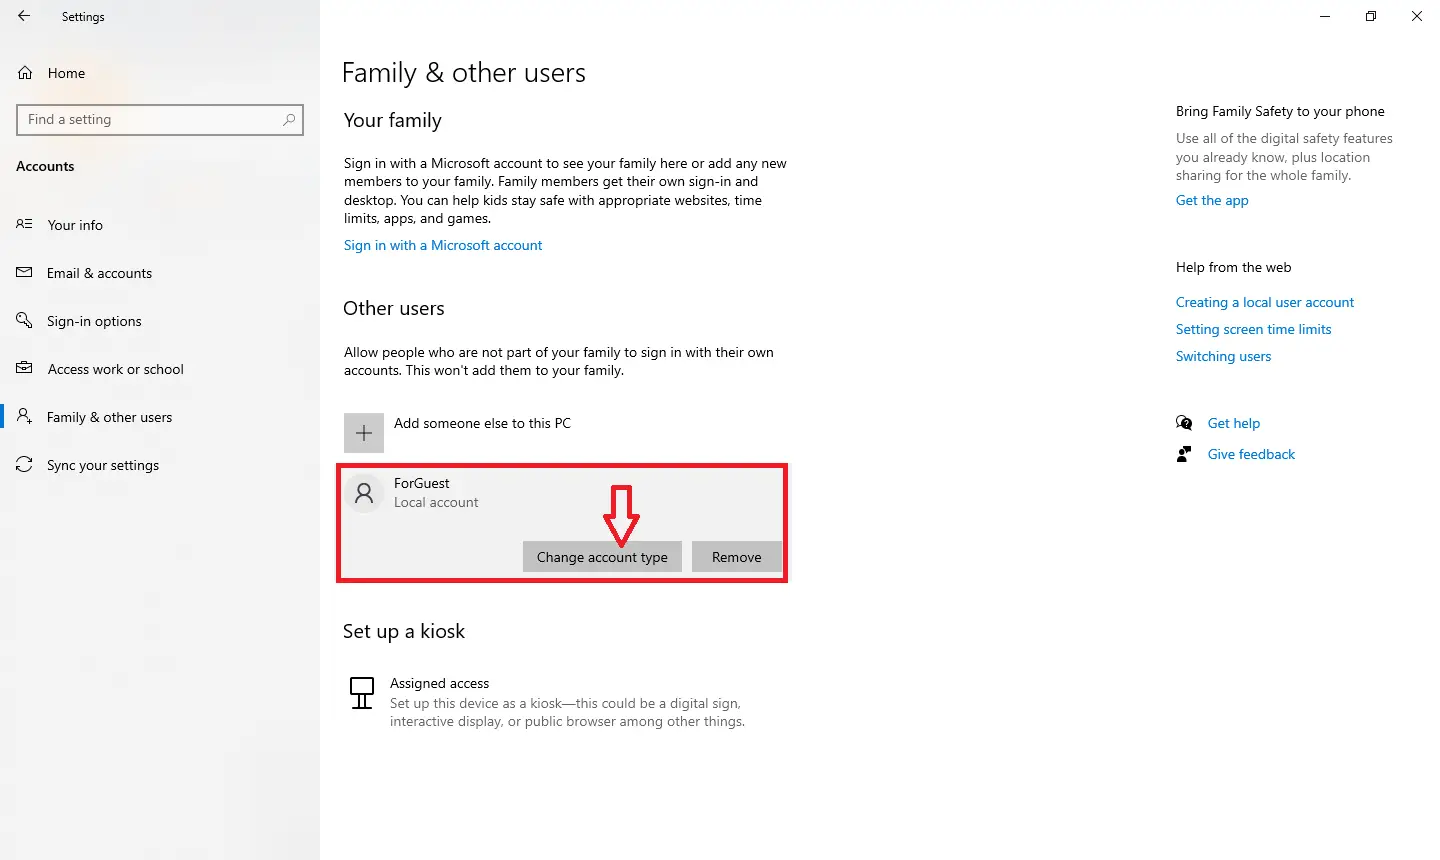
Click on the “Change account type” button to view the next window:-
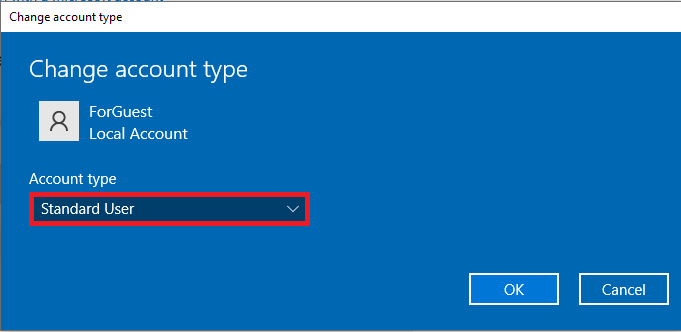
You can change the Standard User account to an Admin account from there.
FAQs
Do I need a Microsoft account to create a user in Windows 10?
No. Windows 10 allows you to create a local account without linking it to a Microsoft account by choosing the “Add a user without a Microsoft account” option.
Can a local account be converted to an administrator account?
Yes. After creating a local account, you can change its account type to Administrator through Settings under Family > Other users.
Will creating a new local user affect my existing files?
No. Each local user account gets its own folder structure, documents, and profile. No files are shared automatically unless you manually share them.
Is it safer to use a standard local account instead of an administrator account?
Yes. Using a standard account for daily tasks helps prevent unauthorized system changes and reduces security risks.
Can children use a local account without supervision?
Yes, but you can optionally convert the account into a child account under Family options for better control and monitoring.
Conclusion
In conclusion, creating a new local user account in Windows 10 is a simple and essential step for improving the security of your computer. By following the steps outlined in this guide, you can easily add a new user account and give other users the freedom to personalize their settings and files. It is always recommended to create a separate user account for your children or other users to maintain privacy and protect your data.