
When you wake your Windows 11 PC from Sleep, Modern Standby, or Hibernate, it prompts you to sign in. This behavior enhances security by preventing unauthorized access in your absence. However, if you’re the sole user of the PC and consider this feature unnecessary, Windows 11 provides options to disable it.
Windows 11 supports various low-power states, including Sleep and, if supported by your hardware, a faster mode known as Modern Standby. These modes allow your PC to resume more quickly than from a full shutdown. In this post, we will explore multiple methods to manage or disable the sign-in prompt after waking from these power states.
How to Disable Password Prompt on Wakeup in Windows 11?
There are a lot of methods available to disable the password on wakeup in Windows 11. However, we will only review those that are easy to use and serve the purpose. The easiest way to disable the password prompt on wakeup in Windows 11 is through the settings app.
Step 1. Open the Settings app by pressing the Windows + I shortcut keys on the keyboard.
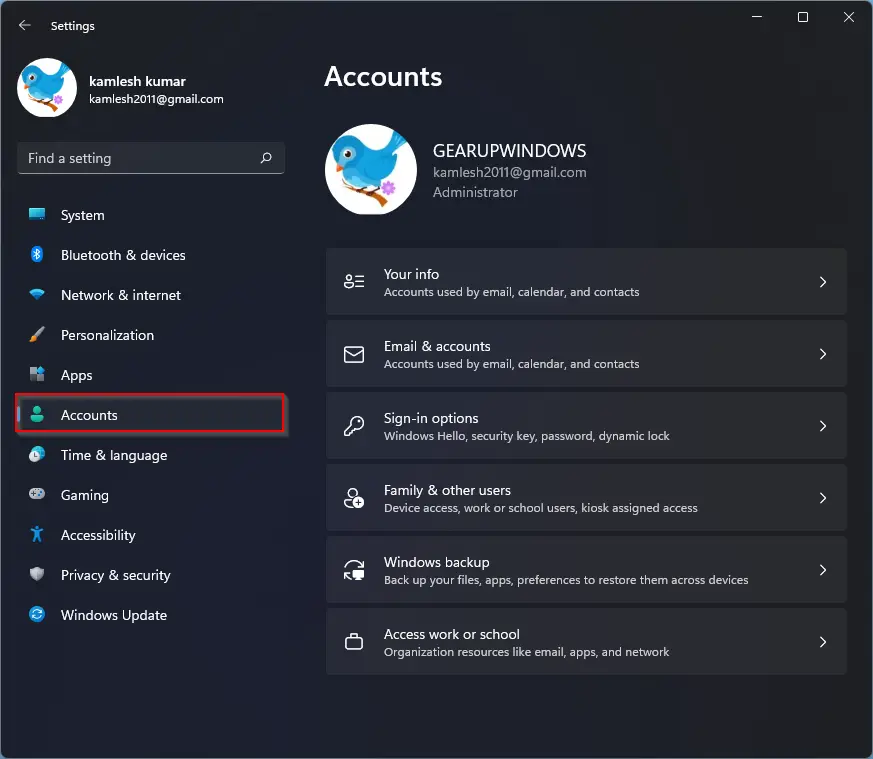
Step 2. Click on the Accounts category from the left sidebar in the Settings window.
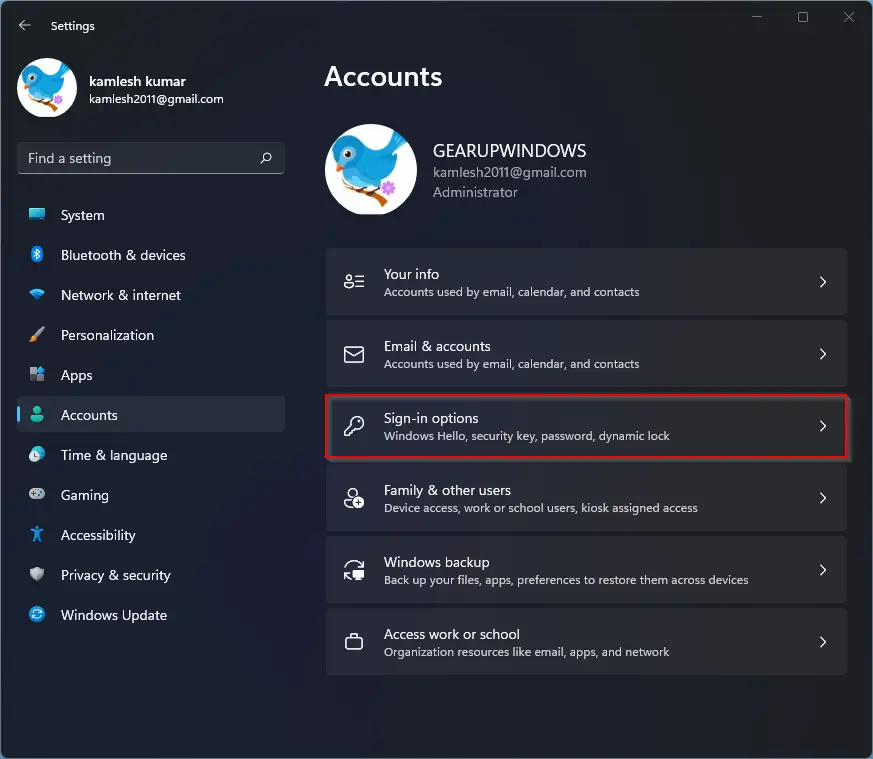
Step 3. On the right side of Accounts, click on the Sign-in options.
Step 4. On the right side, scroll down to see the option “If you’ve been away, when should Windows require you to sign in again?” in the Additional settings section. Select the Never option from the drop-down menu.

That’s it. Depending on the hardware, you may see several options here. If your device supports Modern Standby, you can choose the wake-up option from Every Time, 1 minute, 3 minutes, 5 minutes, or 15 minutes. The default option is Every Time, which means you have to enter your password every time you wake up your device.
Note: It is essential to mention that this option is specific to the current user account. That means these changes do not apply to other user accounts that are created on your PC. If you want to set this policy for all users, you need to repeat it for every user account on your computer.
How to Check if Your Windows 11 PC Supports Modern Standby?
If you would like to check if your Windows 11 computer supports modern standby, perform the following steps:-
Step 1. Open Windows Terminal with administrative privileges.
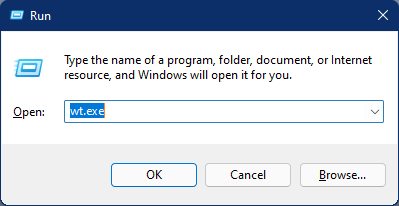
To do that, open the Run dialog box using the Windows + R keys on the keyboard. In the Run box, type wt.exe and then press Ctrl + Shift + Enter on the keyboard.
Step 2. In the Windows Terminal (PowerShell or Command Prompt), type the following command and hit Enter on the keyboard:-
powercfg -a
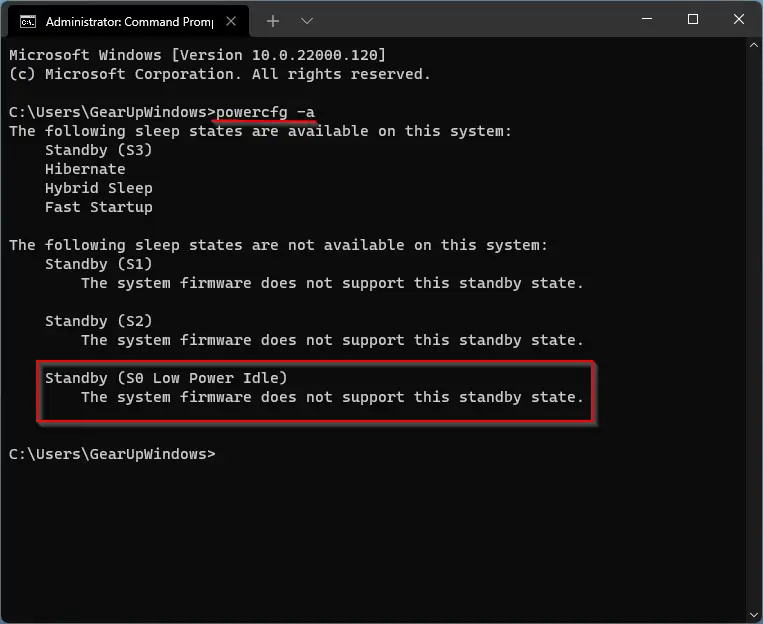
In the output, find the value for Standby (S0 Low Power Idle) Network Connected or Standby (S0 Low Power Idle) Network Disconnected lines. If one of them says “Available,” then your computer supports Modern Standby. Unfortunately, mine doesn’t support this feature.
How to Enable or Disable Wakeup Password in Windows 11 for all User Accounts?
Using Group Policy, you can enable or disable the wake-up password in Windows 11 for all user accounts on your computer. But the Local Group Policy Editor tool is available on Windows 11 Pro, Enterprise, and Education editions only. It is not available in Windows 11 Home Edition.
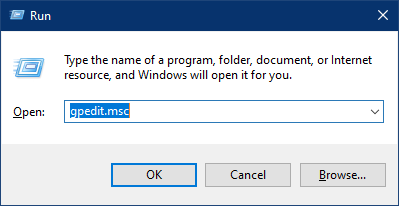
Step 1. Open Local Group Policy Editor (gpedit.msc).
To do that, press the Windows + R keys on the keyboard to launch the Run dialog. In the Run, type gpedit.msc and hit Enter on the keyboard.
Step 2. In the Local Group Policy Editor window that opens, navigate to the following path from the left sidebar:-
Computer Configuration > Administrative Templates > System > Power Management > Sleep Settings
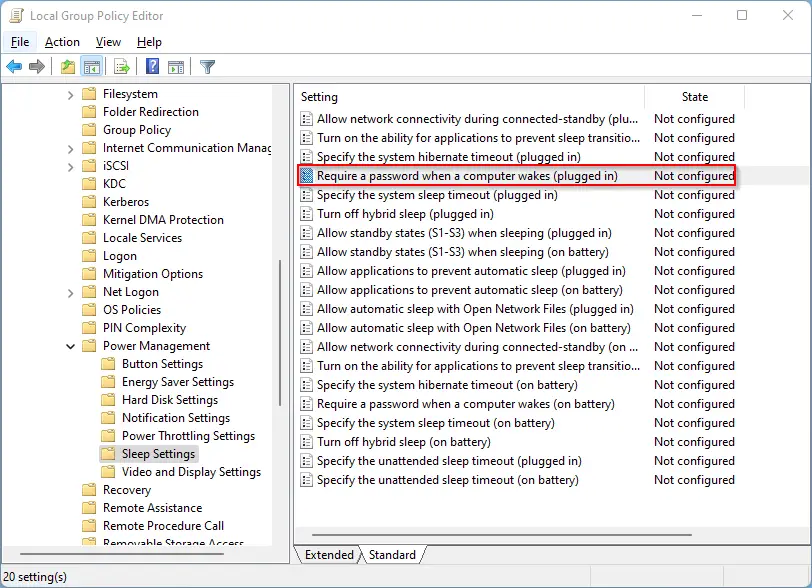
Step 3. On the right of the Sleep Settings folder, look for the policy name Require a password when a computer wakes (plugged in) and double-click on it to open it.

Step 4. Select Disabled.
Step 5. Click Apply.
Step 6. Click OK.
Step 7. Now, look for the policy on the same path with the name Require a password when a computer wakes (on battery).
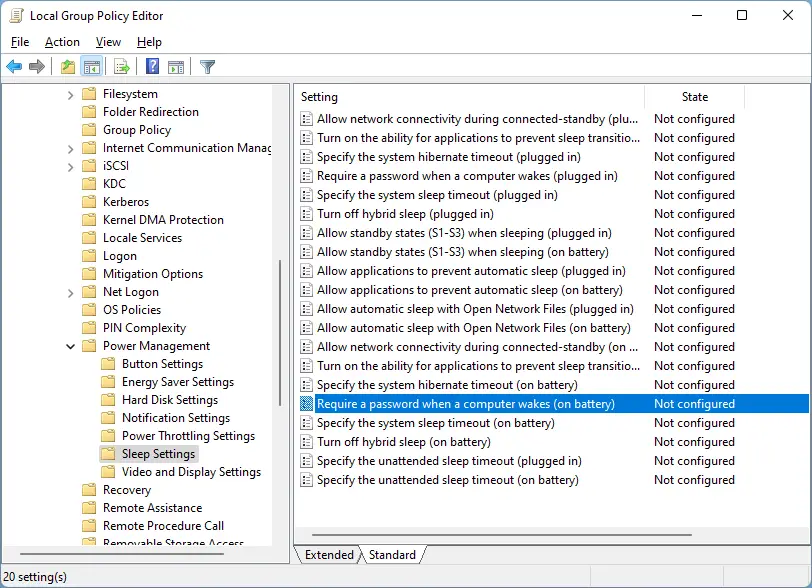
Step 8. Double-click on the policy name “Require a password when a computer wakes (on battery)” to open its settings and then select the Disabled option.
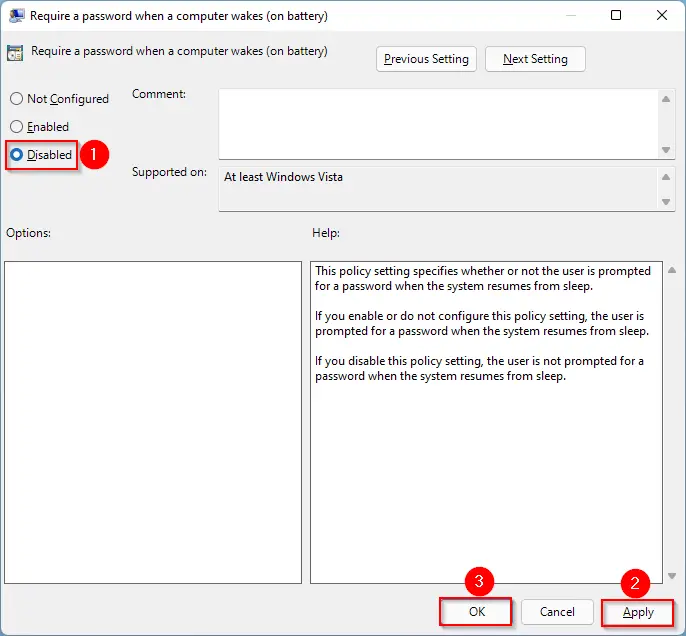
Step 9. Click Apply.
Step 10. Click OK.
Step 11. Restart or reboot your computer.
That’s it. If you set the option to “Enabled,” your computer will force all users to sign in with a password on wake-up. Now, the corresponding values in the Settings app will be grayed out, and users will be unable to change them. If you want to remove the requirement of passwords when your PC wakes from sleep, in both policies, select the option “Not Configured.”
Those Windows users using the Home edition of Windows 11 can enable the Group Policy Editor (gpedit.msc) before applying the above changes.
How to Turn On or Off Require Sign-in on Wakeup using Registry?
To turn on or off, require Sign-in on Wakeup using Registry, do the following steps:-
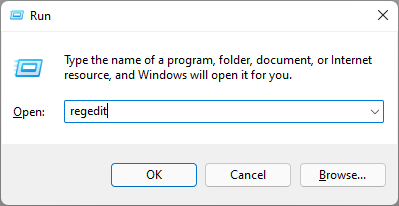
Step 1. At first, press the Windows + R keys on the keyboard to invoke the Run dialog box.
Step 2. Then type regedit in the text box and hit the Enter button.
If the UAC prompt appears on your screen, click on the Yes button to open the Registry Editor on your computer.
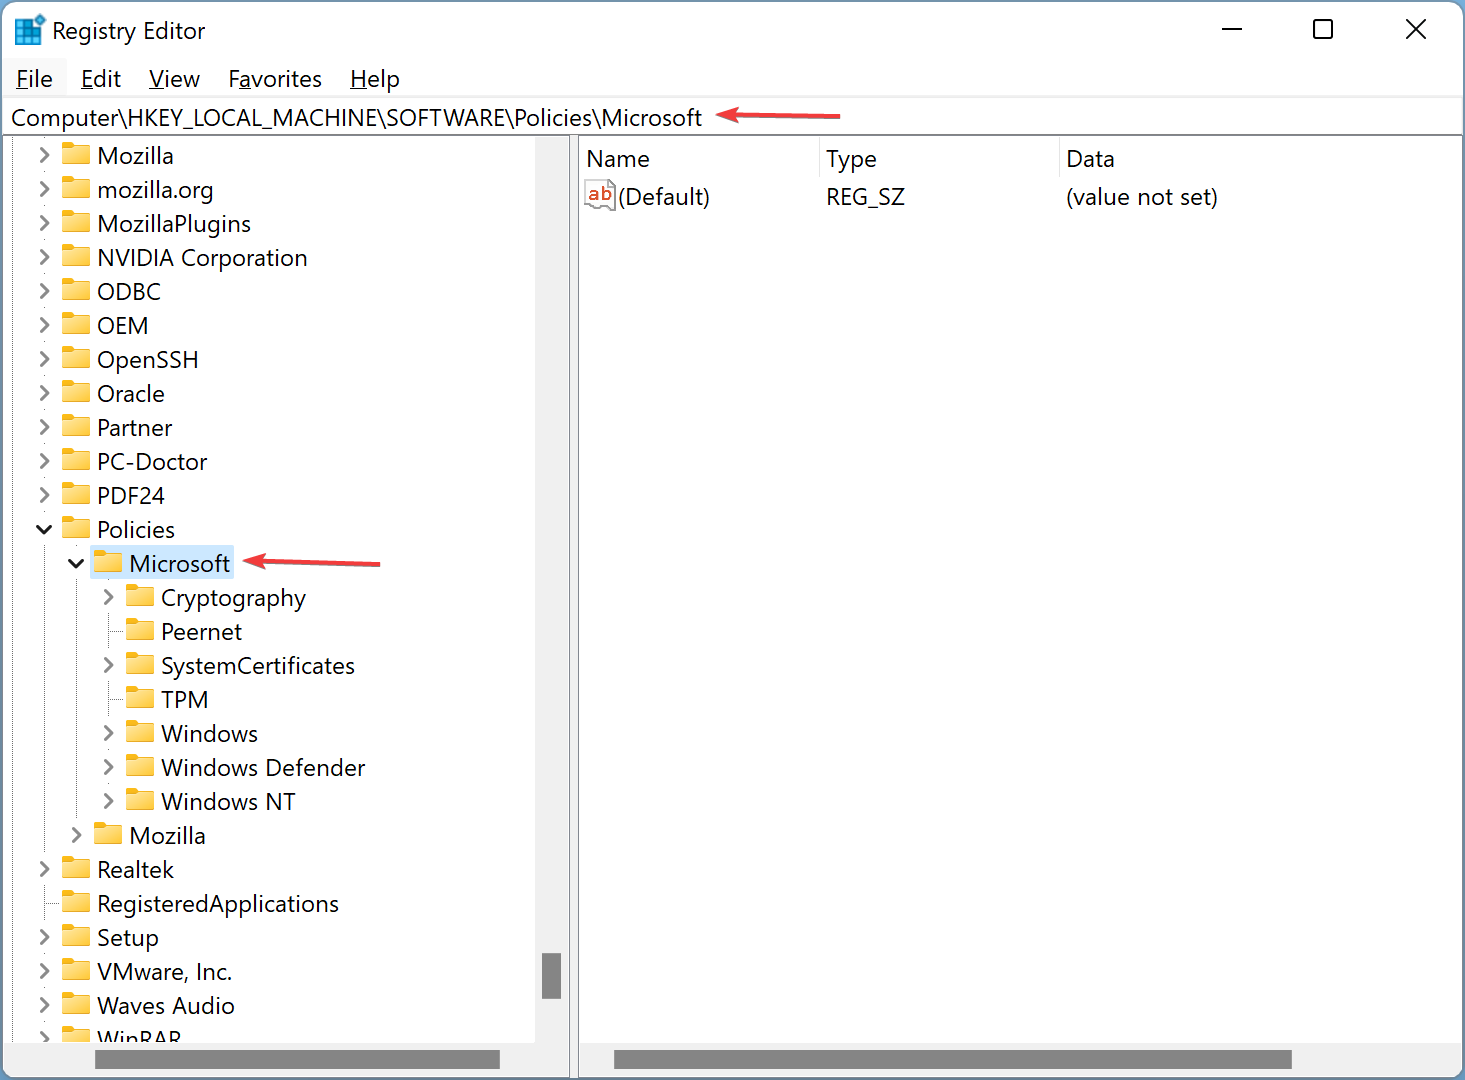
Step 3. When Registry Editor opens, navigate to this path in the left sidebar:-
HKEY_LOCAL_MACHINE\SOFTWARE\Policies\Microsoft
Step 4. After that, please right-click on the Microsoft key and select the New > Key option.
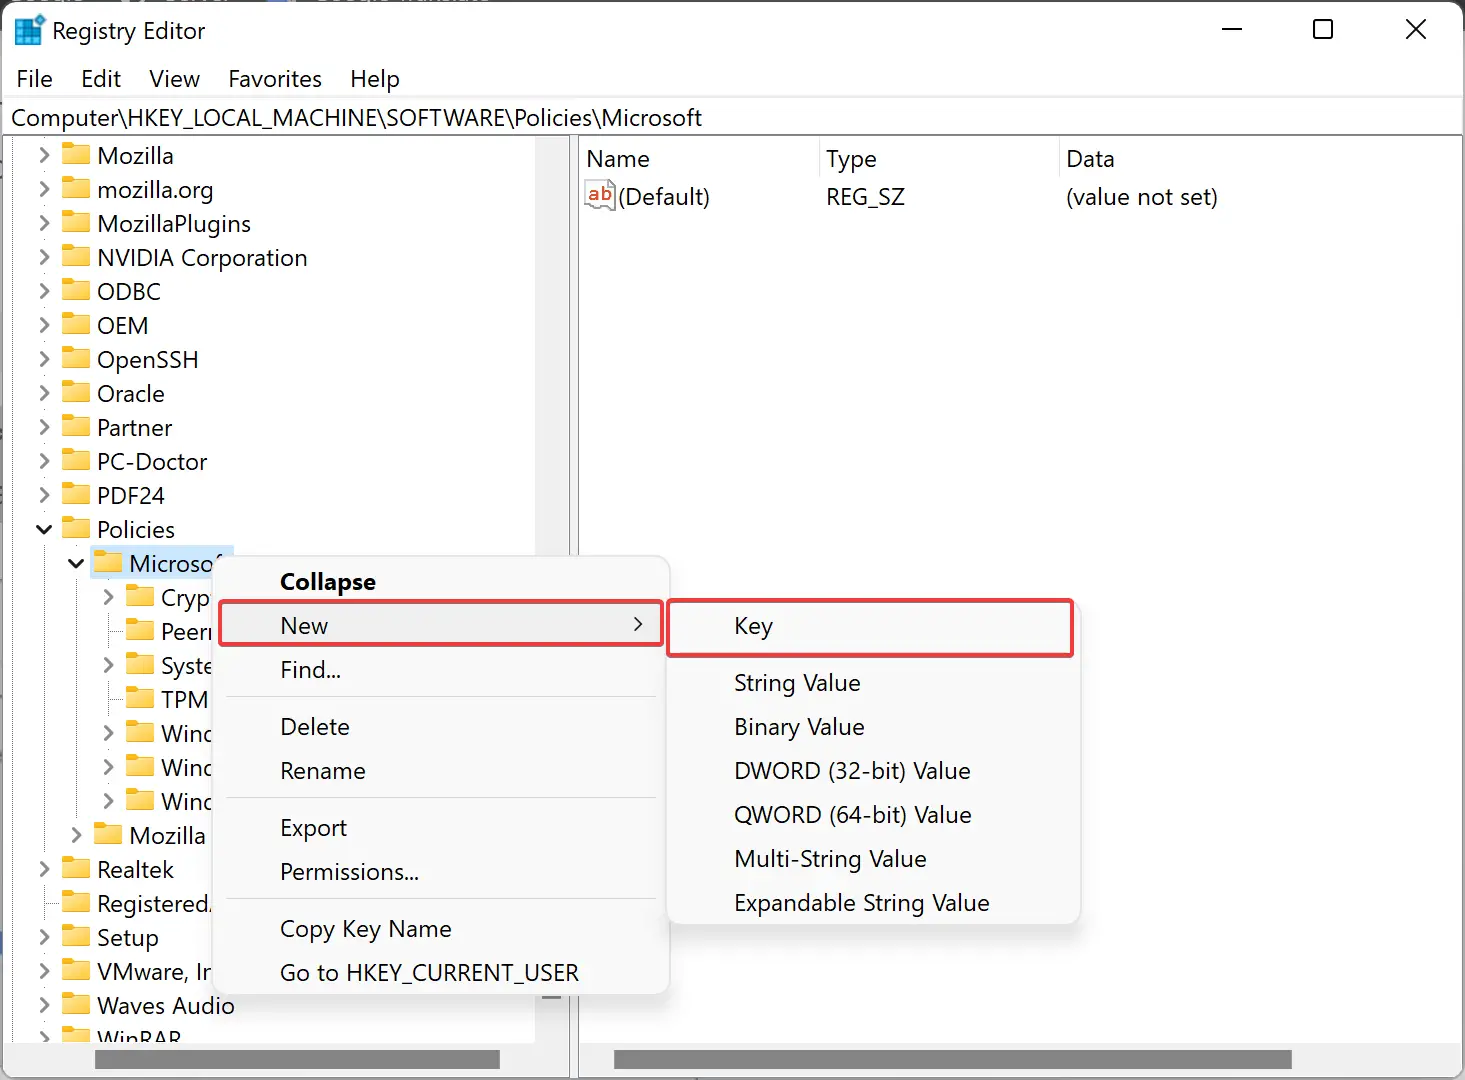
Step 5. Then, name it Power. Then, please right-click on the Power key and choose the “New > Key” option. Rename it as PowerSettings.
Step 6. Next, right-click on the PowerSettings key, choose New > Key from the context menu, and name it as:-
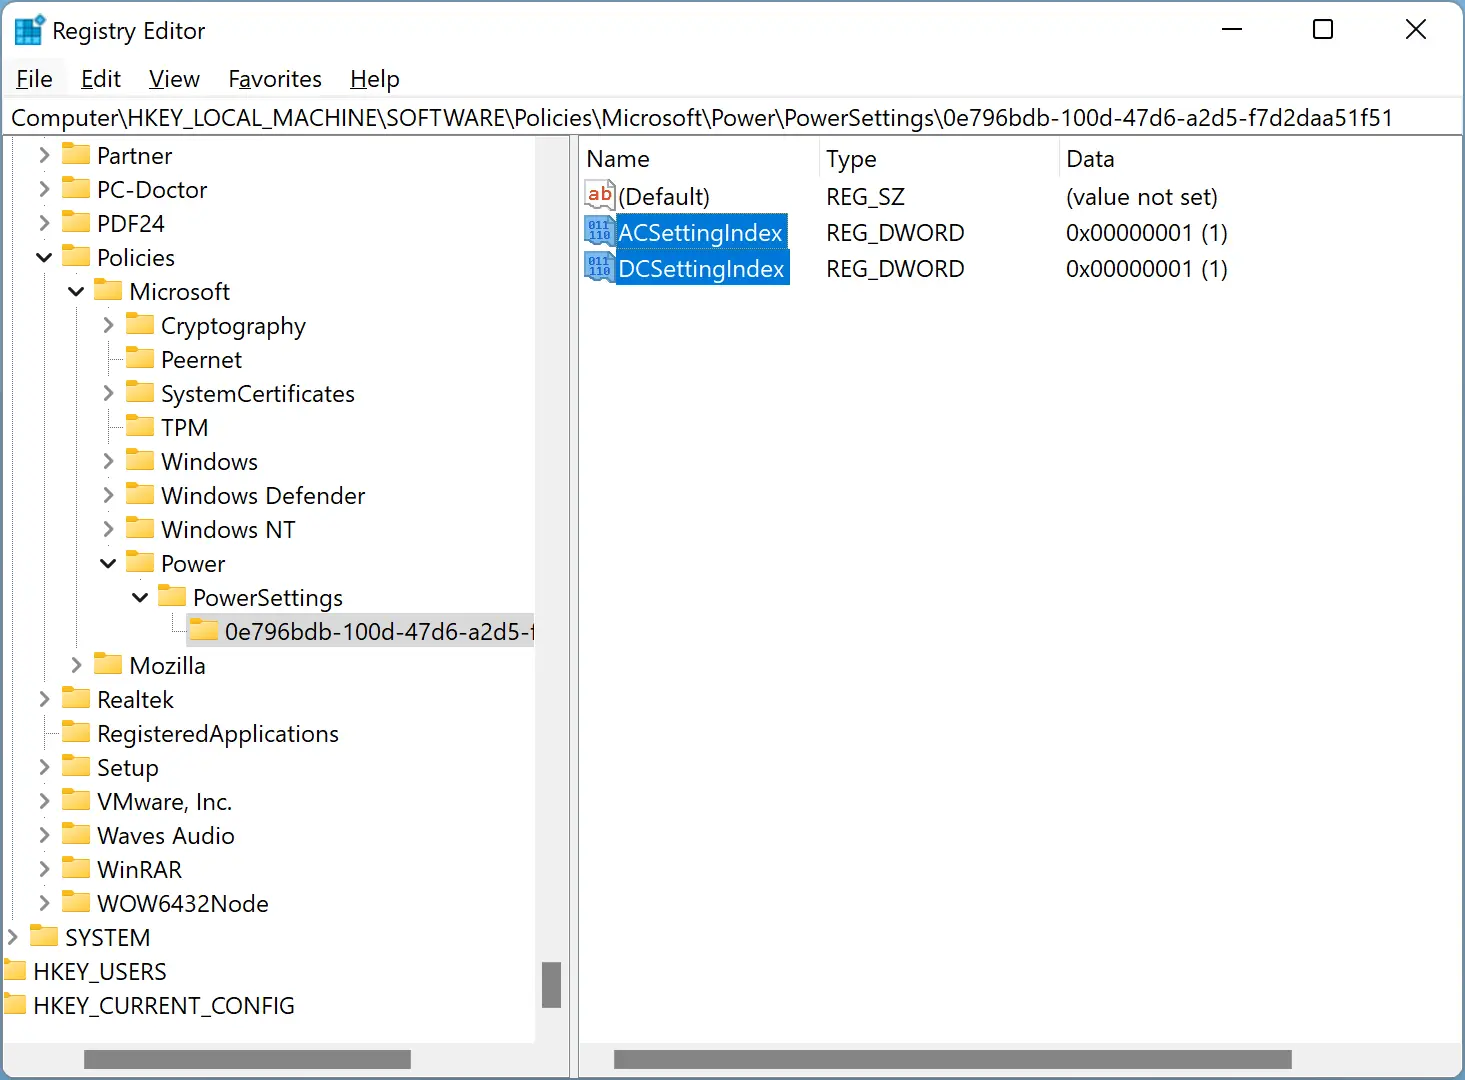
0e796bdb-100d-47d6-a2d5-f7d2daa51f51
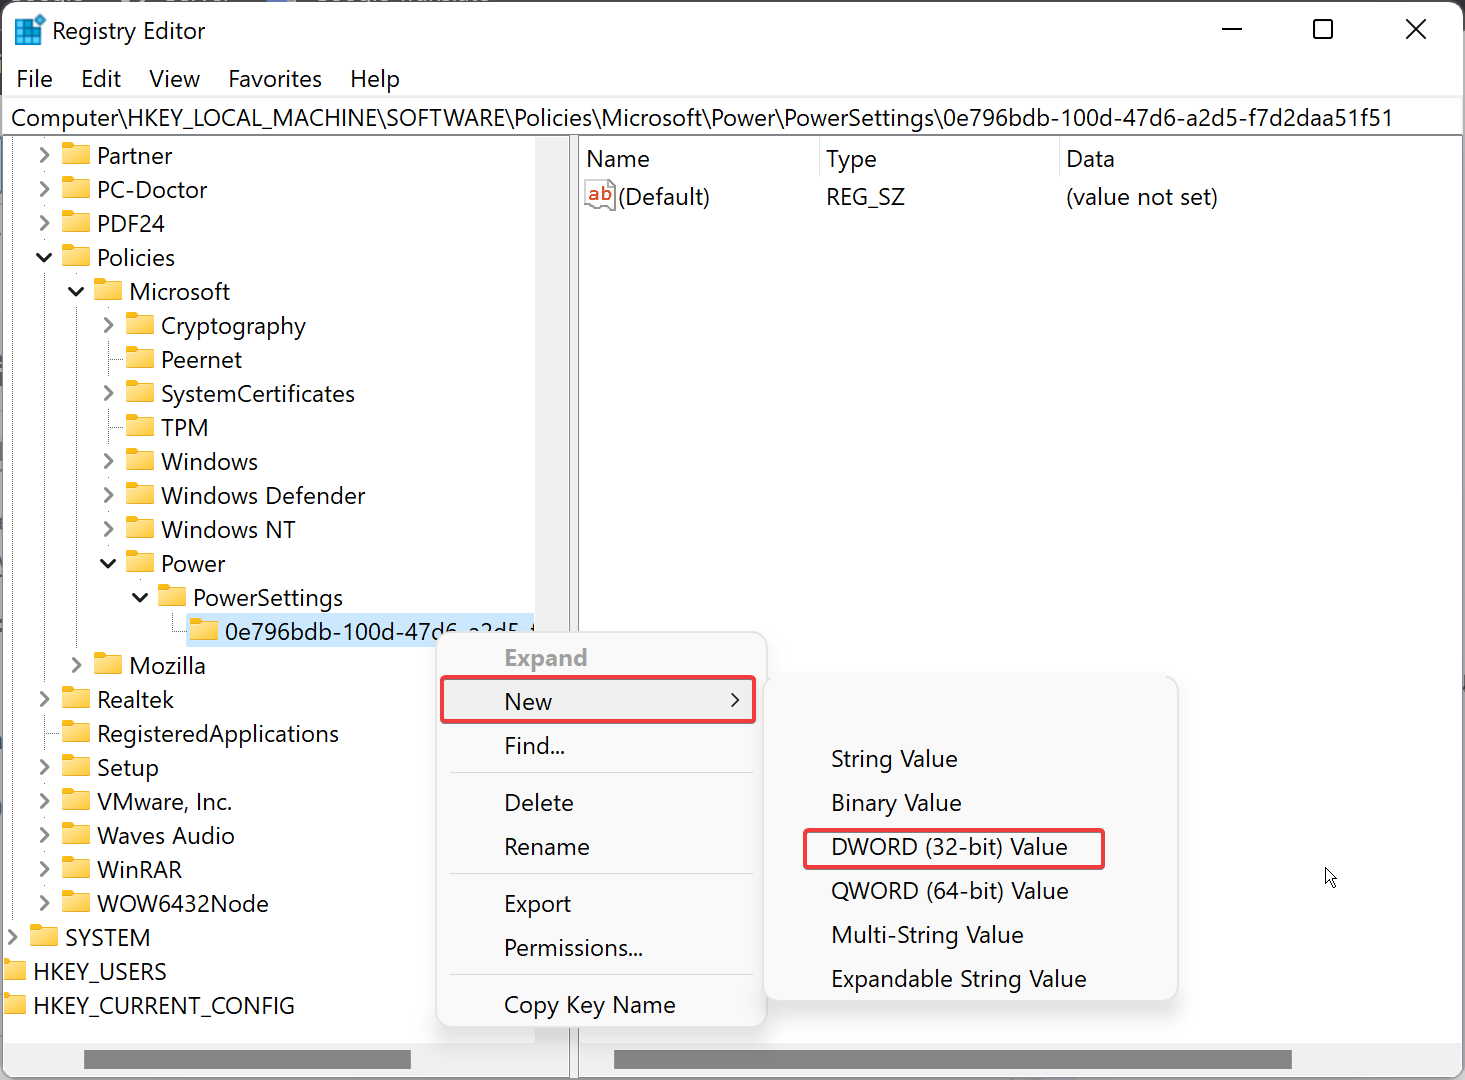
Step 7. Now, right-click on 0e796bdb-100d-47d6-a2d5-f7d2daa51f51 and select New > DWORD (32-bit) Value.
Step 8. Then, name that as ACSettingIndex.
Step 9. After that, double-click on the ACSettingIndex and enter 1 in the “Value data” field.

Step 10. Click OK.
Step 11. Again, right-click on 0e796bdb-100d-47d6-a2d5-f7d2daa51f51 and select “New > DWORD (32-bit) Value.”
Step 12. Name it as DCSettingIndex.
Step 13. Then, double-click on the DCSettingIndex and enter 1 in the “Value data” field.
Step 14. Click OK to store the changes. Now it should look something like what we highlighted in the screenshot below.
Once you have completed all the steps mentioned above, you need to restart your computer to get the changes.
Conclusion
In conclusion, Windows 11 offers various methods to disable the password prompt on wakeup, making it more convenient for users to access their devices. While the feature enhances security by preventing unauthorized access, users can disable it if they’re the sole users of the PC or don’t find it necessary. The easiest method to disable the password prompt is through the Settings app. However, users can also use the Group Policy Editor or Registry to disable the feature. Moreover, users can check if their computer supports Modern Standby using the Windows Terminal. Overall, Windows 11 provides users with options to customize their devices and enhance their user experience.