
Have you ever noticed that Windows 11/10 is not assigning a drive letter to an external drive? When you connect any external removable USB hard disk or flash drive, Windows should automatically assign a drive letter to its partitions. But it does not go through. When you remove the drive from your PC, you will also notice that the drive letter is not released automatically, which you have assigned manually. Further, when you connect a drive to your PC, a message does not appear indicating that a new device is installed. Although the external driver appears in the device manager, Windows doesn’t assign any letter to external HDD partitions.
This is a frustrating moment, as Windows should automatically assign a drive letter, but you have to give a drive letter for an external HDD drive manually. To manually assign a drive letter, you need to go through the Disk Management console. To do this, open the Computer Management console by pressing Windows + X shortcut keys and then go to the Storage section > Disk Management. Then, in the list of drives, locate the connected removable USB drive. Next, right-click on the partition and select Change Drive Letter and Path. Is it possible for novice users to go through these steps every time they connect an external USB hard drive to a PC? At least for me, I can not repeatedly afford to go through disk management to assign a drive letter to a USB drive when we connect it to my computer.
Why is my Windows 11/10 PC not assigning Drive Letters Automatically to External Drives?
A lot of reasons may be behind not assigning a drive letter to an external USB HDD or SSD. We recommend checking the following:
- Check if Virtual Disk is enabled.
- See if Automatic Mounting of New Volume is enabled.
- Ensure to disable Hidden and No Default Driver Letter.
How to Enable Virtual Disk in Windows 11/10?
If the Virtual Disks service is turned off on your computer, you may face several disk issues, including letters not being assigned to external disks. Hence, you need to enable it while troubleshooting your Windows. To ensure the Virtual Disk service is running on Windows 11/10, follow these steps:
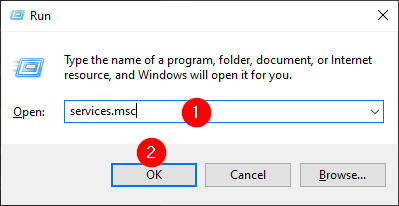
Step 1. Open Services Manager.
To do that, press the Windows + R keys on the keyboard. When the Run dialog box opens, type services.msc and then click OK.
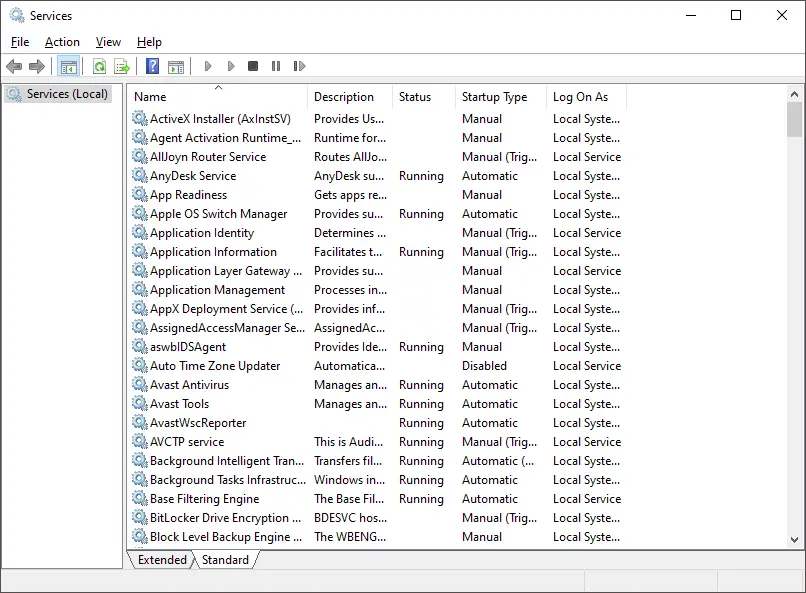
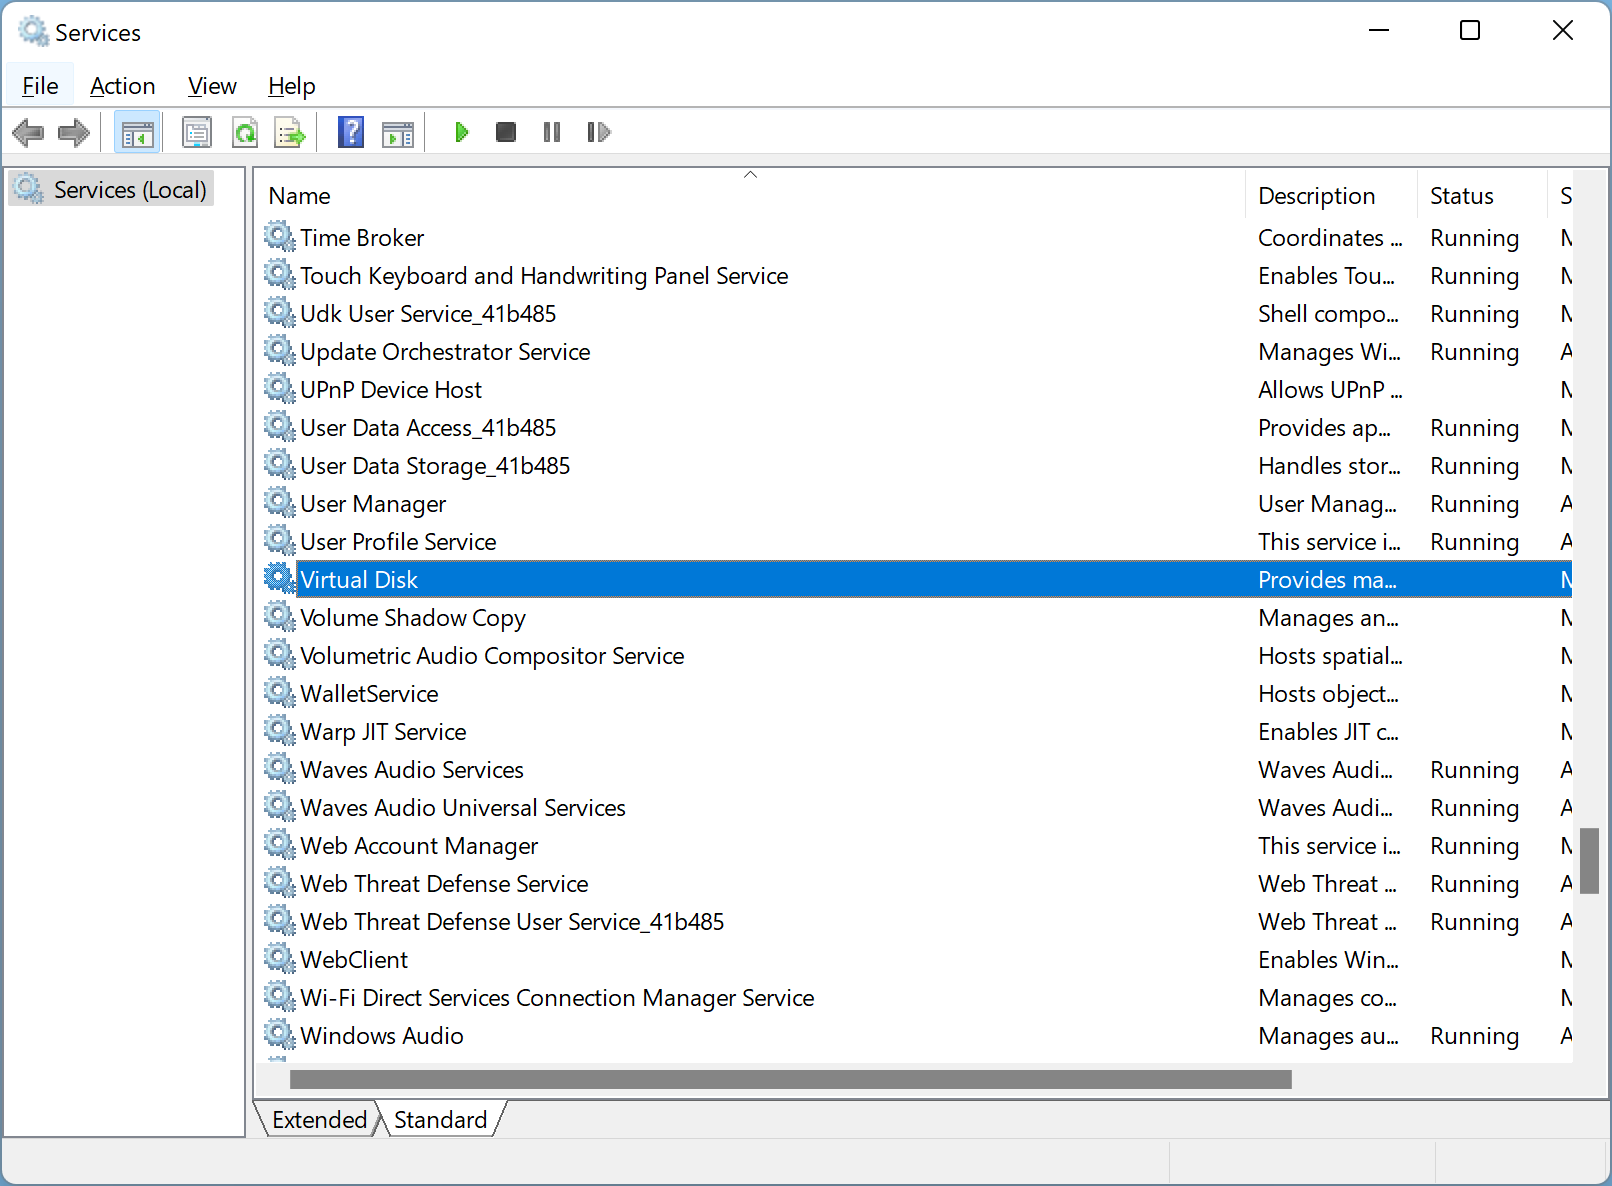
Step 2. When Windows Services opens, look for the Virtual Disk service.
Step 3. Make a right-click on it, and select Properties.
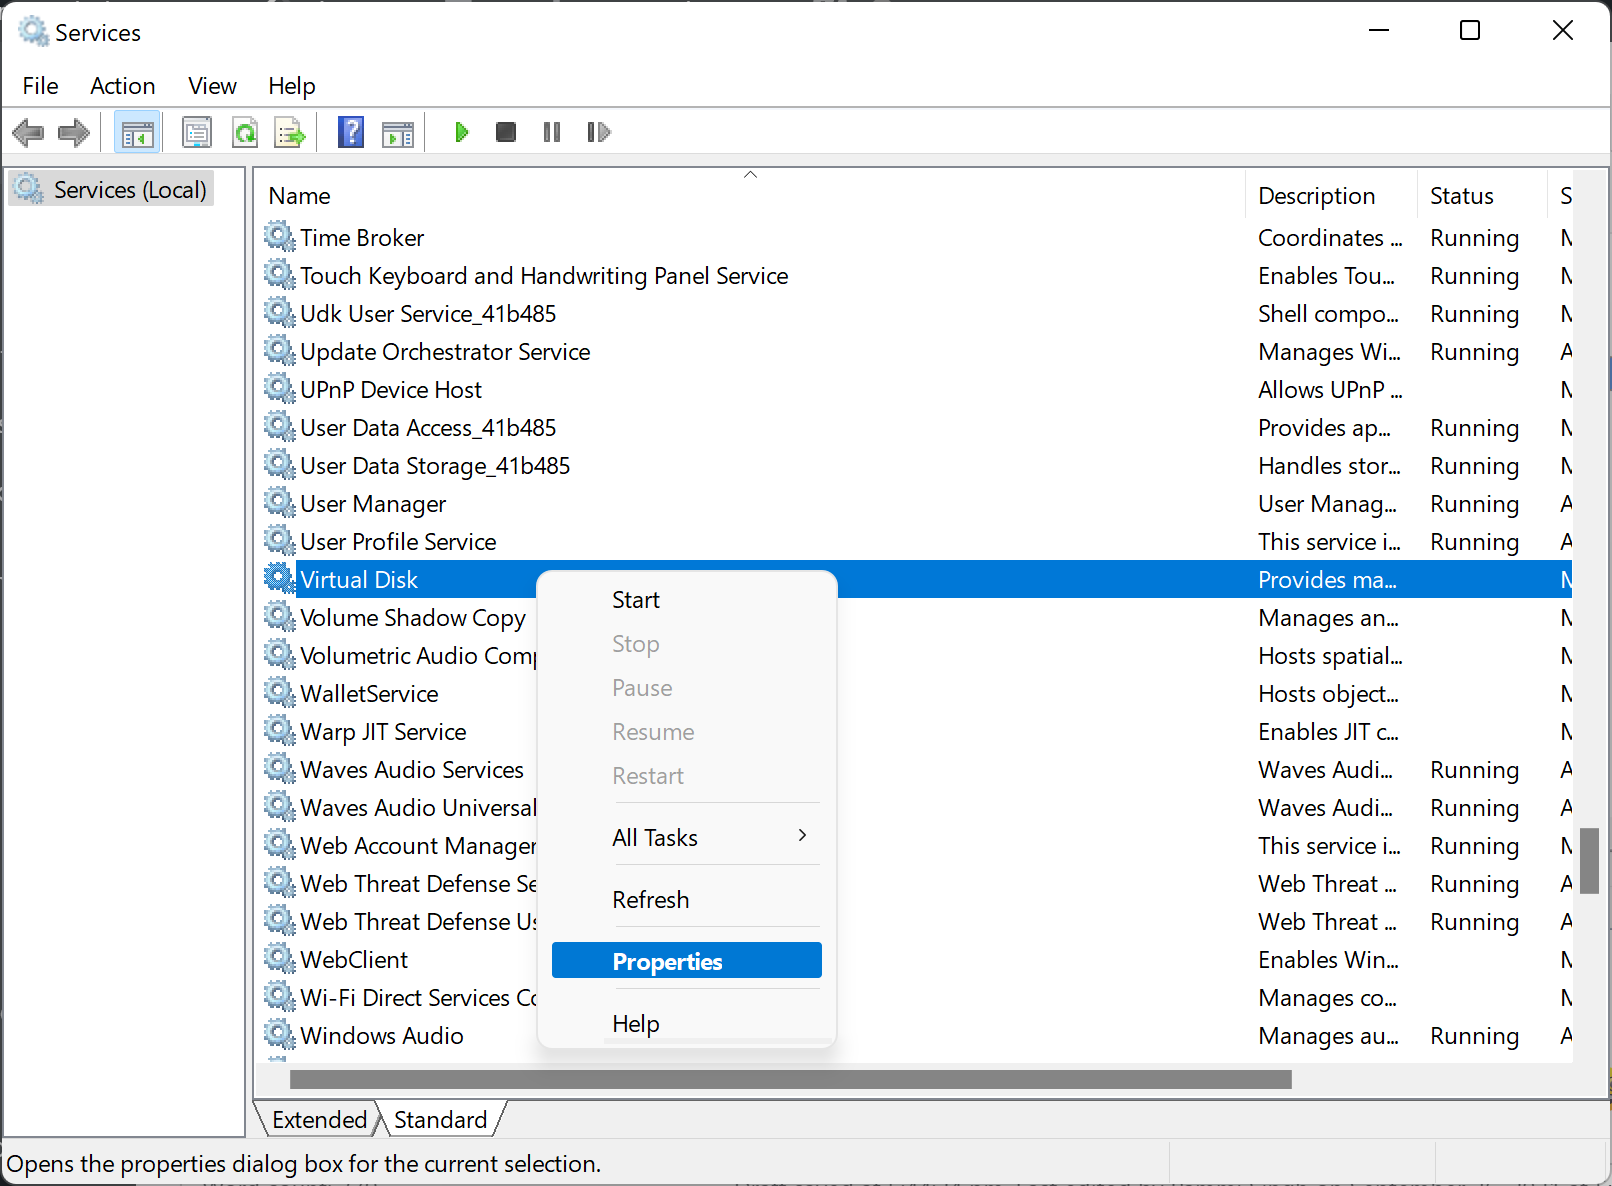
Step 4. Click the Start button if you see the service is stopped.
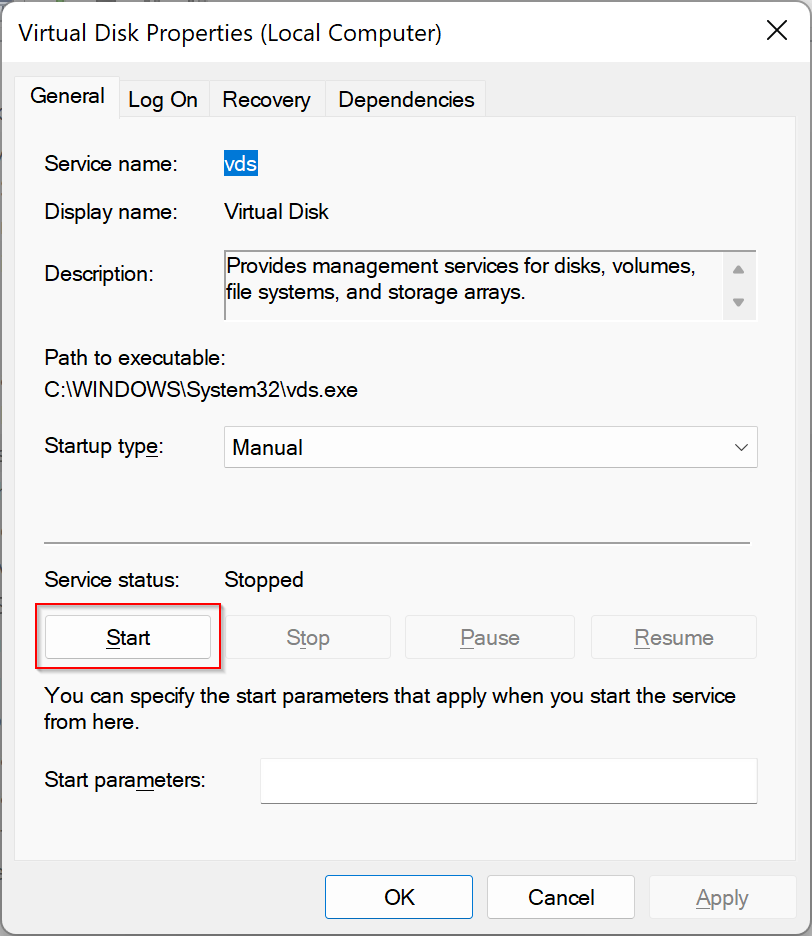
Step 5. Then, click the Apply / OK button.

If you prefer to use Command Prompt to stop or start a service on Windows PCs, we have an alternate way to perform the above steps:
Step 1. Open the Command Prompt with administrative rights.
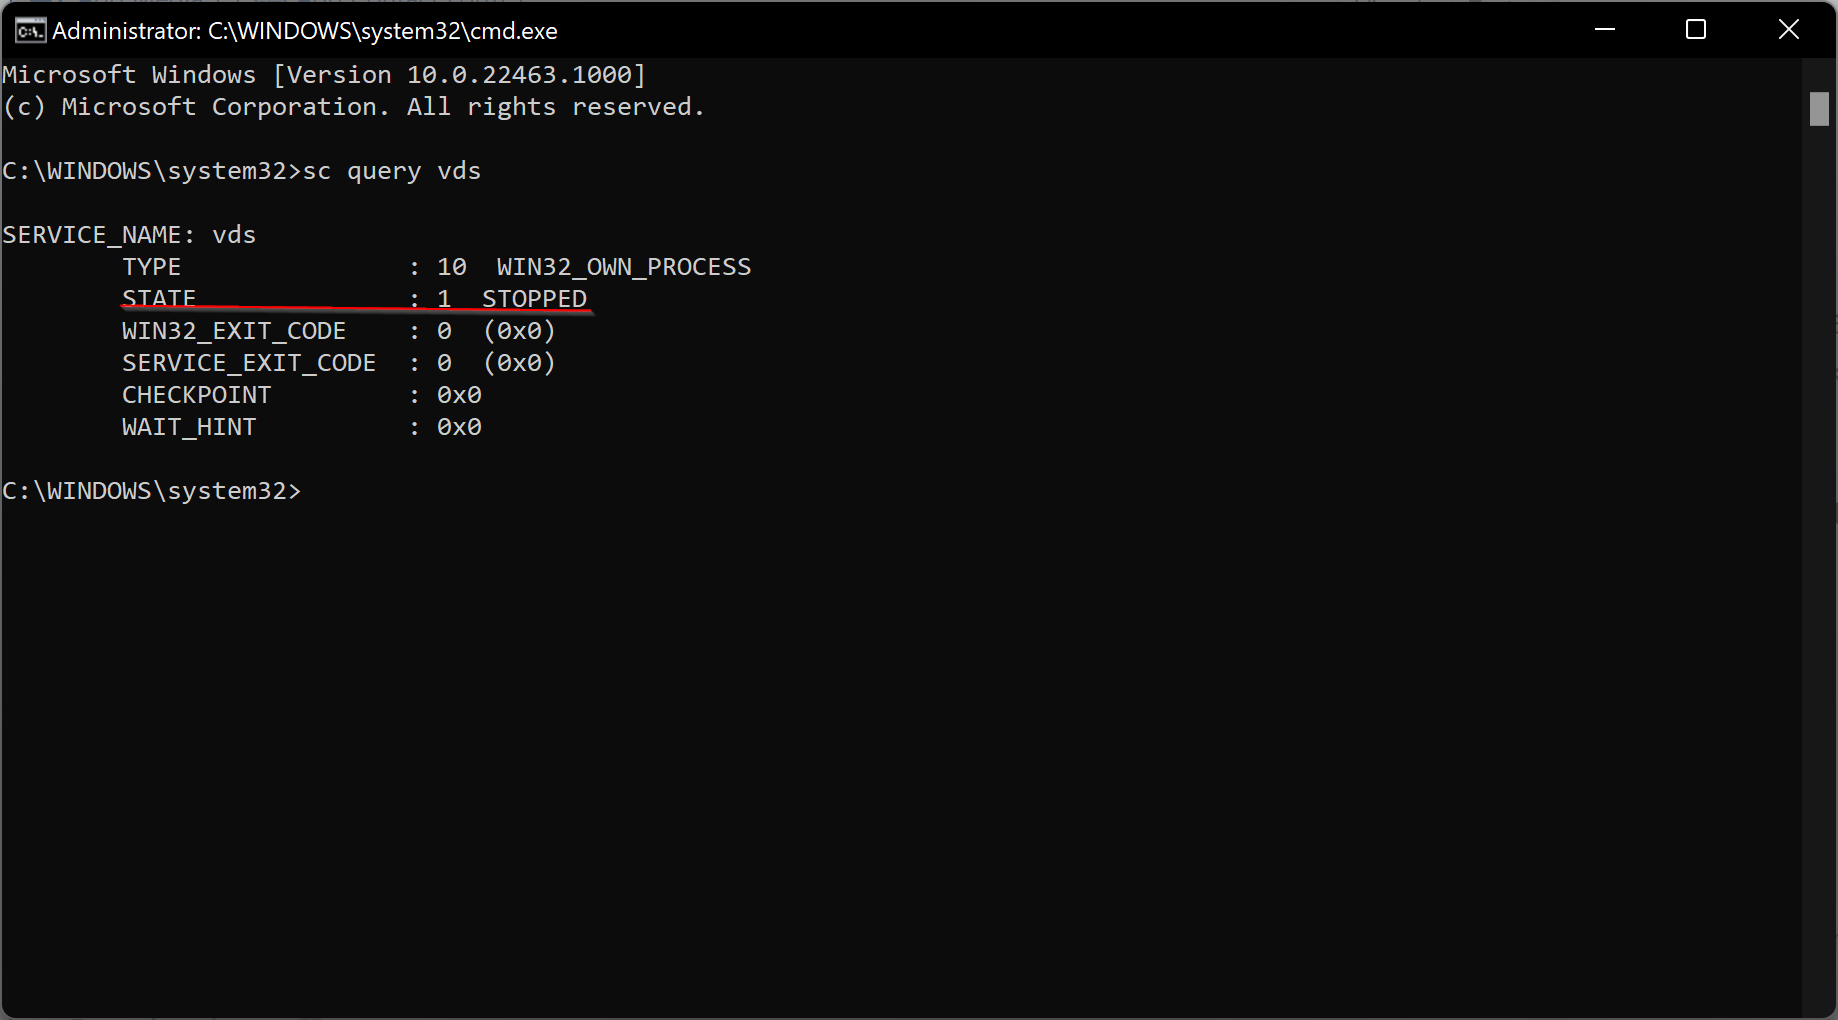
Step 2. When the elevated Command Prompt opens, check the state of the service by typing and pressing the following command. If you read it as stopped, then you need to enable it.
sc query vds
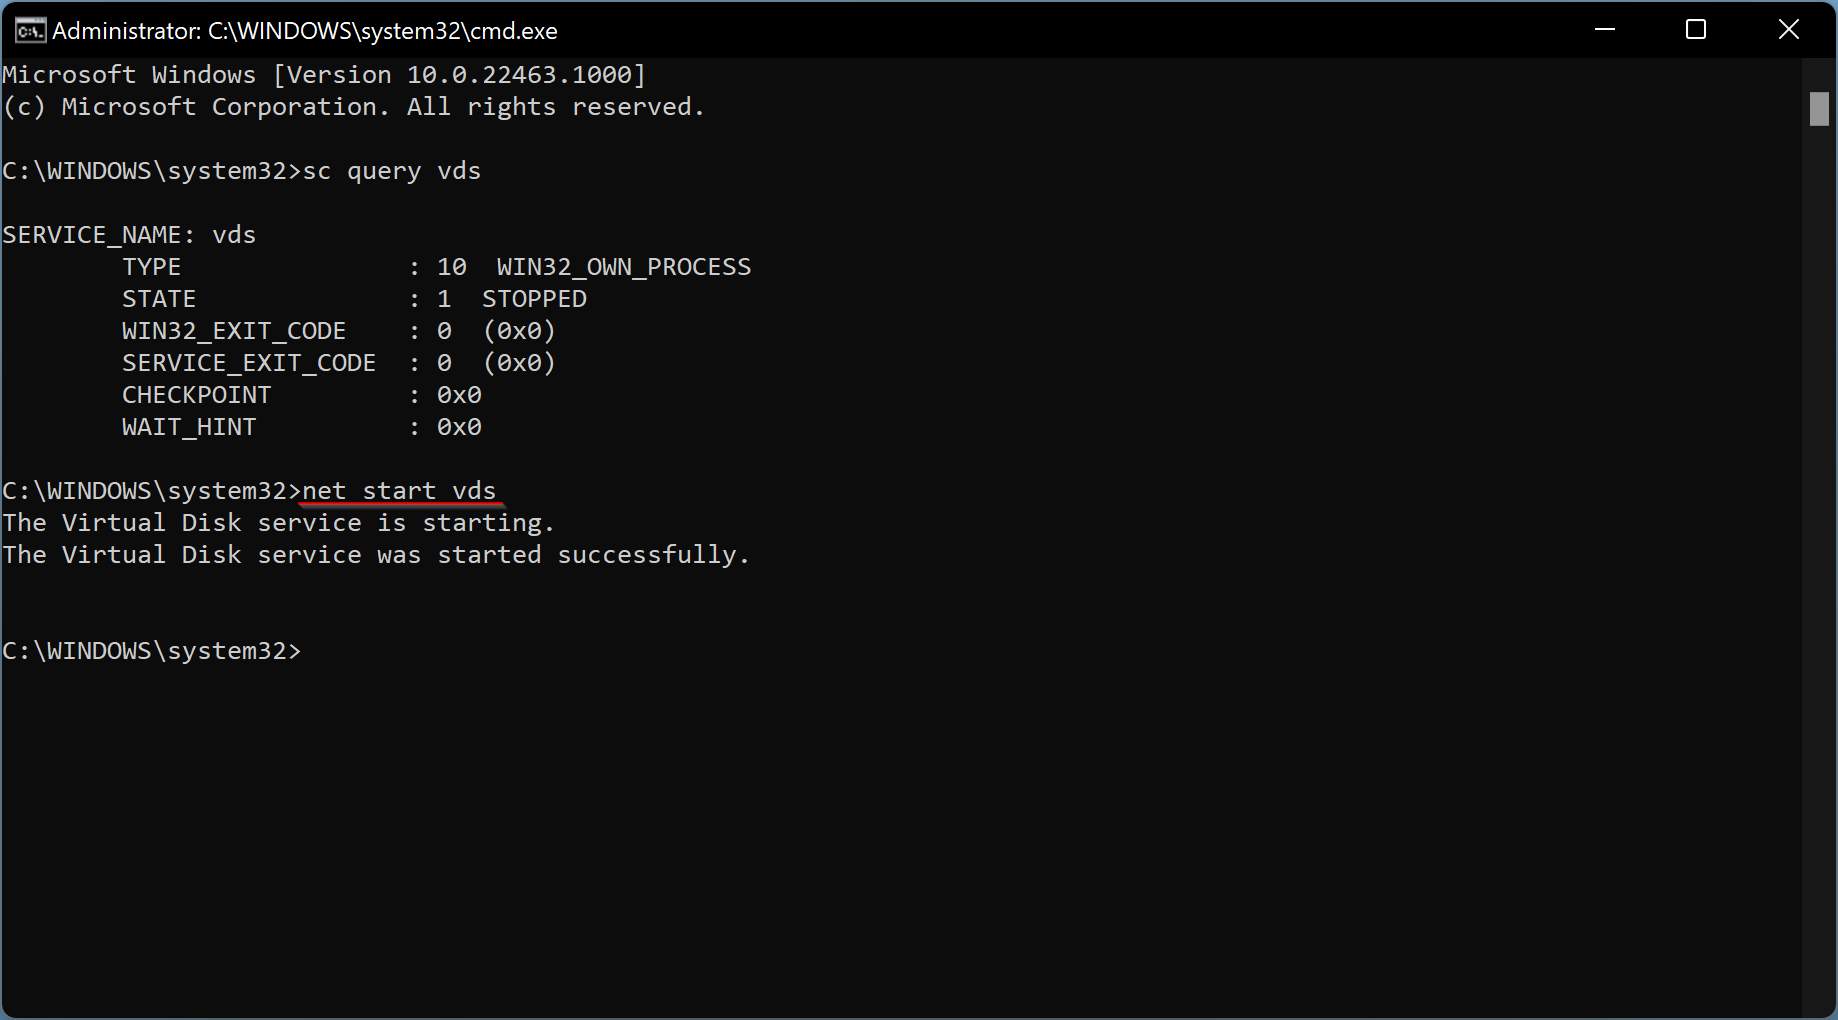
Step 3. To enable this service again, issue the following command:
net start vds
When you’re done with the above command, remove and reconnect the device. Try reinstalling the driver if available and see if the issue persists.
How to Check if Automatic Mounting of New Volumes is Enabled?
If the issue persists after executing the first method, you need to ensure that Automatic Mounting of New Volumes is enabled on your PC; otherwise, letters won’t be assigned to drives.
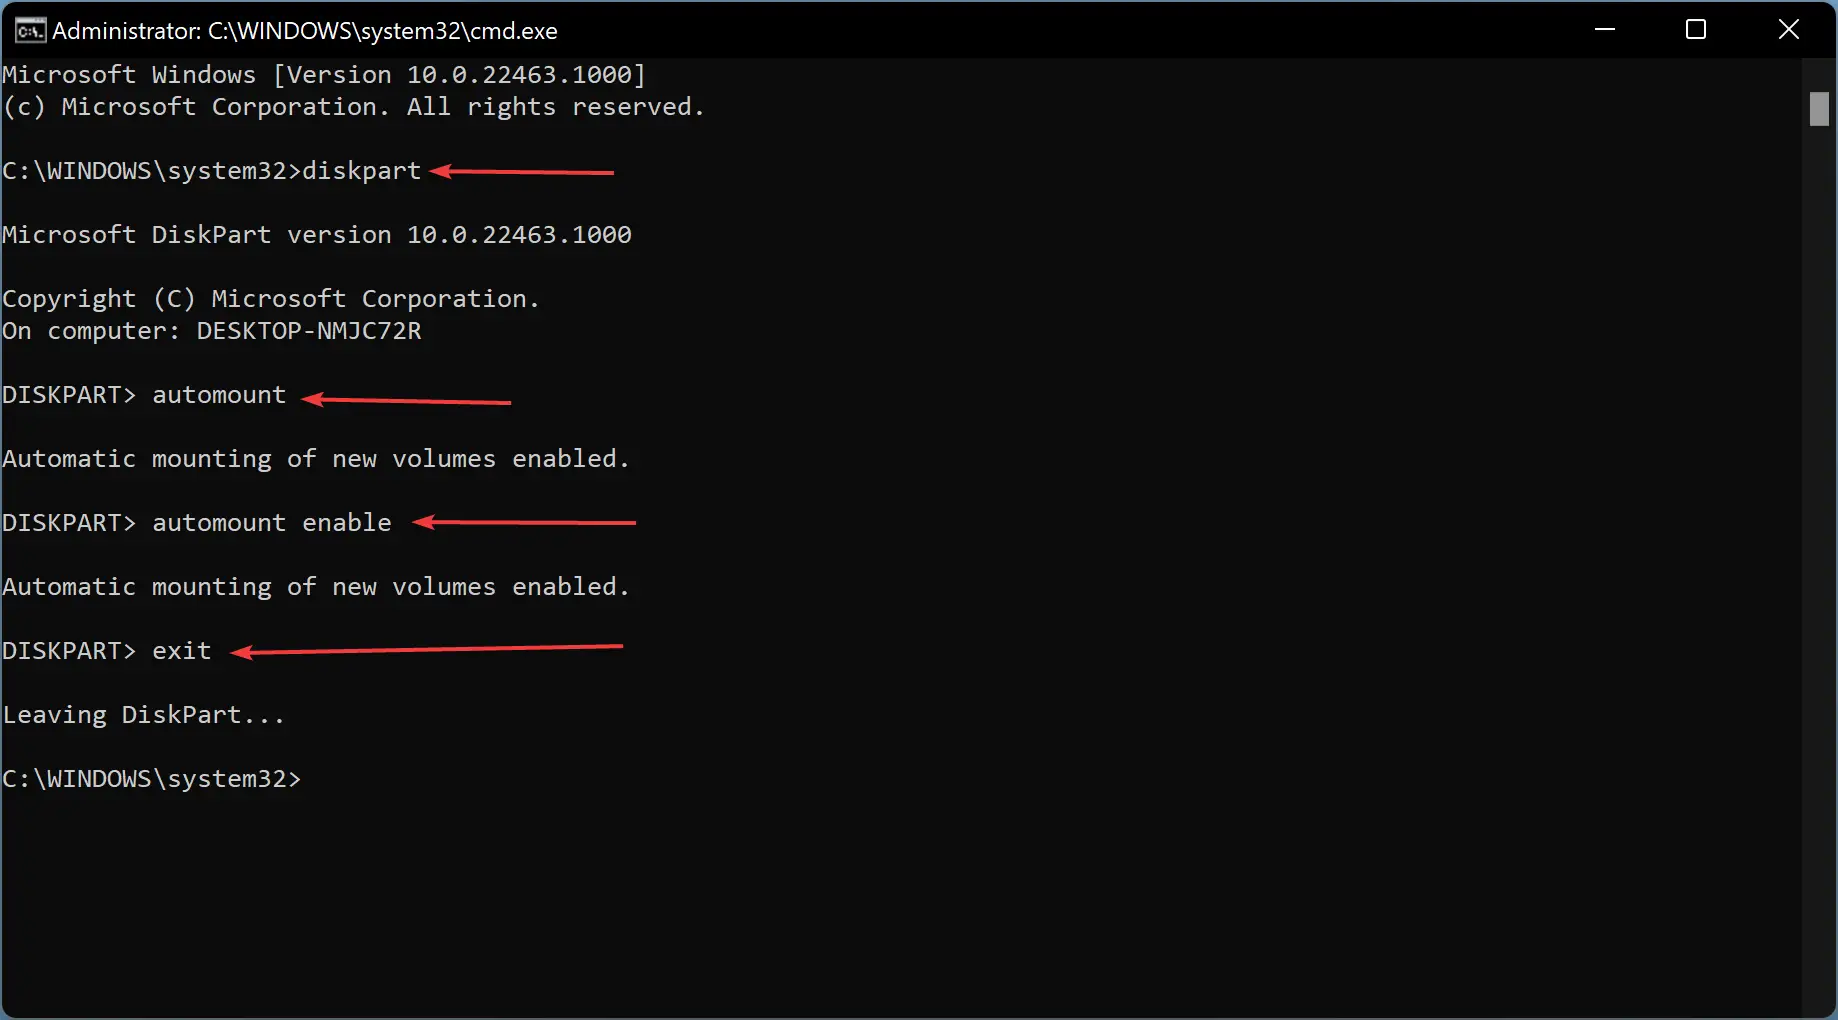
To do that, open Command Prompt with elevated rights and then issue the following command to enter Diskpart:
diskpart
Afterward, check if automount is enabled. For that, execute the following command:
automount
If you see that automount is disabled, use the following command to allow it:
automount enable
Finally, exit Diskpart using the following command:
exit
Now, restart your computer, and this issue should not exist anymore.
How to Disable ‘Hidden’ and ‘No Default Driver Letter’ Attributes?
If the above methods cannot help you troubleshoot USB driver letter issues, do the following:
Step 1. Open an elevated command prompt and issue these commands one by one:
Diskpart
list disk
select disk 1
Note: If you can’t guess which disk to choose, look at their respective sizes to get a clear idea and then replace ‘1’ with the number associated with your disk.
Use the below command to list all partitions:
list part
Note: If you have only one internal HDD or SSD installed on your PC, then disk “1” should be an external disk. While more than one internal HDD or SSD is installed on your computer, the external drive should be disk “2.”
That means to select your external disk, the command should be either select disk 1 or select disk 2.
When you recognize the disk, then issue the command:
attributes volume
If you read the message, “Hidden” and “No Default Drive Letter” attributes are enabled, then issue these commands:
attributes volume clear NoDefaultDriveLetter
attributes volume clear hidden
Finally, issue the following command to exit from diskpart:
exit
Then restart your computer, and see if the issue is solved.
Conclusion
In conclusion, not assigning a drive letter to an external USB HDD or SSD in Windows 11/10 can be a frustrating experience for users. However, there are various reasons why this issue occurs, such as a disabled Virtual Disk service or Automatic Mounting of New Volumes, and hidden or no default drive letter attributes. Users can troubleshoot this problem by enabling the Virtual Disk service and Automatic Mounting of New Volumes, or by disabling the hidden and default drive letter attributes. While these solutions may seem complicated, they can be easily performed by following the steps outlined in this guide.
FAQ
Why doesn’t my external USB drive show up in File Explorer?
If Windows doesn’t assign a drive letter automatically, the USB drive won’t appear in File Explorer. You can manually assign a letter using Disk Management or fix underlying issues as described above.
Can a disabled Virtual Disk service prevent USB drives from being accessible?
Yes. If the Virtual Disk service is disabled, Windows may fail to assign drive letters to external storage devices.
What is the automount feature in Diskpart?
Automount is a Diskpart setting that tells Windows to assign drive letters automatically to new volumes. If disabled, Windows won’t assign letters unless you do it manually.