
Windows 11 lets you personalize several settings, including changing the mouse cursor color and size according to your needs. You can customize the pointer theme/scheme and even download and install cursor schemes, just as you did in the previous Windows versions.
Windows 11 comes with a few built-in cursor schemes that let you change the default appearance of the mouse pointer. It allows you to change the color (white, black, or inverted) and size (default, large, or extra-large). If you are not happy with the default Mouse Cursor Theme, you can change it using the Settings app.
How to Change Mouse Cursor Theme on Windows 11?
To change the mouse cursor theme, perform the following steps:-
Step 1. Open the Settings app by pressing the Windows + I keys on the keyboard.
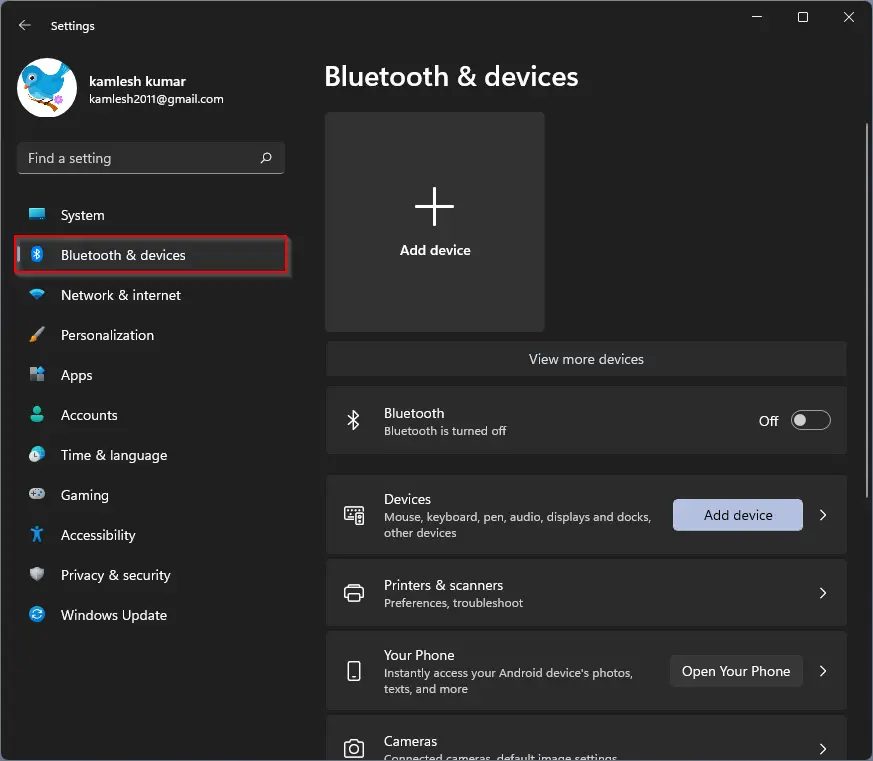
Step 2. Select the Bluetooth & devices category from the left sidebar when Windows Settings opens.
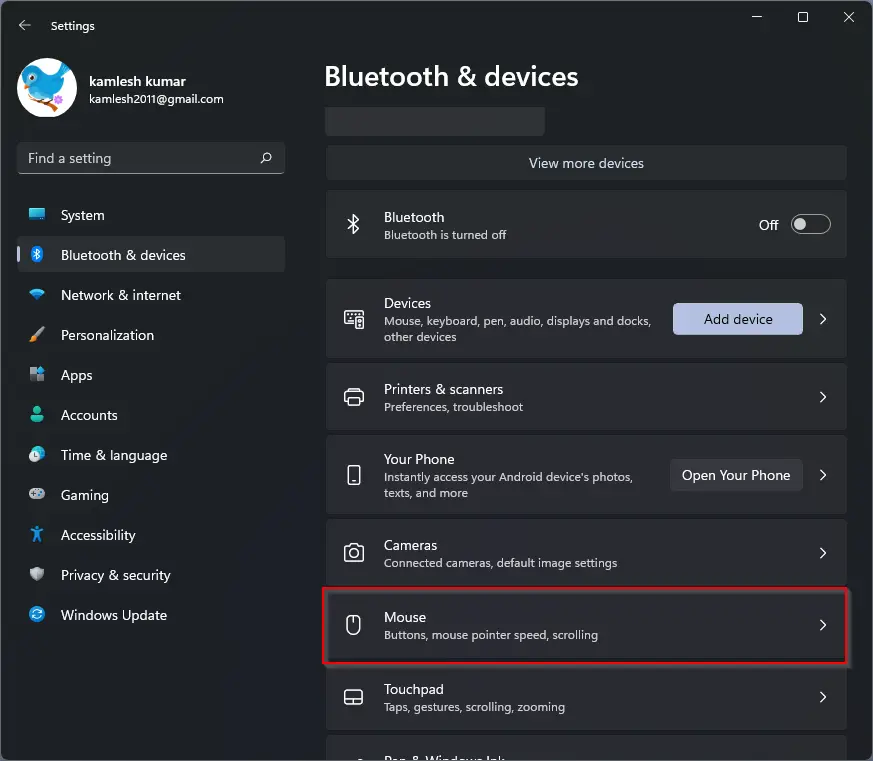
Step 3. On the right sidebar, click the Mouse tab.
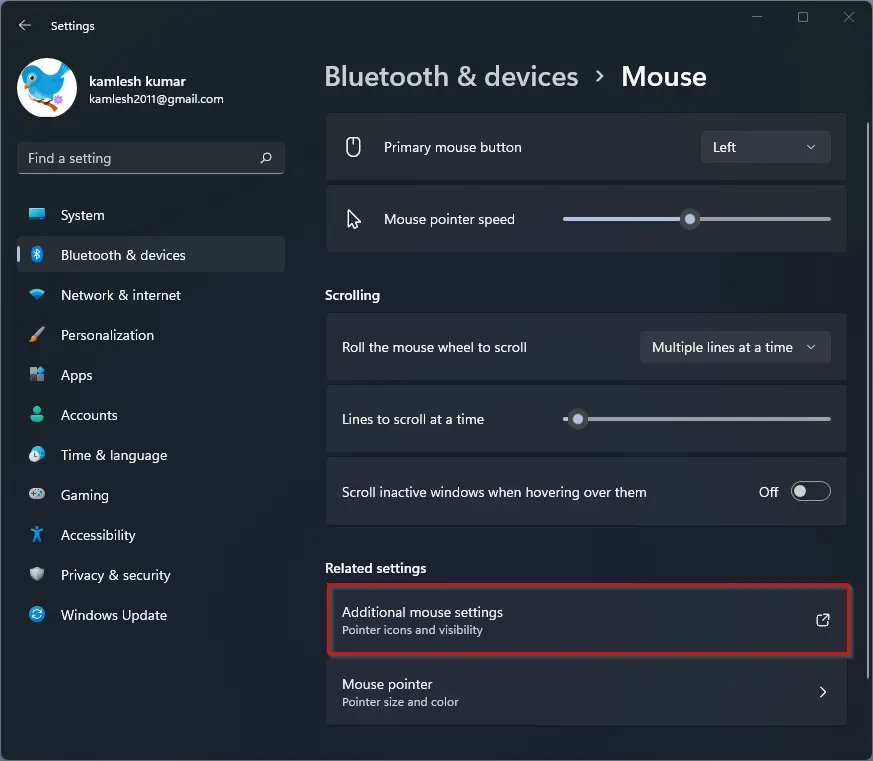
Step 4. Now, click on the Additional mouse settings option under the Related settings section.
Step 5. Once done, the Mouse Properties dialog opens. Navigate to the Pointers tab.
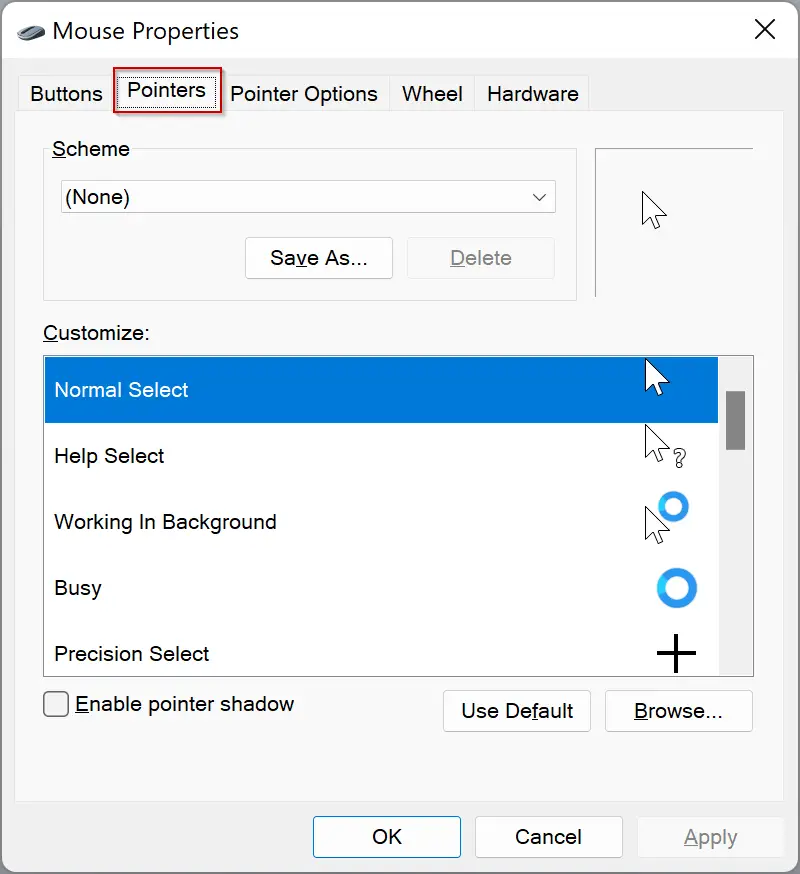
Step 6. Select a scheme from the dropdown menu of the Scheme that you want to use.
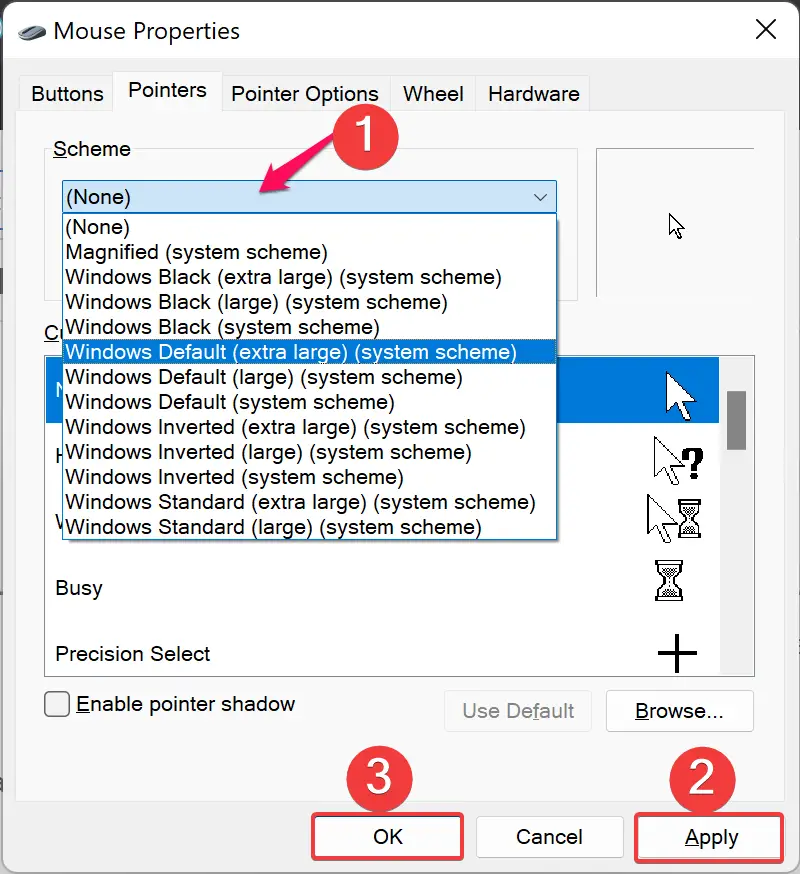
Step 7. Click Apply.
Step 8. Click OK.
That’s it. Now the selected mouse scheme will be applied, and you can see them on your screen.
How to Create a Custom Cursor Scheme on Windows 11?
In a mouse pointer scheme, you may like most cursors but not all that Windows uses. If you want, you can change the individual cursors of a scheme. For your information, each scheme includes 17 cursors that apply to different circumstances and actions when hovering over things on your screen. After customizing a scheme, you can save it to the list of usable schemes. To do that, perform the following steps:-
Step 1. Open the Settings app by pressing the Windows + I keys on the keyboard.
Step 2. Select the Bluetooth & devices category from the left sidebar when Windows Settings opens.
Step 3. On the right sidebar, click the Mouse tab.
Step 4. Now, click on the Additional mouse settings option under the Related settings section.
Step 5. Once done, the Mouse Properties dialog opens. Navigate to the Pointers tab.
Step 6. Select a scheme from the dropdown menu of the Scheme that you want to use.
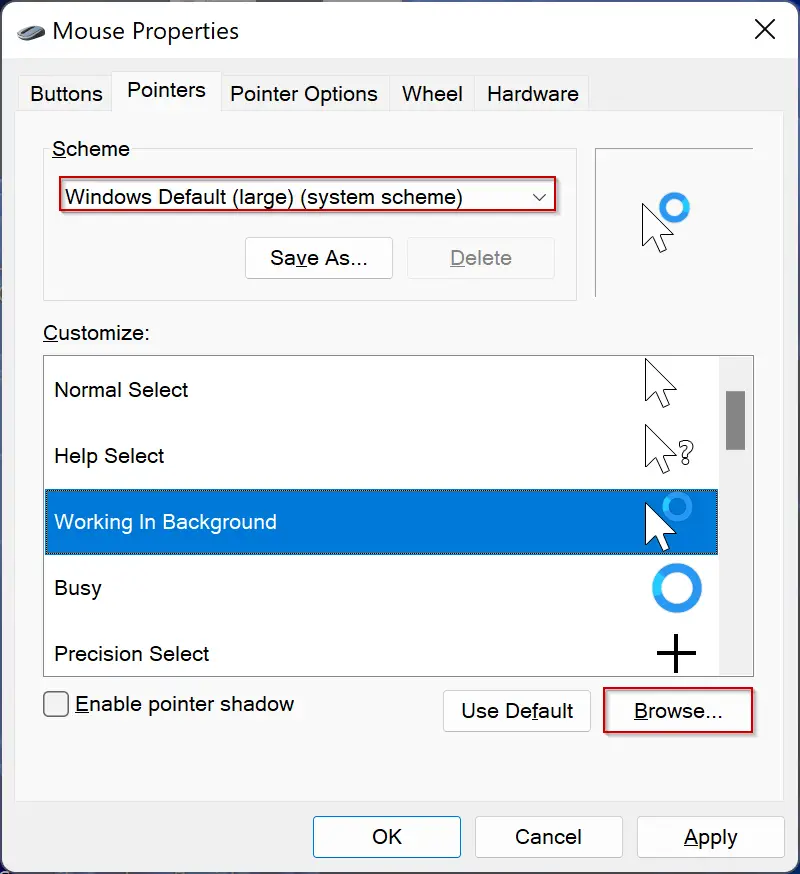
Step 7. From the list of cursors under the Customize section, select any you want to change. Then click the Browse button.
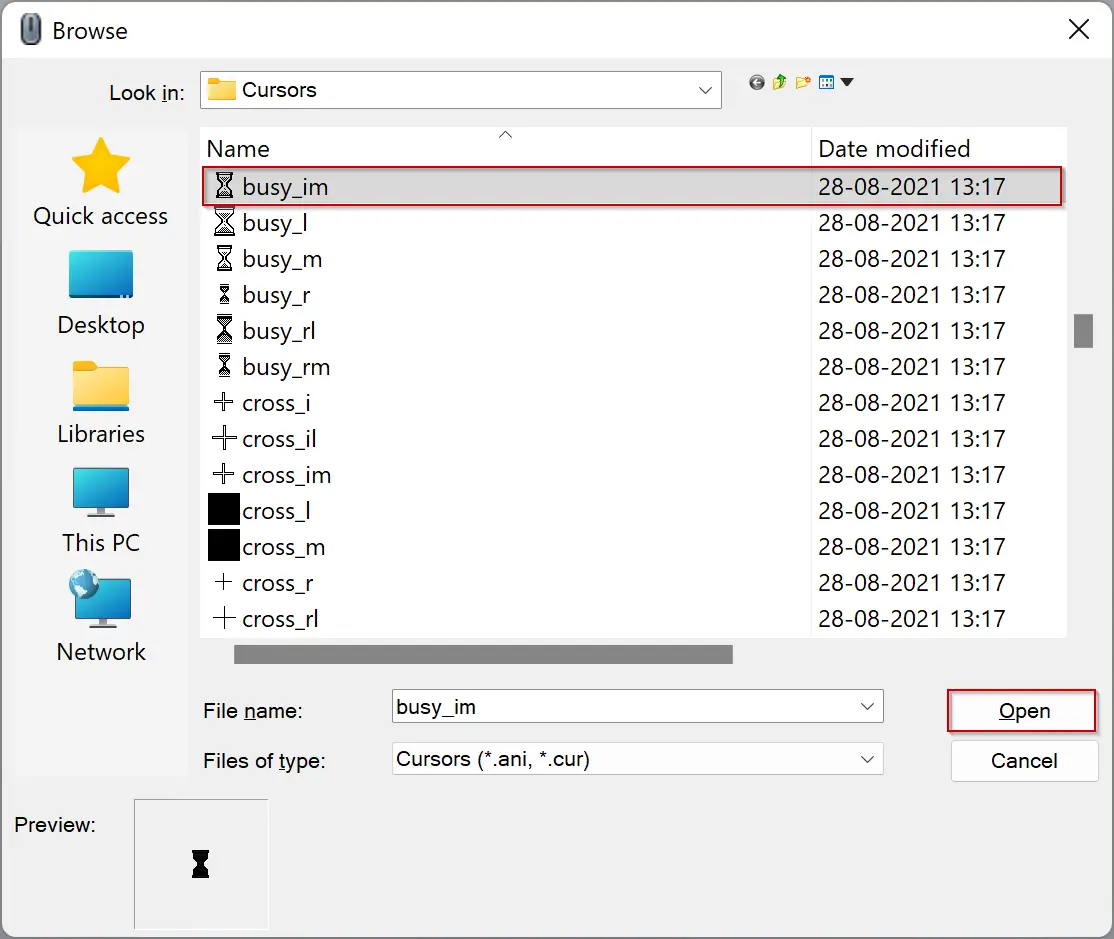
Step 8. Now, File Explorer will open the system folder that stores all the cursors available for each scheme. Here, you will find two types of files: .cur and .ani. The former is a static cursor image, and the latter is an animated cursor image. While the majority of cursors are static, a few are animated (aero_busy and aero_working). Select the cursor you want to replace and click the Open button.
If you need to change more cursors, repeat the steps from 5 to 8.
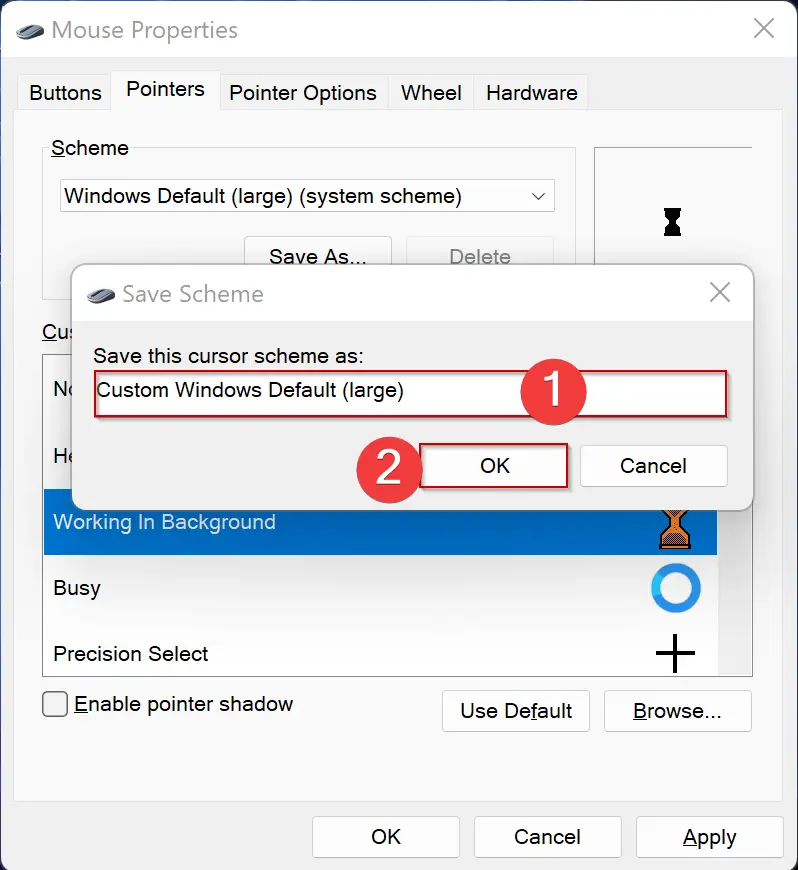
Step 9. When done, click the Save as button.
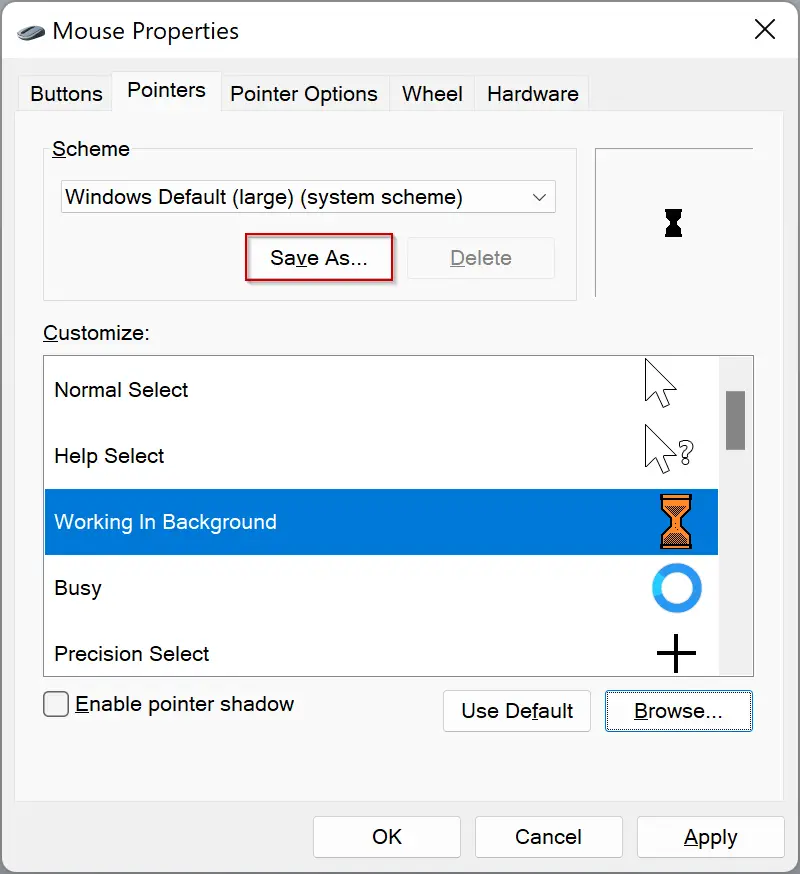
Step 10. Name the scheme and then click OK.
Step 11. Click Apply.
Step 12. Click OK.
By following these tips and tricks, you can personalize your mouse pointer in Windows 11 and make it work better for you.
Troubleshooting: Common Issues with Mouse Pointer in Windows 11
One of the most common issues with mouse pointers in Windows 11 is that they may disappear or become unresponsive. If you’re experiencing this issue, the first thing to check is whether your mouse is connected correctly to your computer. Ensure the USB cable is securely plugged into your computer’s USB port and the mouse is turned on.
Another issue that users may encounter is a slow or lagging mouse pointer. This can be caused by a variety of factors, including outdated drivers, low system resources, or background processes running on your computer. To troubleshoot this issue, try updating your mouse drivers, closing any unnecessary programs, and freeing up system resources by closing any unused tabs or applications.
If your mouse pointer is moving erratically or jumping around the screen, it could be due to a dirty or damaged mouse pad. Try cleaning your mouse pad or using a different surface to see if this resolves the issue. Additionally, make sure that your mouse is set to the appropriate sensitivity level for your needs.
Finally, if none of these troubleshooting steps work, you may need to consider replacing your mouse or seeking assistance from a professional technician. By following these tips and tricks, you’ll be able to quickly identify and resolve common issues with mouse pointers in Windows 11.
Conclusion
In conclusion, Windows 11 offers a wide range of customization options for mouse pointers, allowing users to change their appearance, size, and color. By following the simple steps outlined in this article, users can easily change the mouse cursor theme or create a custom cursor scheme. Additionally, we have provided some troubleshooting tips for common issues with mouse pointers in Windows 11, helping users identify and resolve any problems they may encounter. With these tips and tricks, users can make their mouse pointer work better for their needs and improve their overall user experience in Windows 11.