
We all love using dark mode on Windows operating systems and applications when available, especially for those who work long hours in low-light environments. Whether you’re on a PC at home or in the office, dark mode is a welcome feature that helps reduce eye strain and promotes better eye health.
However, dark mode is not enabled by default in Windows 11. When you purchase a computer with Windows 11 pre-installed or install it fresh on an existing PC, the light mode is activated by default, regardless of whether it’s the Home or Pro edition. If you don’t want to dig through settings every time, you can also use a handy freeware like the Dark Mode Switcher to toggle between light and dark themes instantly with a single click.
Once enabled, dark mode changes most visual elements to shades of dark grey and black. The Taskbar, Start menu, context menus, Quick Settings, File Explorer, Settings app, and Notification Center will all adopt a dark appearance. Even default apps like Mail, Calculator, and Photos switch to dark mode automatically.
Still, not every component supports dark mode. Legacy parts such as the classic Control Panel and WordPad remain on a light background since Microsoft hasn’t updated them. If you prefer consistency, you can install alternatives like
Black Notepad to maintain a fully dark environment across your system.
How to Turn On Dark Theme in Windows 11?
To quickly enable dark mode or theme in Windows 11, perform the following steps:-
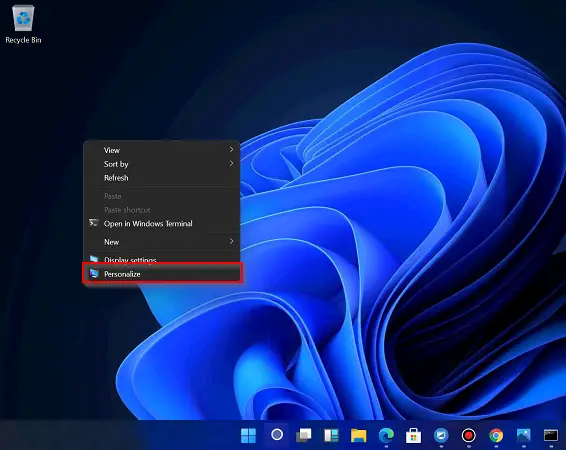
Step 1. Perform a right-click on free space on the desktop and select the Personalize option from the context menu.
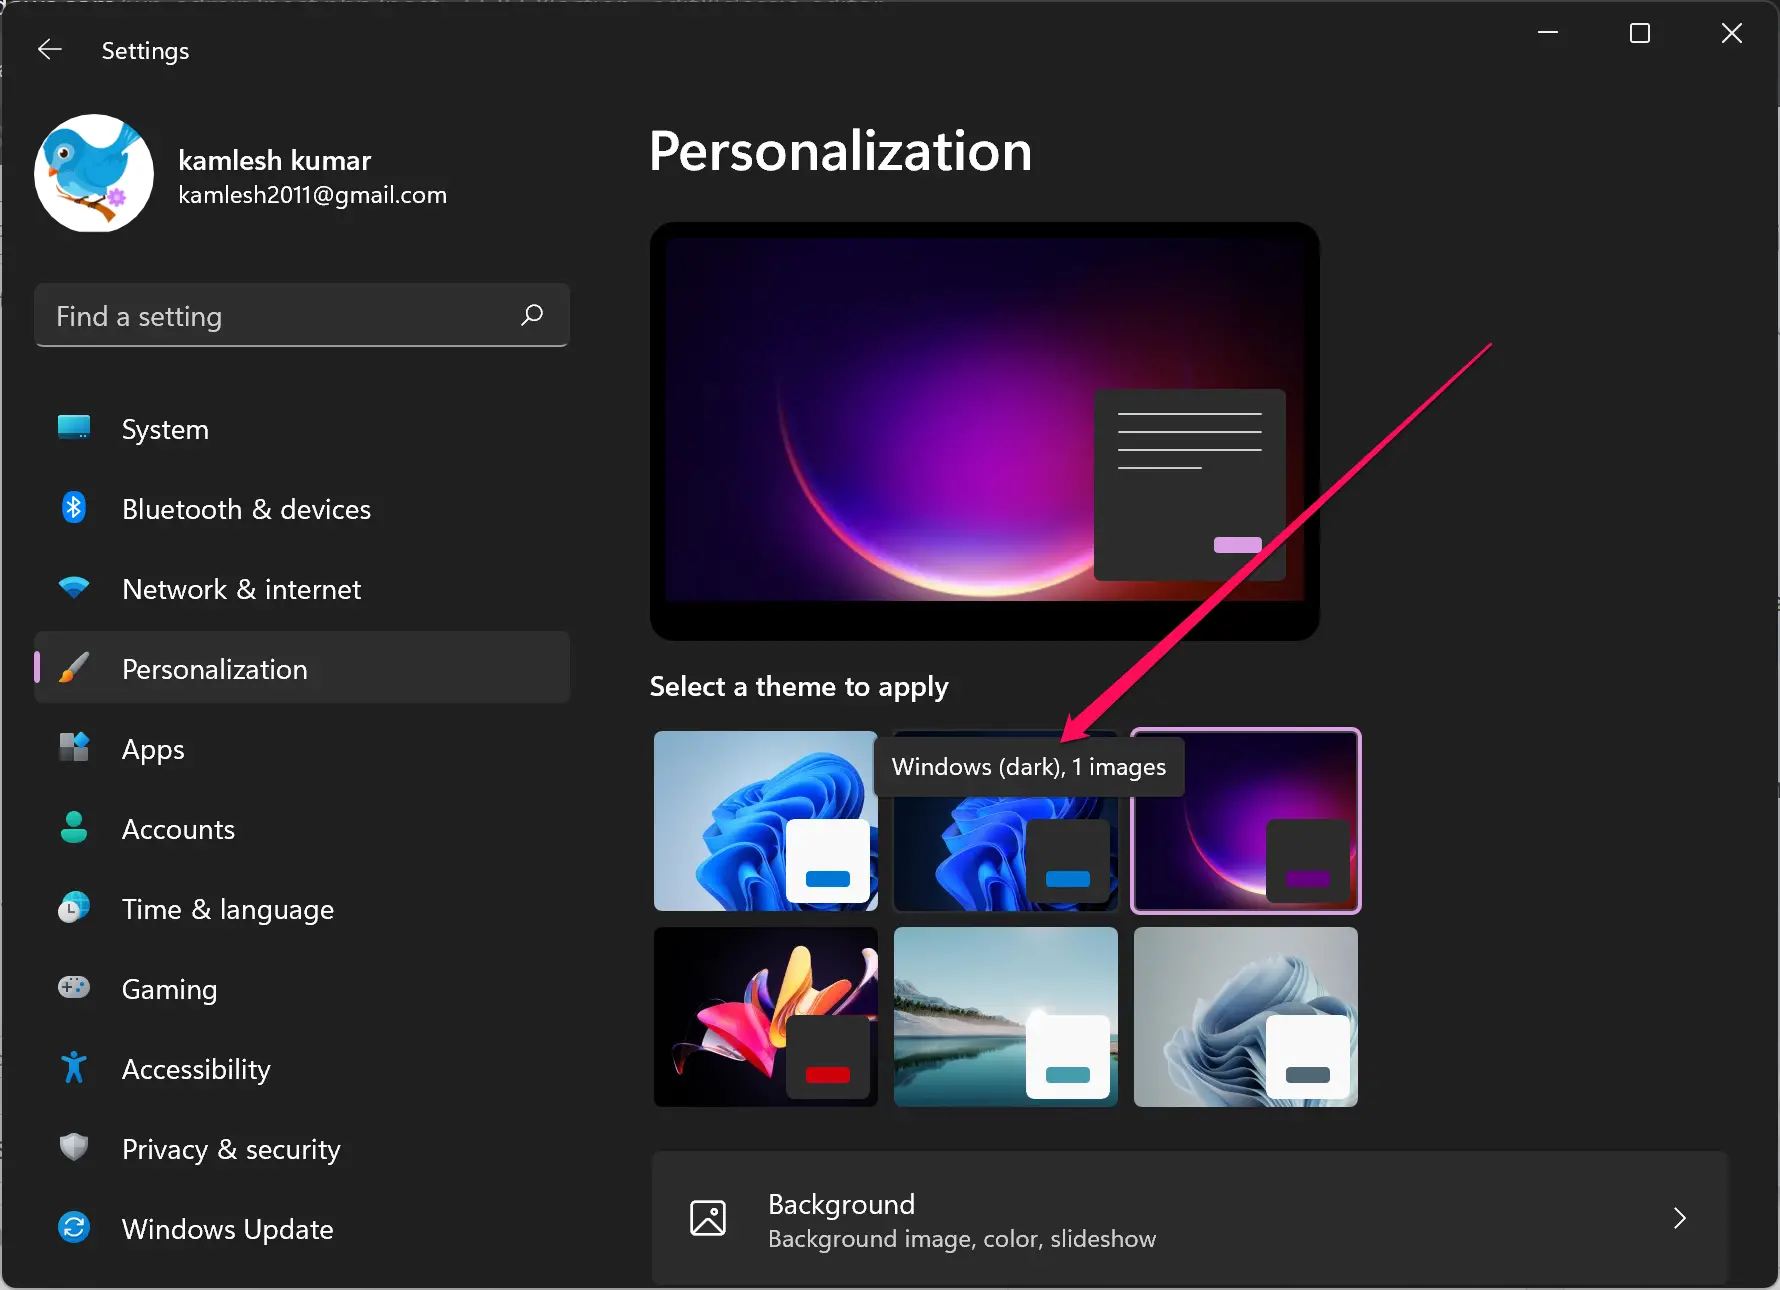
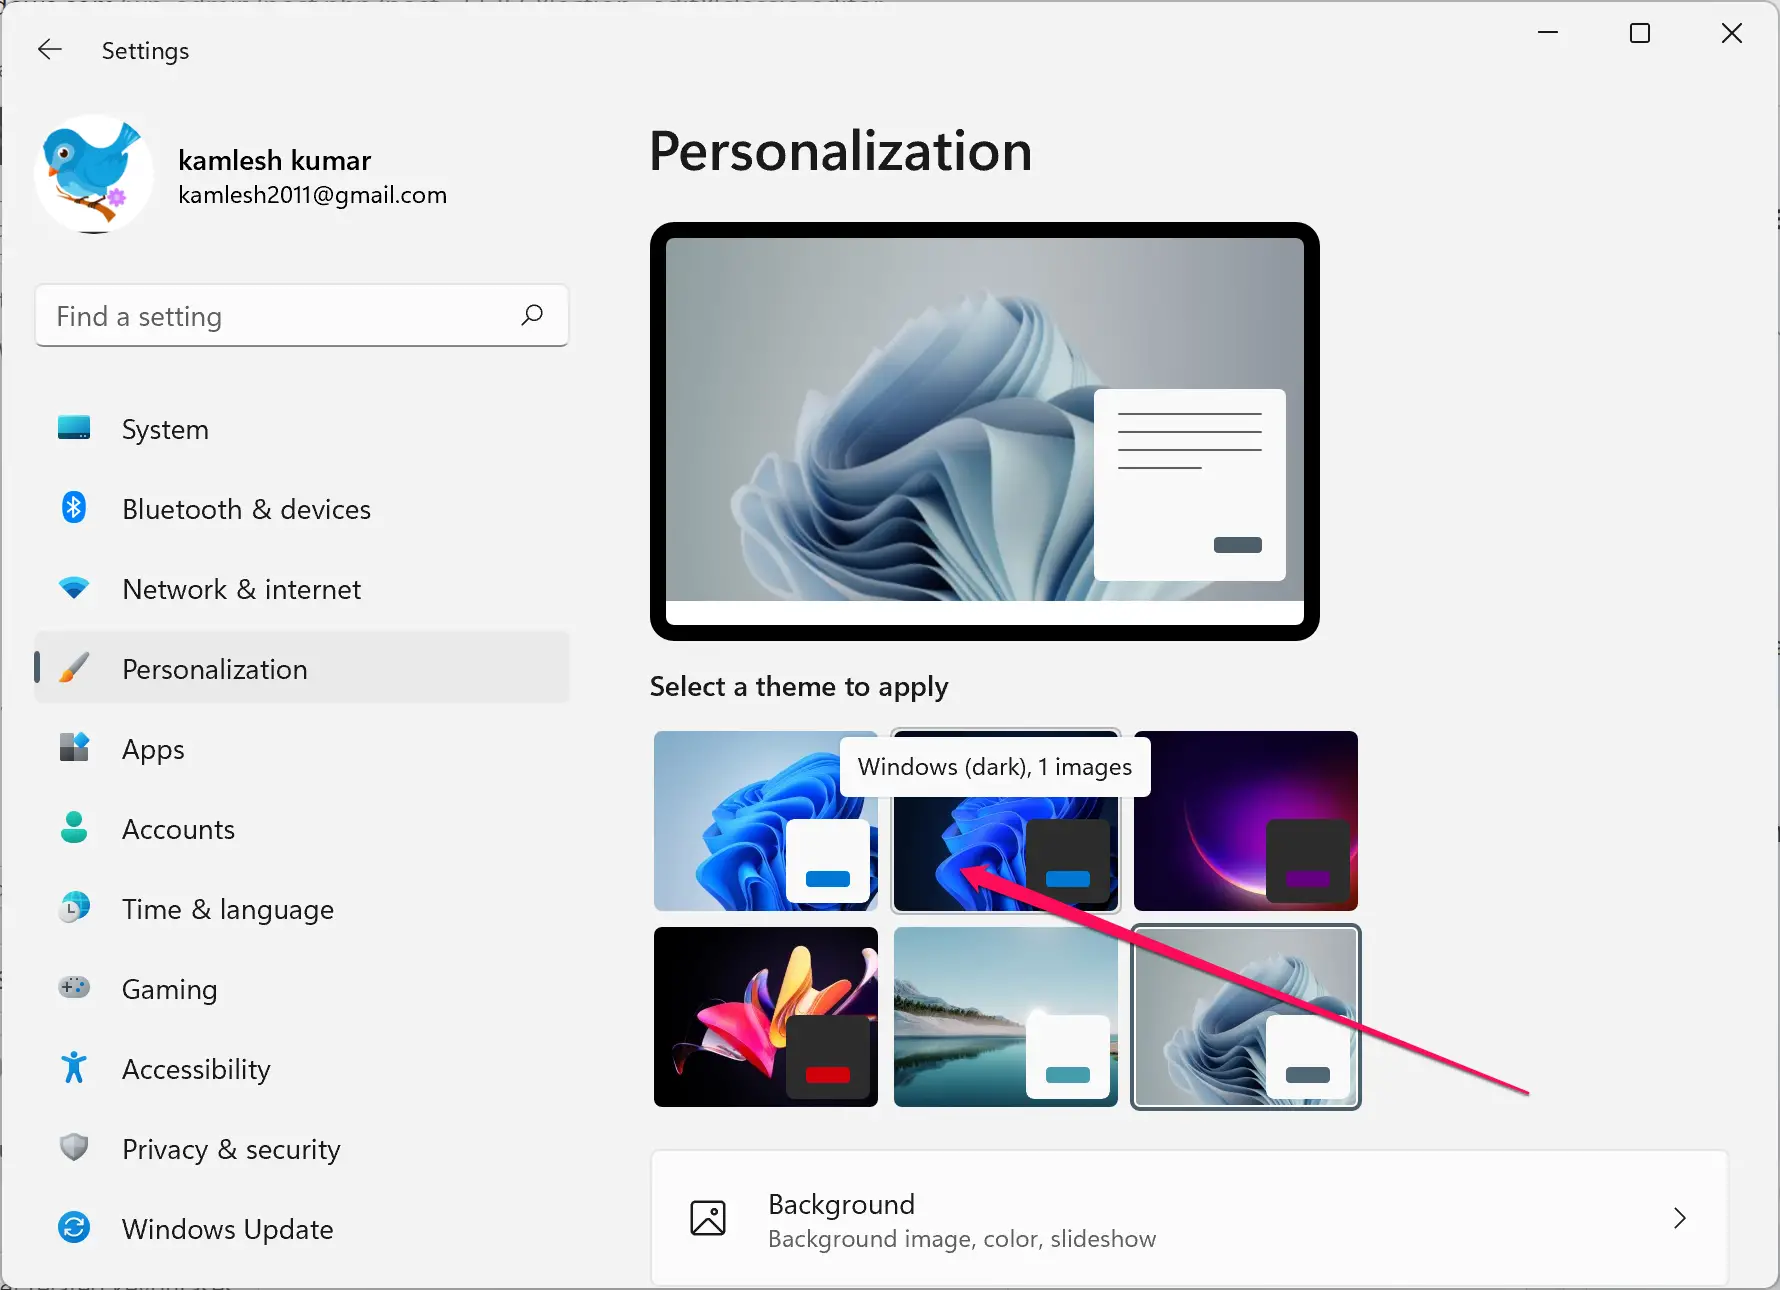
Step 2. Now, the Settings > Personalization page will open. Click on the Windows (dark) theme under the “Select a theme to apply” section on the right-side pane.
How to Enable Dark Theme in Windows 11 using the Settings app?
First Method
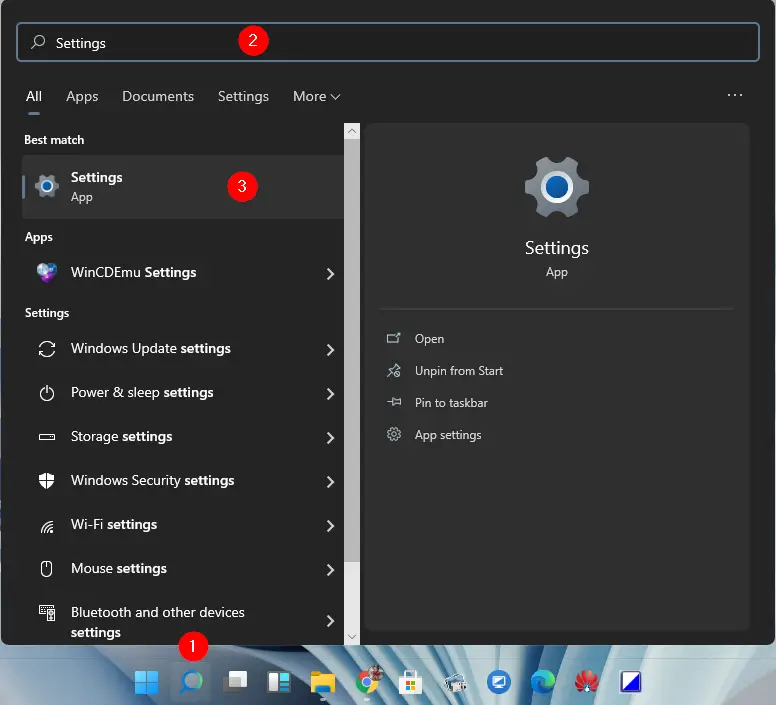
Step 1. Open the Settings app.
To do that, click on the Search button on the Windows 11 taskbar and type Settings in the search field. Click on the Settings App in the search results to open it.
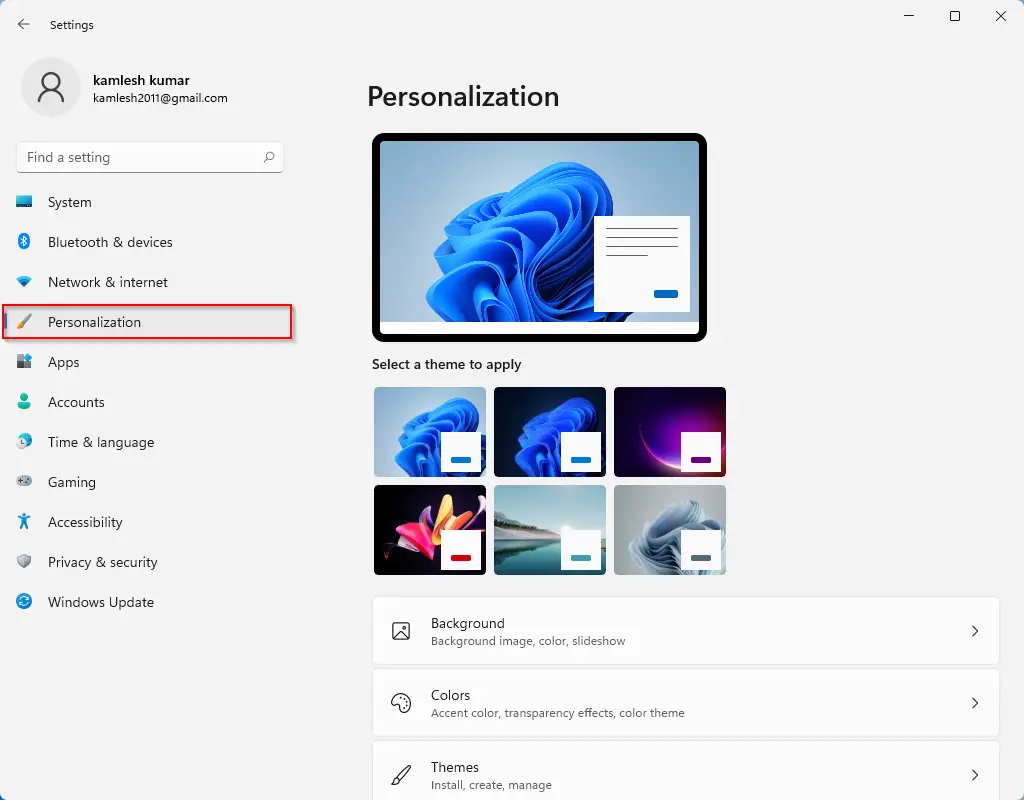
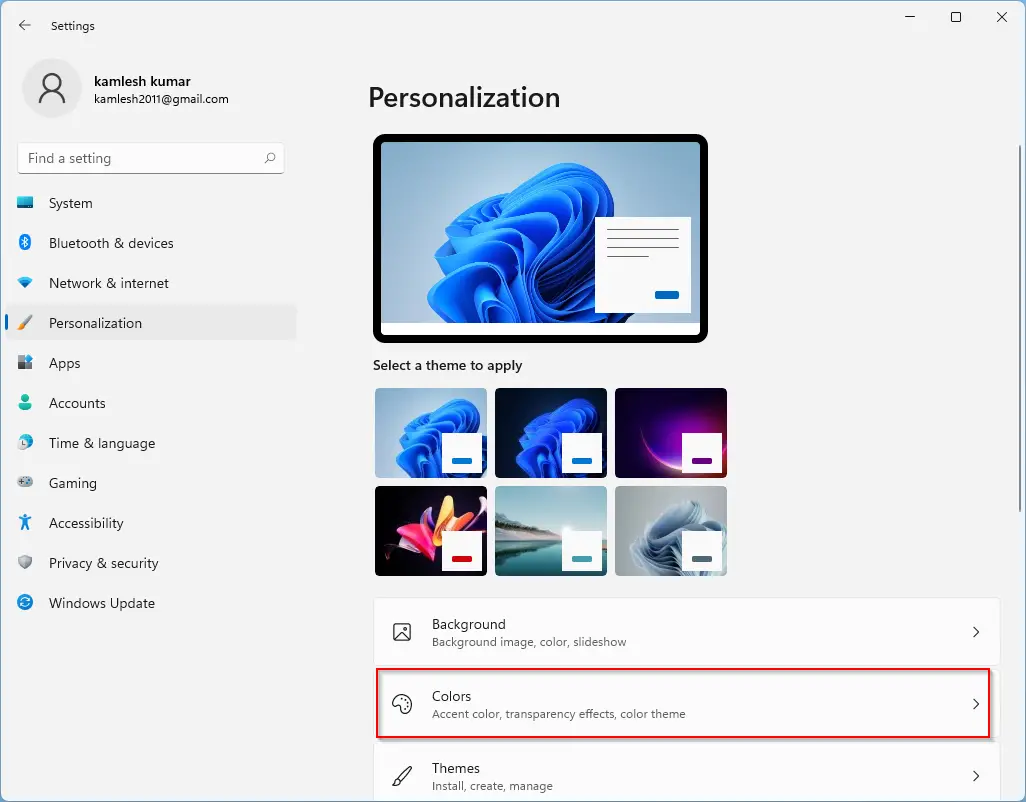
Step 2. In the Settings app that opens, click on the Personalization category.
Step 3. Click Colors on the right-side pane of Personalization.
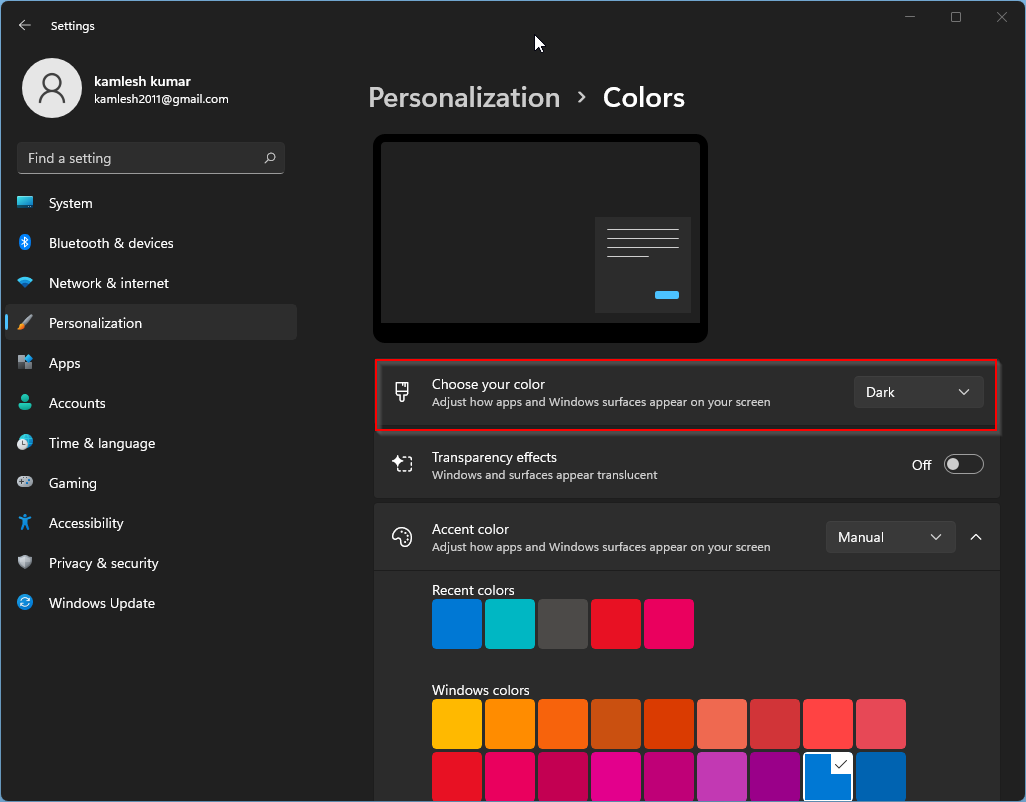
Step 4. Select Dark from the “Choose your color” drop-down menu.
Once you apply Dark mode, the dark theme is activated on your Windows 11 PC. Apps like the Microsoft Store, Mail, Calendar, etc., will use the power-saving black background.
Second Method
Step 1. Open the Settings app.
To do that, click on the Search button on the Windows 11 taskbar and type Settings in the search field. Click on the Settings app in the search results to open it.
Step 2. In the Settings app that opens, click on the Personalization category.
Step 3. Click on the Windows (Dark) theme on the right-side pane.
That’s it. The changes are immediate, which means there is no need to restart your computer.
How to Enable Dark Theme on Windows 11 via File Explorer?
It is also possible to activate a dark theme or mode in Windows 11 using File Explorer. You need to perform the following steps:-
Step 1. Open the File Explorer by pressing the Windows + E keys on the keyboard.
Step 2. In the address bar, type the following path and hit Enter on the keyboard to open the Themes folder:-
C:\Windows\Resources\Themes
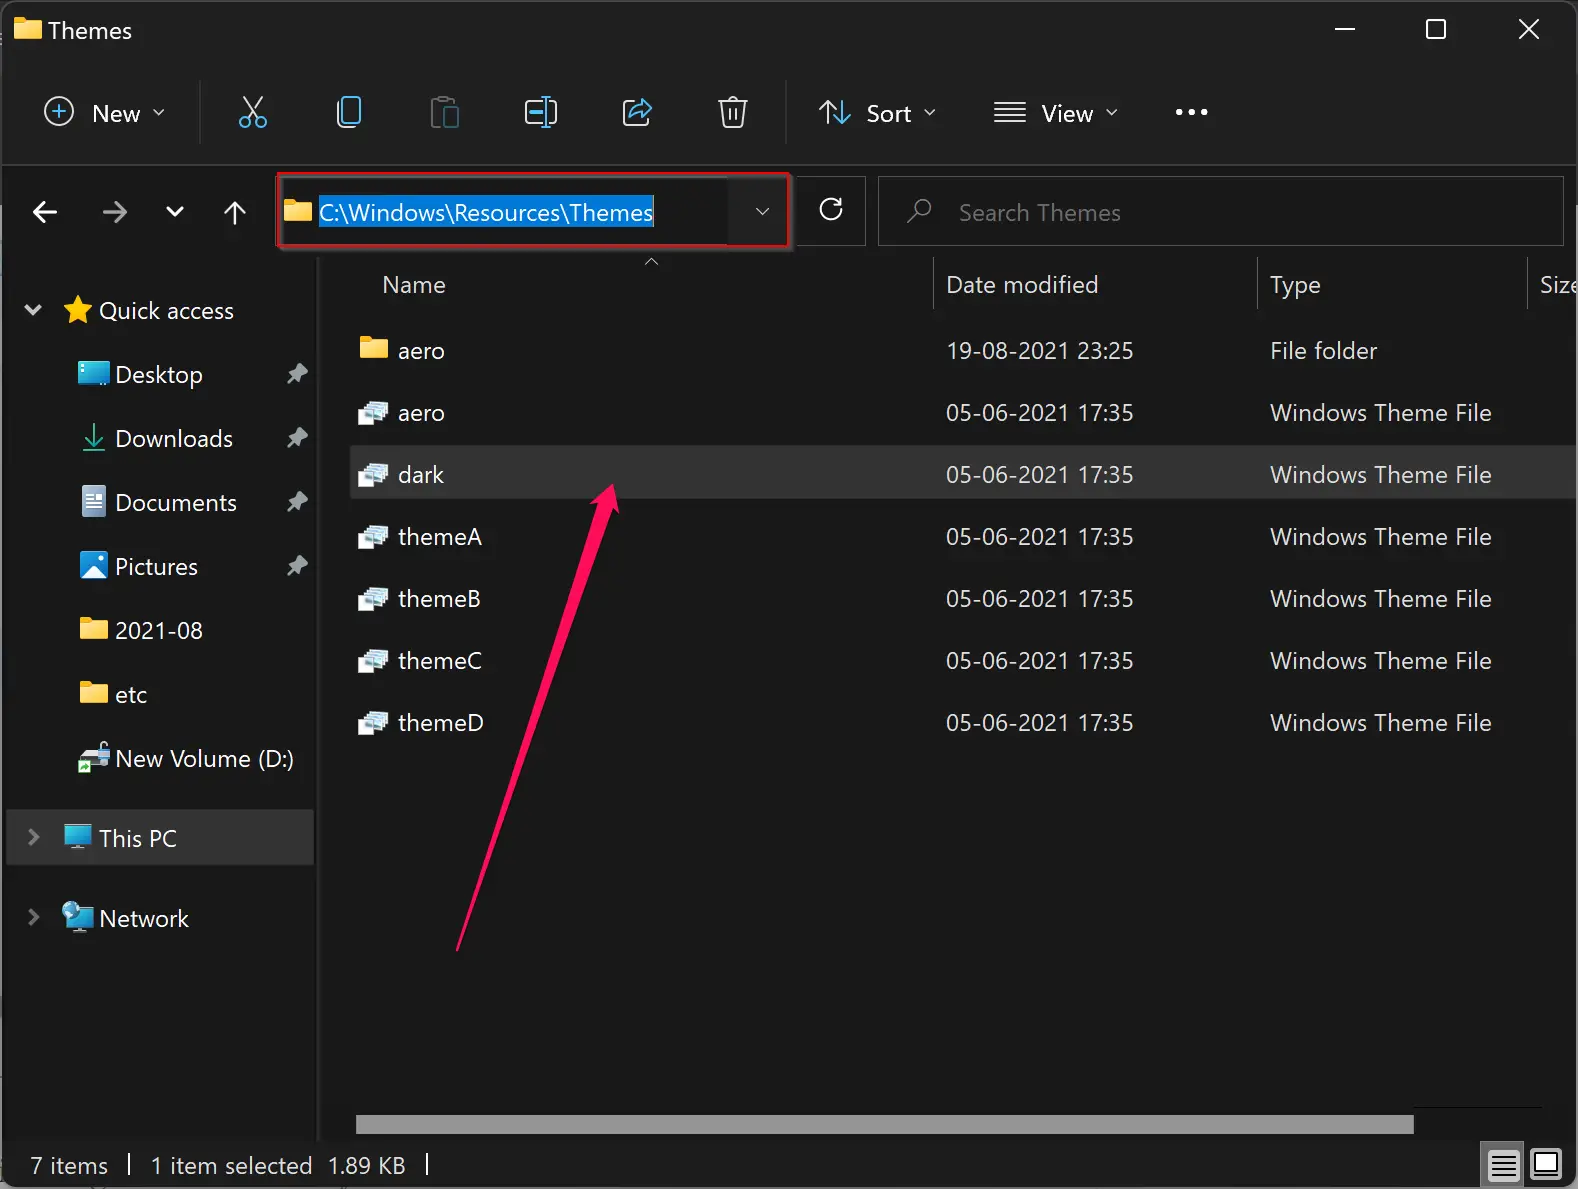
Step 3. Double-click on the dark to activate the Dark theme. To apply another theme, double-click on any other in the same folder.
After double-clicking on any theme, it will be applied immediately and will open the Settings app. You can safely close the Settings window.
How to Turn On or Turn Off Windows 11 Dark Mode via Registry Editor?
Follow these steps to enable or disable Dark Mode via Registry Editor:-
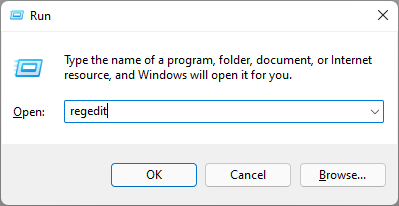
Step 1. Open the Run dialog box by pressing the keyboard’s Windows + R keys simultaneously.
Step 2. In the Run dialog box, type the following and hit Enter on the keyboard to open the Registry Editor:-
regedit
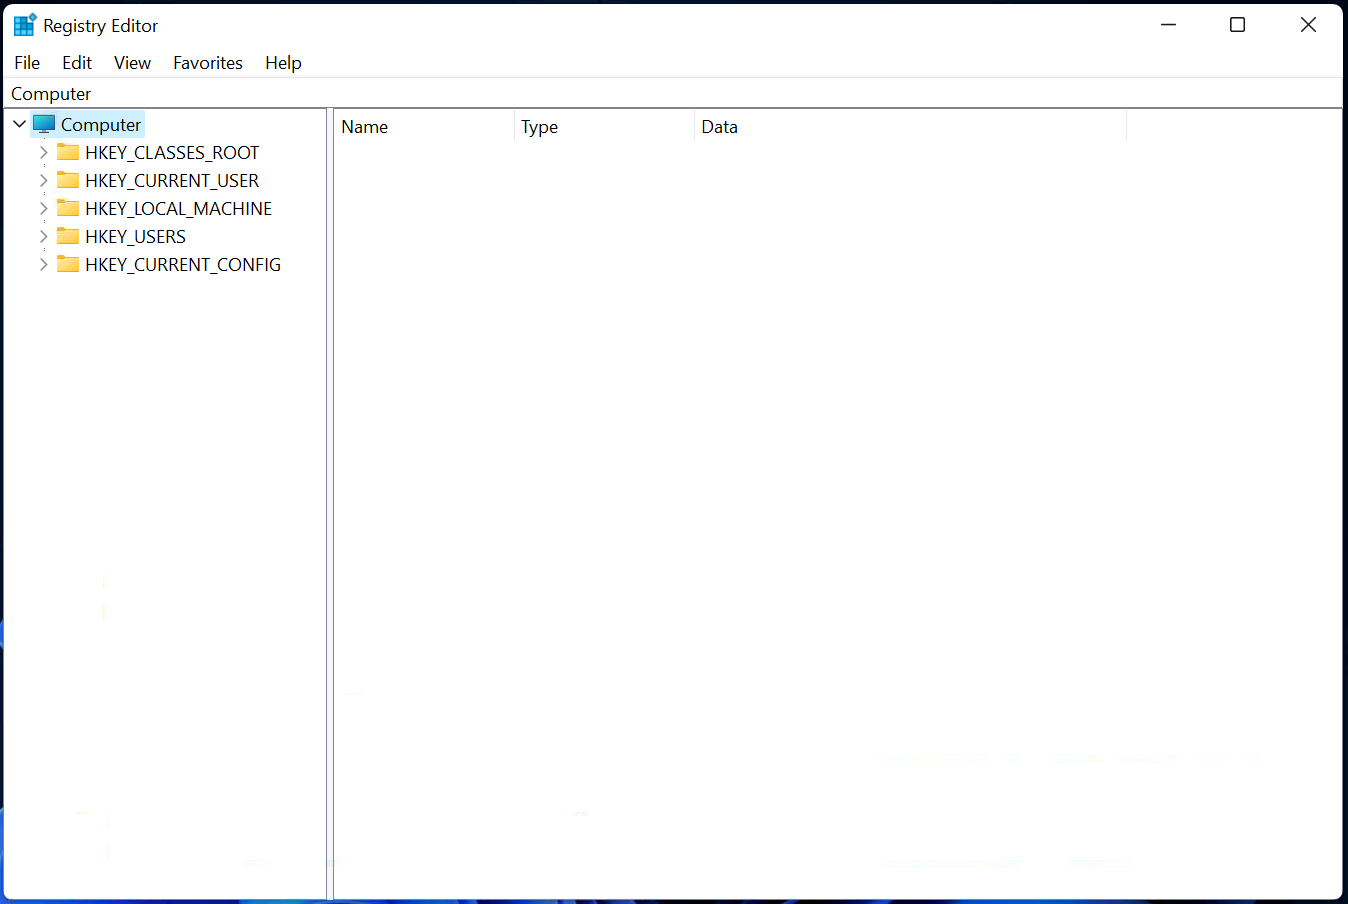
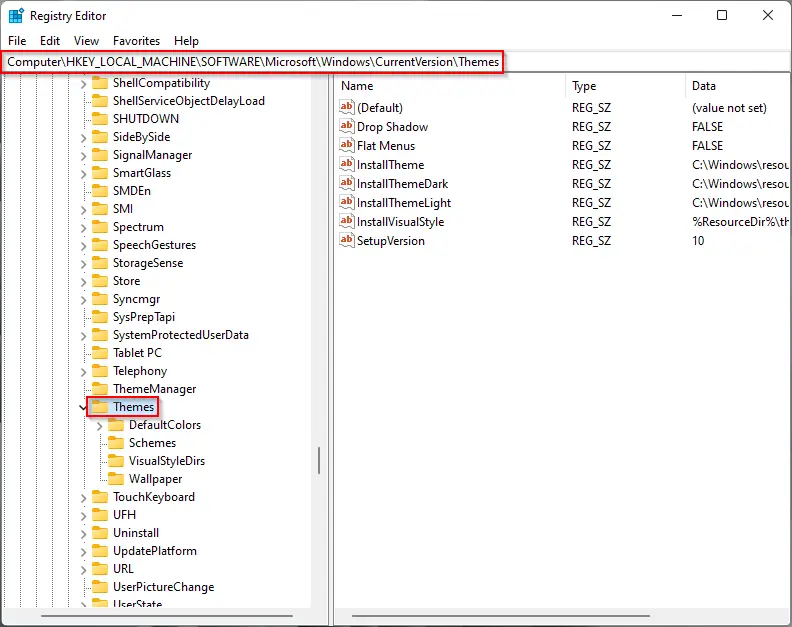
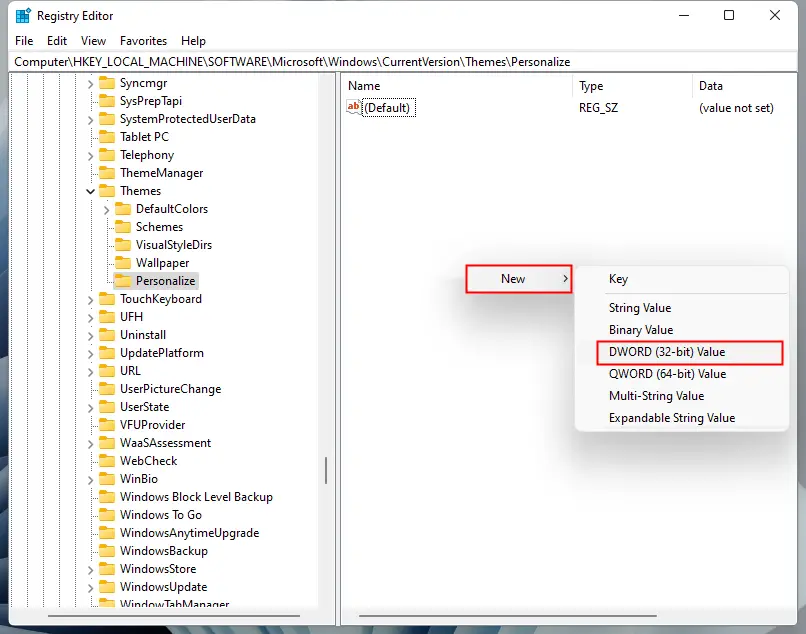
Step 3. Navigate to the following key in the registry editor window from the left side pane:-
HKEY_LOCAL_MACHINE\SOFTWARE\Microsoft\Windows\CurrentVersion\Themes
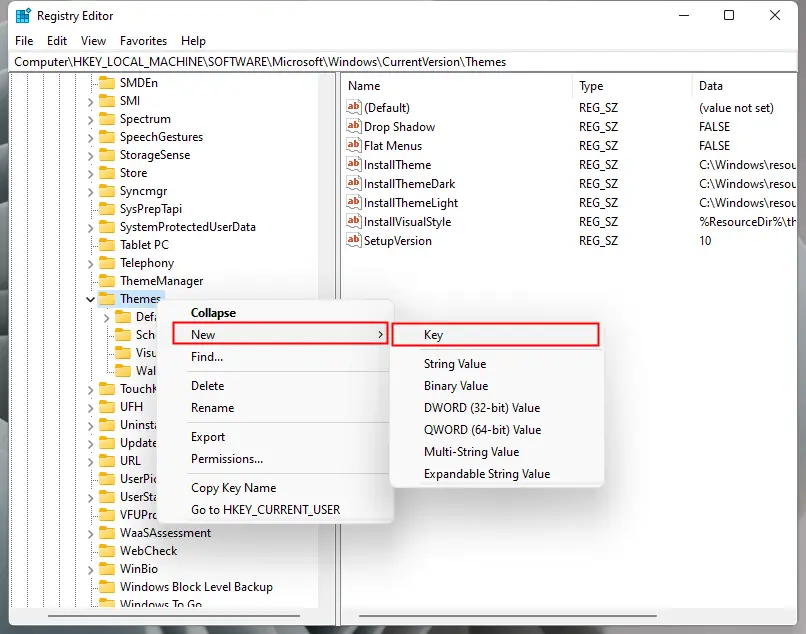
Step 4. Now, right-click on the Themes key and select the New > Key option. Name the newly created key as Personalize.
Step 5. Now, select Personalize in the left side pane, and on the right side of it, right-click on the free space. Select New > DWORD (32-bit) Value option. Name the newly created DWORD (32-bit) Value as AppsUseLightTheme.
Step 6. Now, double-click on AppsUseLightTheme and set its Value data to 0.
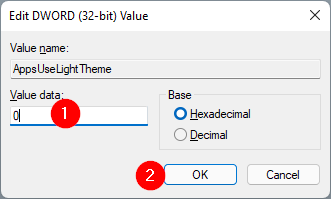
Step 7. Click OK.
Now, you repeat the above steps in the following location also:-
HKEY_CURRENT_USER\SOFTWARE\Microsoft\Windows\CurrentVersion\Themes\Personalize
In addition to that, change the SystemUsesLightTheme REG_DWORD “Value data” to 1 in the above path.
That’s it. Dark theme is applied throughout Windows 11. Close the Registry Editor and reboot your machine.
Conclusion
In conclusion, dark mode is becoming increasingly popular among users because of the numerous benefits it offers, such as reduced eye strain and improved visual comfort in low-light environments. Windows 11, unfortunately, does not enable dark mode by default. However, there are four simple ways to activate the dark theme, including through Personalization, Settings, File Explorer, and the Registry Editor. By following the steps outlined in this article, users can easily switch to dark mode and enjoy a more comfortable viewing experience. Although some visual elements, such as the classic Control Panel, Notepad, and WordPad, still lack a dark theme, users can still install a black Notepad or use other applications that support dark mode.