
What is User Account Control (UAC)? User Account Control (UAC) is a vital element of Microsoft’s overall security vision. It helps reduce the impact of malware on your computer.
Apps that require administrator access must prompt the user for permission. According to Microsoft, “Windows 10 protects processes by marking their integrity levels. Integrity levels are measurements of trust. A ‘high’ integrity application performs tasks that modify system data, such as a disk partitioning application, while a ‘low’ integrity application performs tasks that could potentially compromise the operating system, such as a web browser. Apps with lower integrity levels cannot modify data in applications with higher integrity levels. When a standard user attempts to run an app that requires an administrator access token, UAC requires that the user provide valid administrator credentials.”
If you’re troubleshooting your PC or want to take a screenshot of the Lock Screen, simply press the Print Screen (PrtScr) key while on the Lock Screen. After logging in, open Microsoft Word, Paint, or another application, and press Ctrl + V to paste the screenshot. However, capturing the login screen is not as straightforward. You’ll need to modify the registry and use the Snipping Tool to take a screenshot of the login screen.
Likewise, taking a screenshot of a User Account Control (UAC) dialog box is also not possible using the Print Screen key alone. Windows 10 does not allow it by default. However, with a registry tweak, you can capture it.
This post guides you on how to take a screenshot of a “User Account Control” dialog box in Windows 10. Since this process involves editing the Windows Registry, we highly recommend creating a full registry backup and creating a system restore point.
How to Take a Screenshot of a User Account Control Dialog Box on Windows 10?
To capture a screenshot of the User Account Control dialog box, follow these steps:
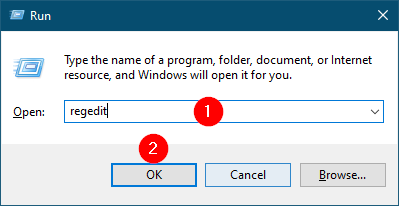
Step 1. Press the Windows + R keys together to open the Run dialog box.
Step 2. In the Run dialog, type the following command and press Enter or click OK to open the Registry Editor:
regedit

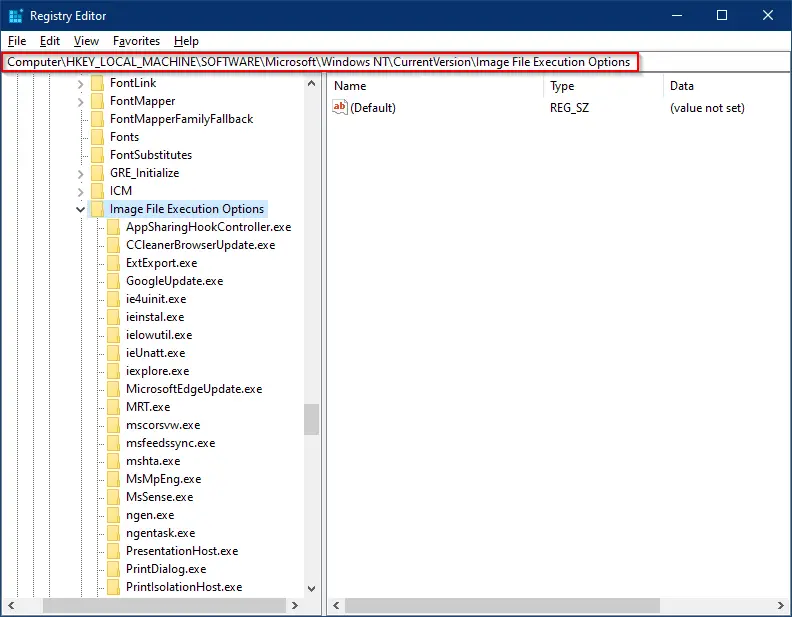
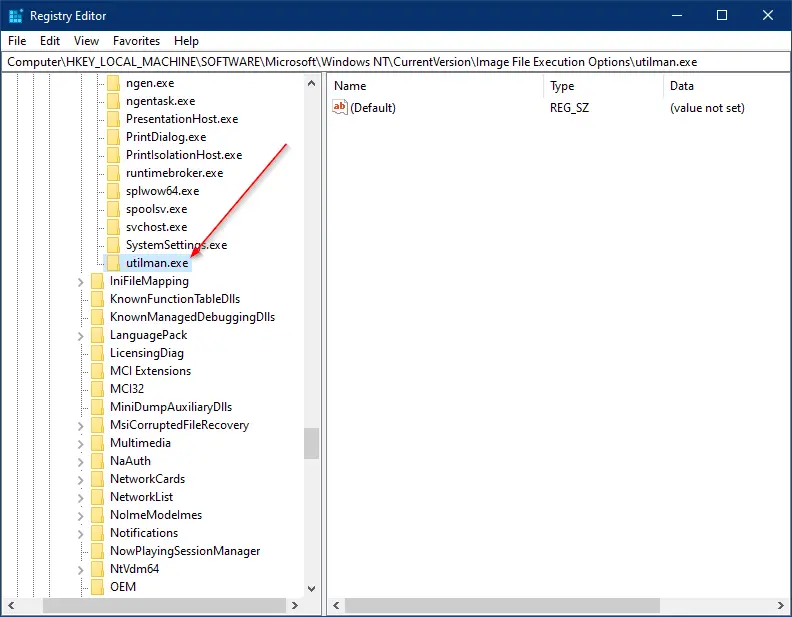
Step 3. In the Registry Editor window, navigate to the following path:
Computer\HKEY_LOCAL_MACHINE\SOFTWARE\Microsoft\Windows NT\CurrentVersion\Image File Execution Options
Step 4. Right-click on the Image File Execution Options key, select New, and then choose Key.
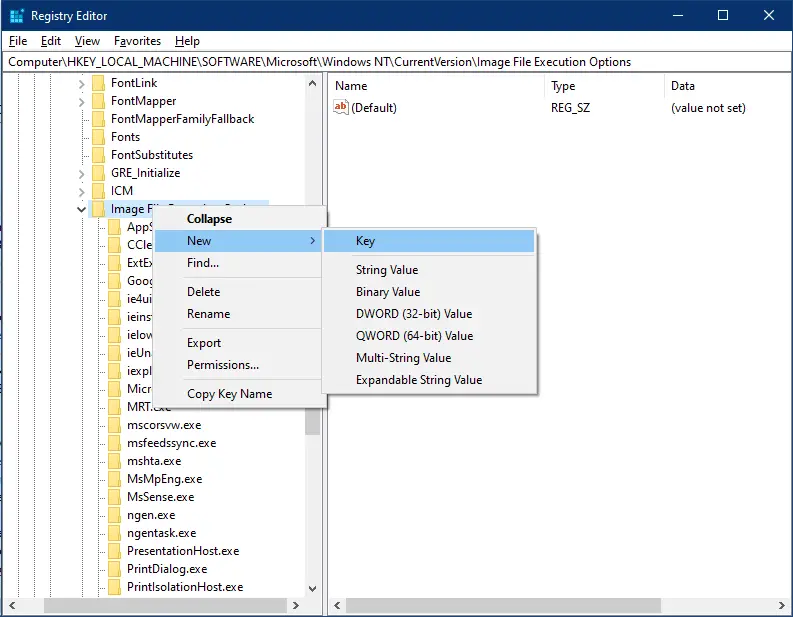
Step 5. Rename the newly created key as utilman.exe.
Step 6. Now, right-click on utilman.exe, select New, and choose String Value.
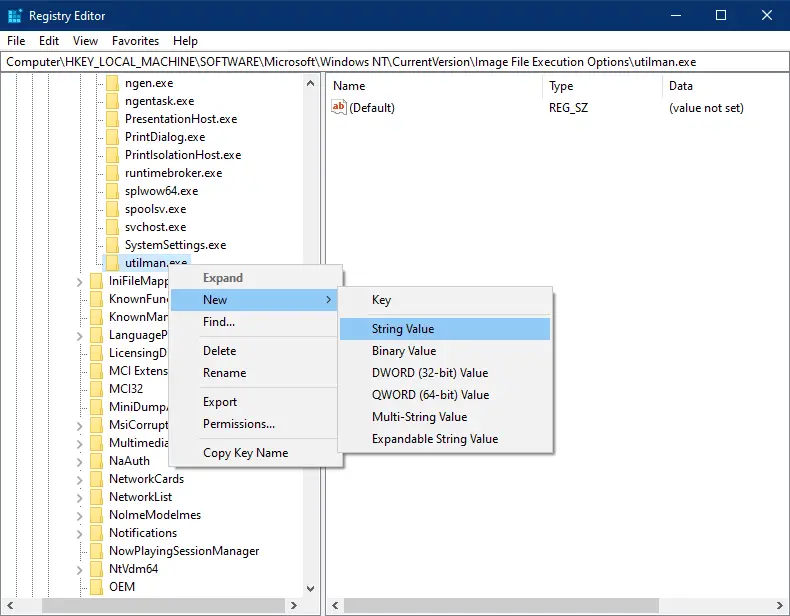
Step 7. Rename the new string value as Debugger.
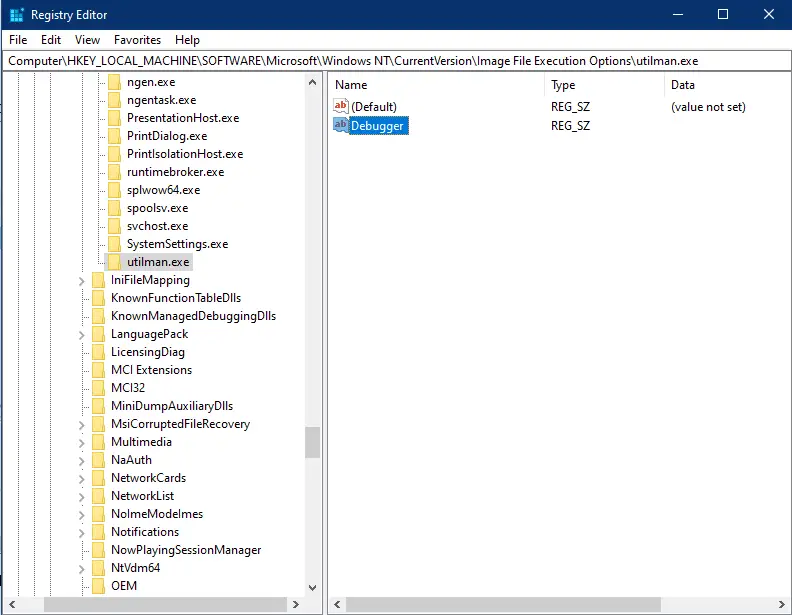
Step 8. Double-click the Debugger entry and set its value to:
C:\Windows\System32\SnippingTool.exe
Note: If Windows is installed on a different drive, adjust the path accordingly.
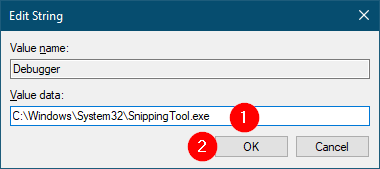
Step 9. Click OK.
Step 10. Close the Registry Editor.
Step 11. Launch any tool that triggers the User Account Control dialog box.
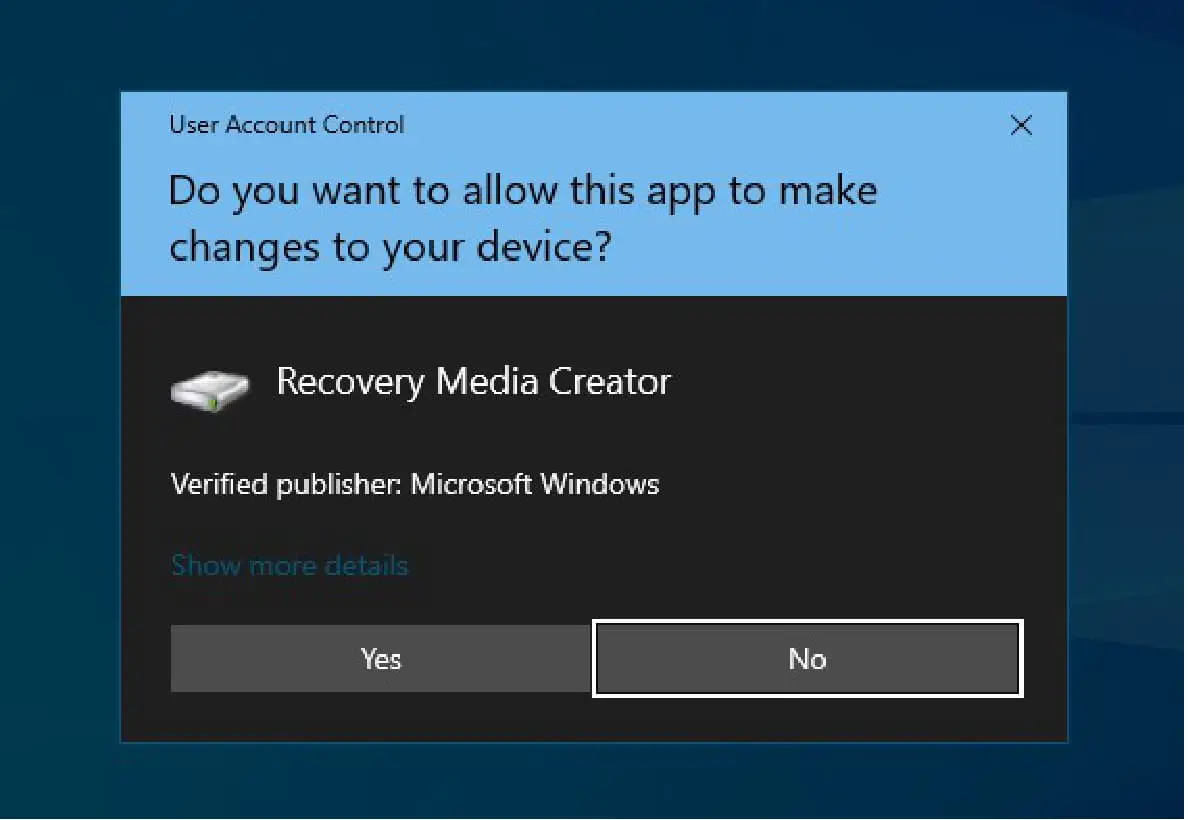
For this example, we opened the “Recovery Drive” tool, which displays the UAC prompt.
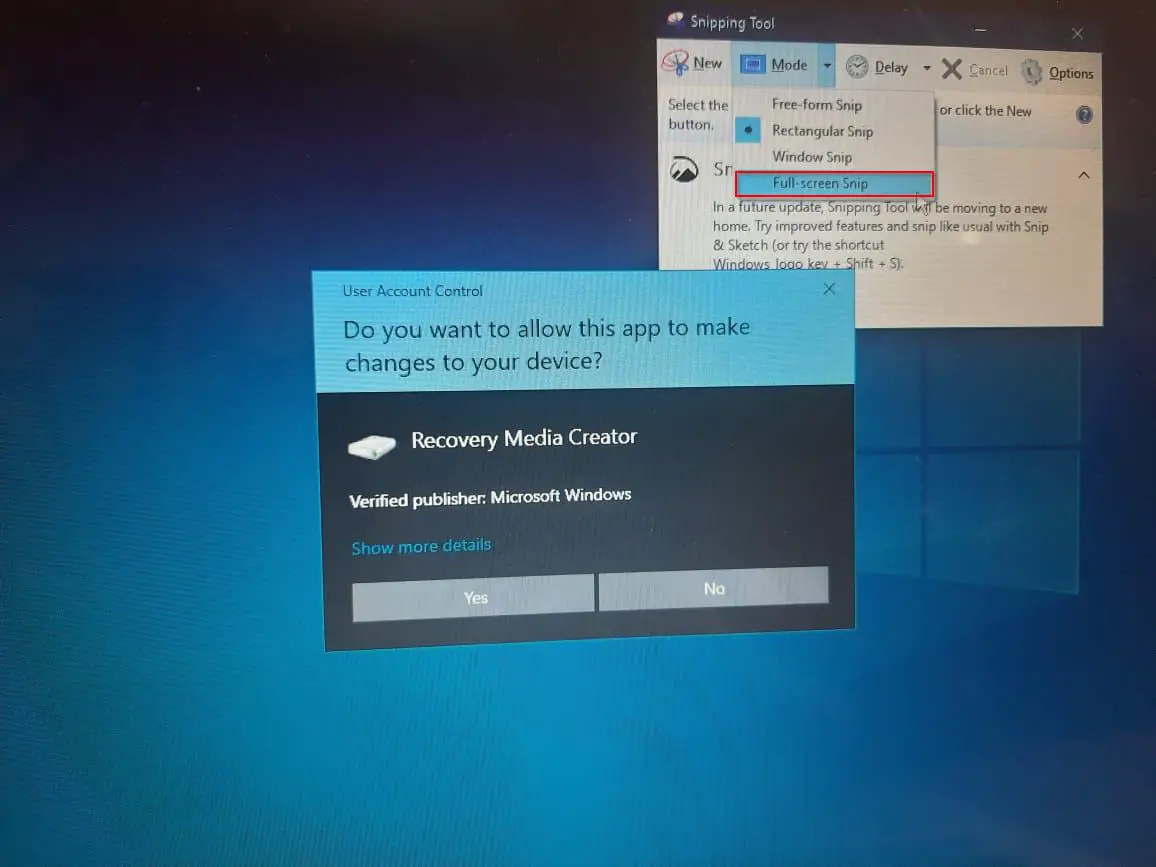
Step 12. Press the Windows Logo + U keyboard shortcut to launch the Snipping Tool.
Step 13. In Snipping Tool, click on the Mode menu and select Full-screen Snip to capture the entire screen.
Step 14. After capturing the screenshot, click on the File menu, choose Microsoft Print to PDF or Microsoft XPS Document Writer, and then click Print.
Step 15. Choose the location to save your file, name the document, and click Save.
You can now click Yes or No on the UAC prompt to exit.
The UAC prompt screenshot is now saved as a PDF or XPS file. You can use any online tool or a PDF image extractor to extract the screenshot from your document.
That’s all!