
If you are using a laptop or notebook, you can access its camera settings on Windows 10. The built-in camera is primarily used for video calling. In contrast, a smartphone camera serves multiple purposes—such as capturing photos and videos, video calling, scanning QR codes, and scanning documents. Similarly, the built-in camera on your PC is not limited to video calling. You can use it for capturing photos, creating videos, scanning QR codes, scanning documents, and more. Even if your device does not have a built-in camera, you can connect an external camera to record videos or capture screenshots.
Whether you’re using an inbuilt webcam or an external camera, it is possible to access the default camera settings on Windows 10. You may want to access these settings to adjust brightness, contrast, and other parameters to improve video or picture quality.
Note: If you’re using an external camera with a Windows 10 PC, it’s recommended to use the manufacturer’s software to access that camera’s settings, as it may offer additional features and controls.
In this gearupwindows post, we will earn the following:-
- How to view and manage Camera Settings via the Camera app?
- How to disable the built-in WebCam on Windows 10?
- How to enable a disabled WebCam on Windows 10?
- How to allow or disallow Camera access to a specific or all apps on Windows 10 using the Settings app?
- How to stop the access of the Camera for all Windows 10 apps using the Group Policy Editor?
How to view and manage Camera Settings via the Camera app?
Windows 10 comes with a built-in camera app that lets you change the few default settings of the webcam. For instance, you can change the picture resolution or photo quality, video quality, and brightness.
To access the Camera Settings using the Camera app, perform the following steps:-
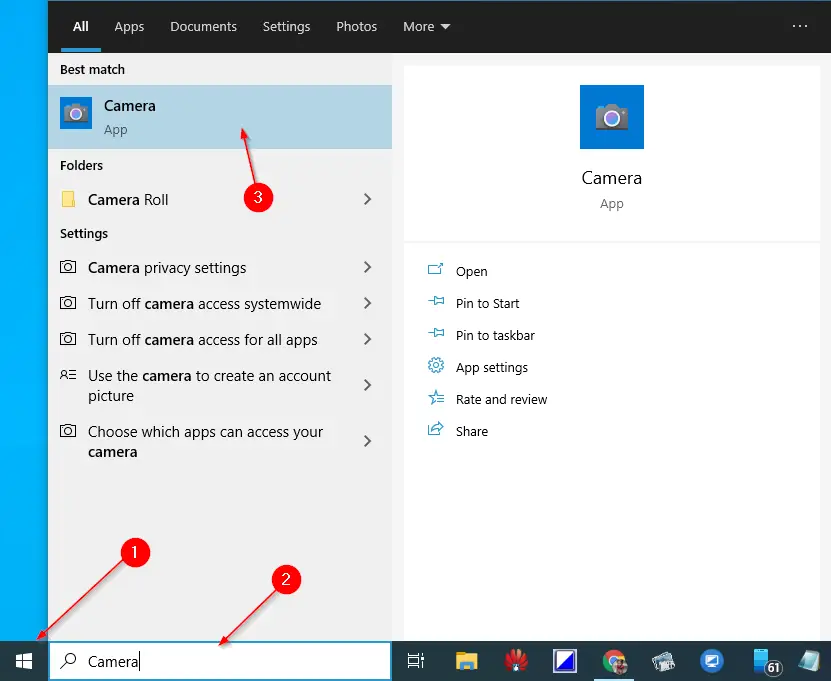
Step 1. Click on the Start button and type Camera.
Step 2. From the available search results, click on the top entry, Camera, to open it.
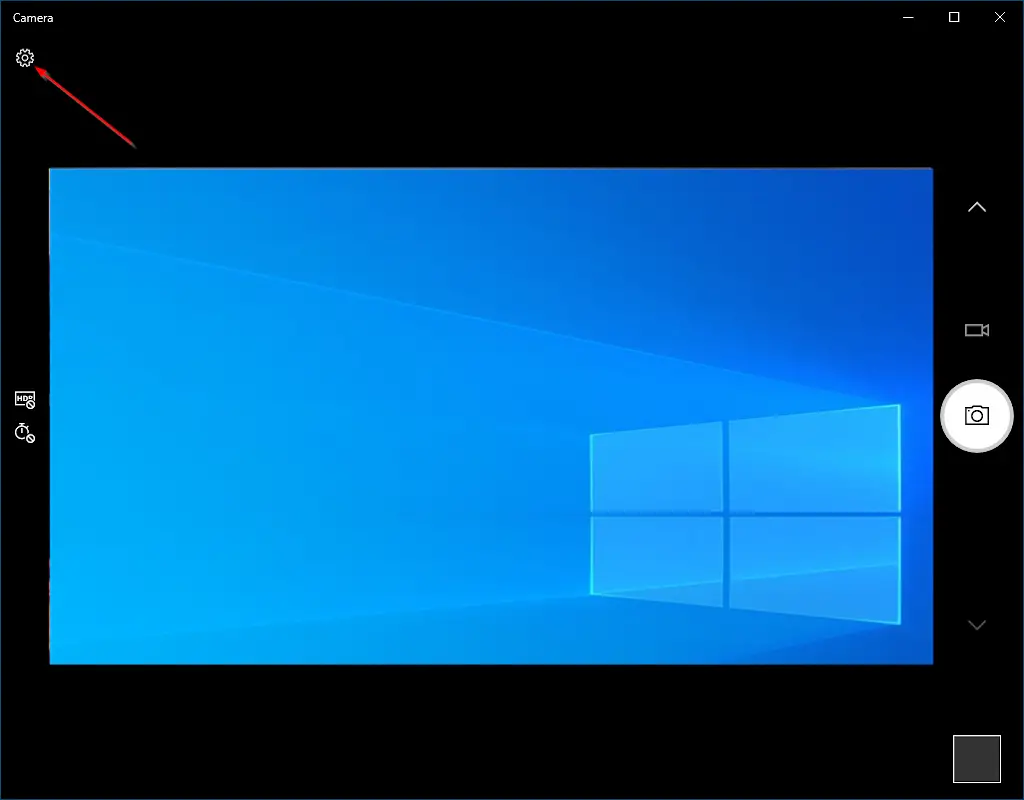
Step 3. To access the Settings of the Camera, click on the gear icon on the top left screen of the app.
Step 4. Now, you can adjust the photos and video quality settings.
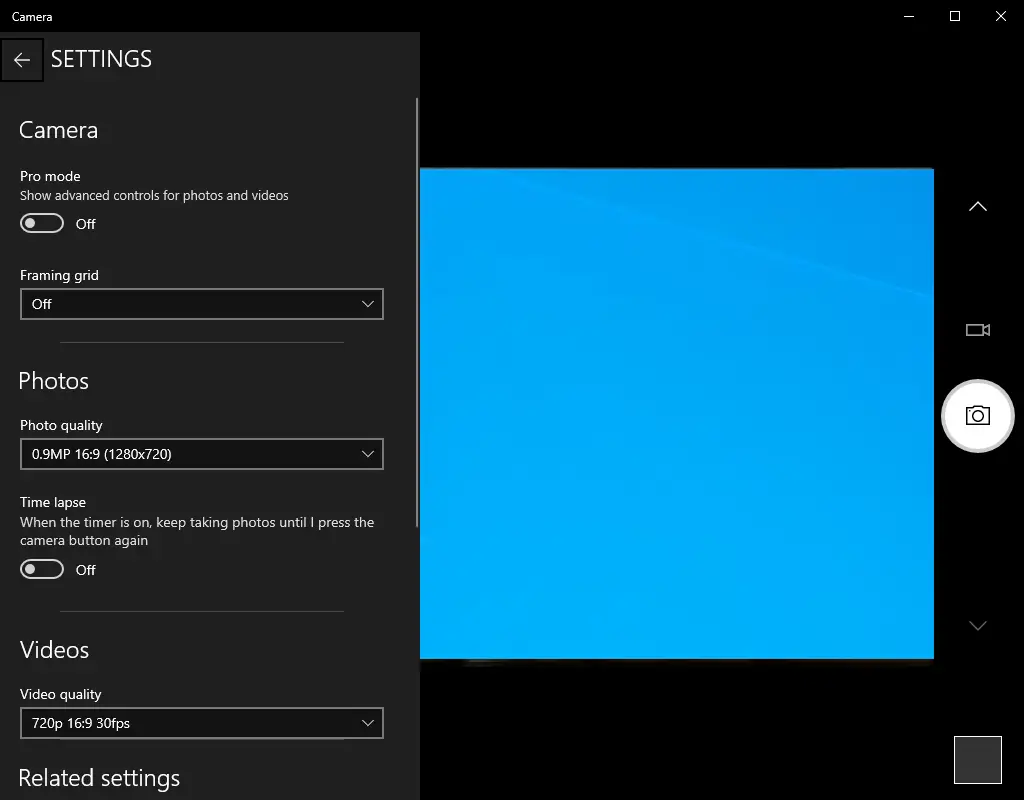
Once you complete the above steps, you should enter the Camera app settings on Windows 10.
How to disable the built-in WebCam on Windows 10?
If you don’t often use a built-in camera on a Windows 10 PC or laptop and want to disable it, perform the following steps:-
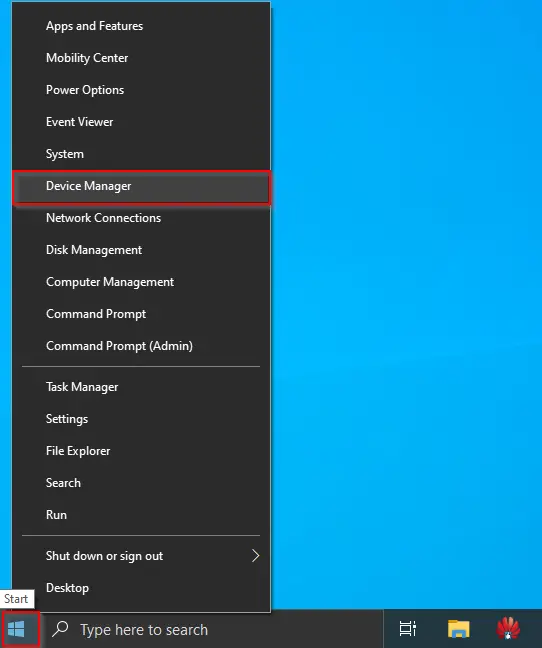
Step 1. Right-click on the Start menu or press Windows logo + X hotkey to access the Power User menu.
Step 2. On the available options, click on the Device Manager entry to open it.
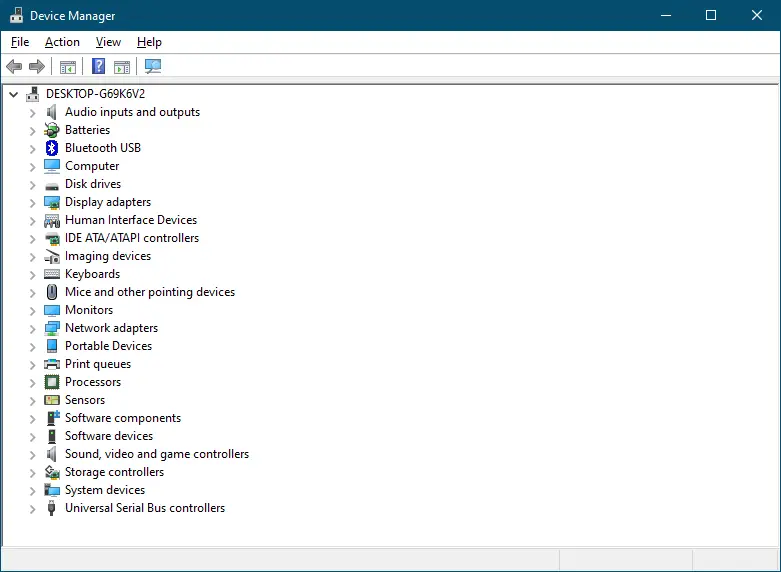
Step 3. Expand the Imaging devices by clicking on them.
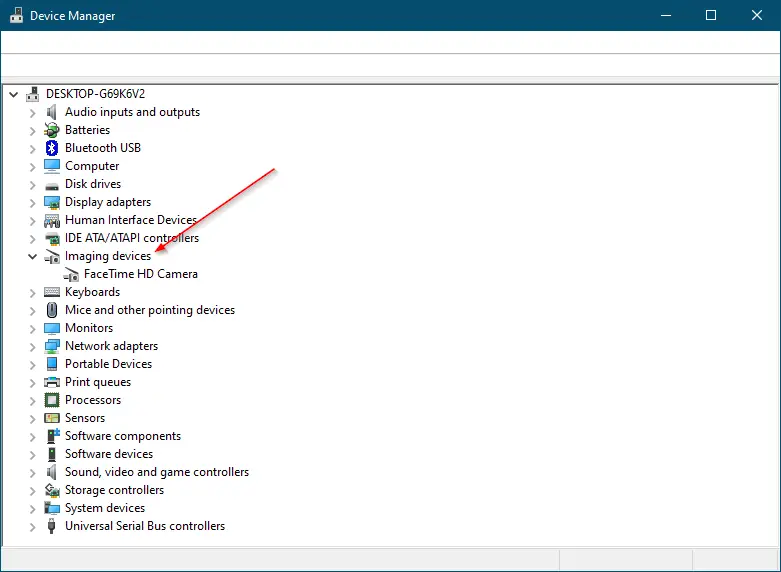
You will see a list of cameras that are attached or available on your PC or laptop.
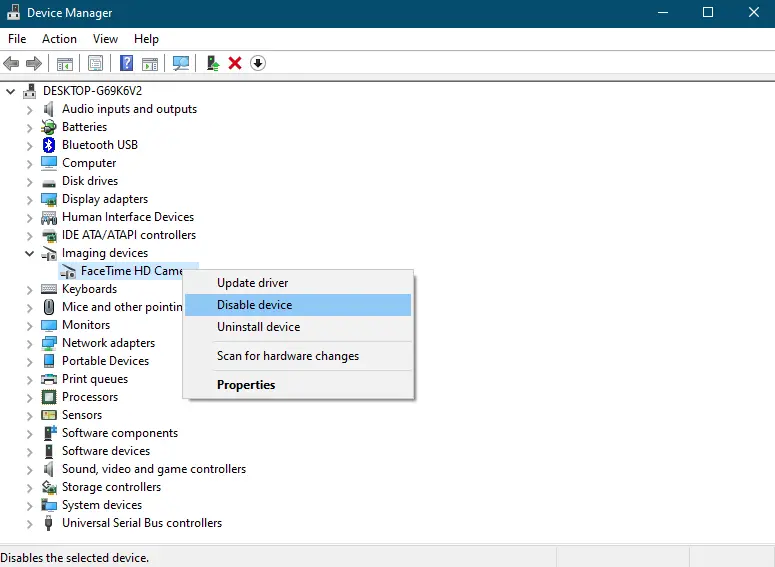
Step 4. Right-click on the camera name that you want to disable and select the Disable device option.
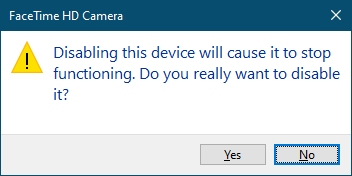
Step 5. You will see a pop-up message, “Disabling this device will cause it to stop functioning. Do you really want to disable it?” Click Yes to continue.
Once you complete the above steps, you should disable the Camera on your Windows 10 PC.
How to enable a disabled WebCam on Windows 10?
To enable the disabled Camera or WebCam on Windows 10, perform the following steps:-
Step 1. Click on the Start button and type Device Manager.
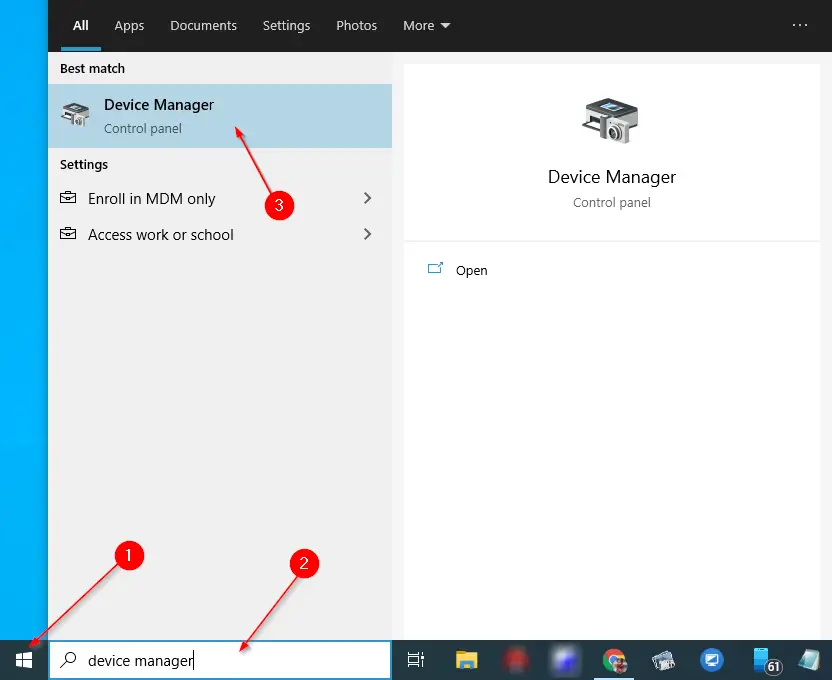
Step 2. From the available top search results, click on the Device Manager entry to launch it.
Step 3. In the Device Manager window that opens, expand the “Imaging Devices.”
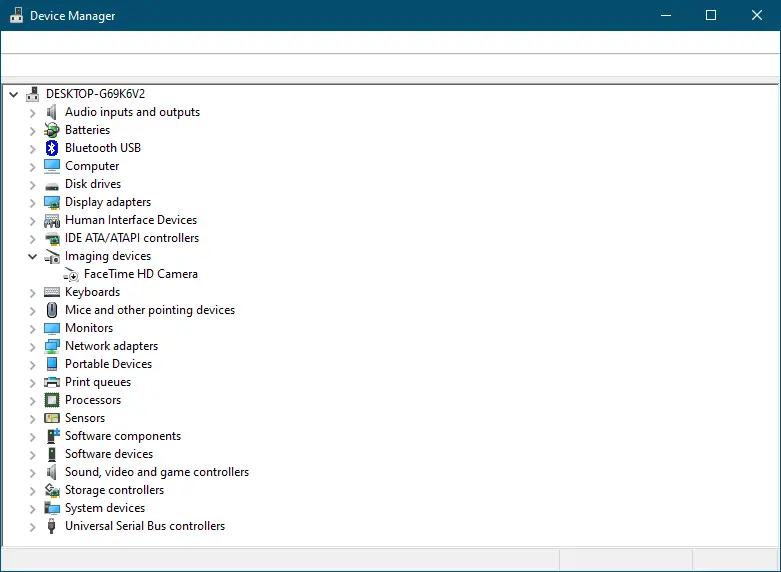
You will see a list of cameras that are available on your PC. If any camera is disabled on your PC, you will see a down arrow on the icon of the webcam/camera.
Step 4. Right-click on the disabled camera that you want to enable and select Ethe nable Device option.
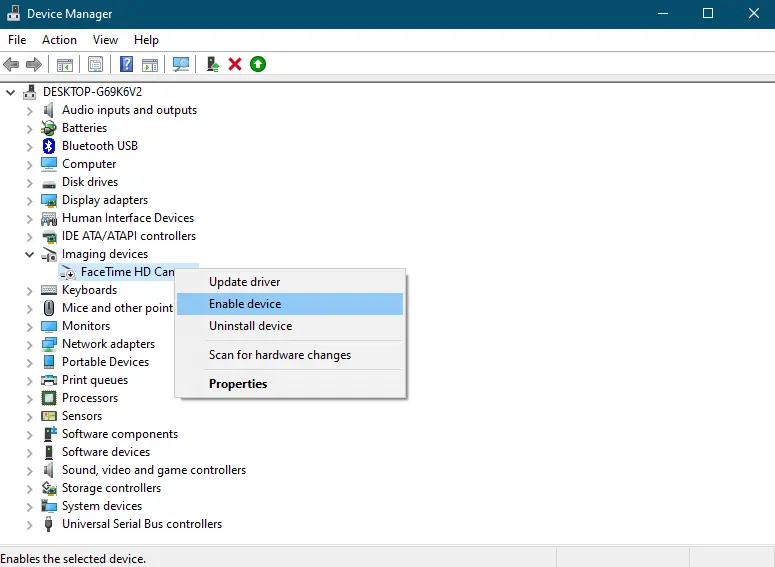
Once you complete the above steps, the selected webcam will be enabled, and you can access it.
How to allow or disallow Camera access to a specific or all apps on Windows 10 using the Settings app?
If you want to keep control of the Camera on Windows 10, in other words, if you want to allow to disallow camera access to a specific or all apps on Windows 10, perform the following steps:-
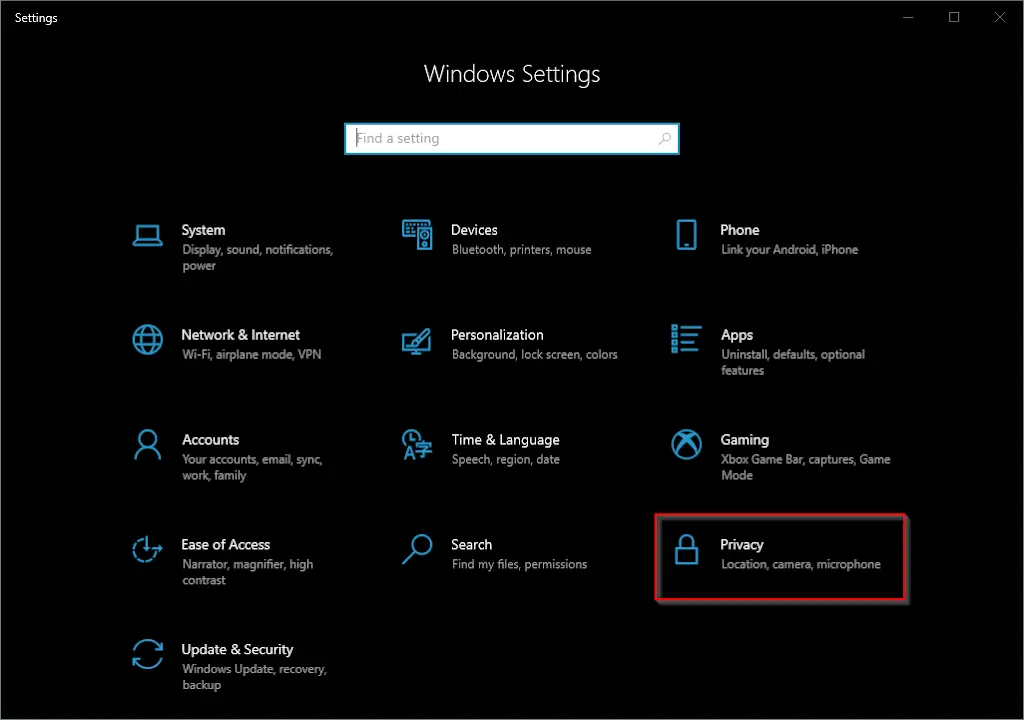
Step 1. Open the Settings app by pressing the Windows logo + I hotkeys on the keyboard.
Step 2. In the Settings window that opens, click on the Privacy category.
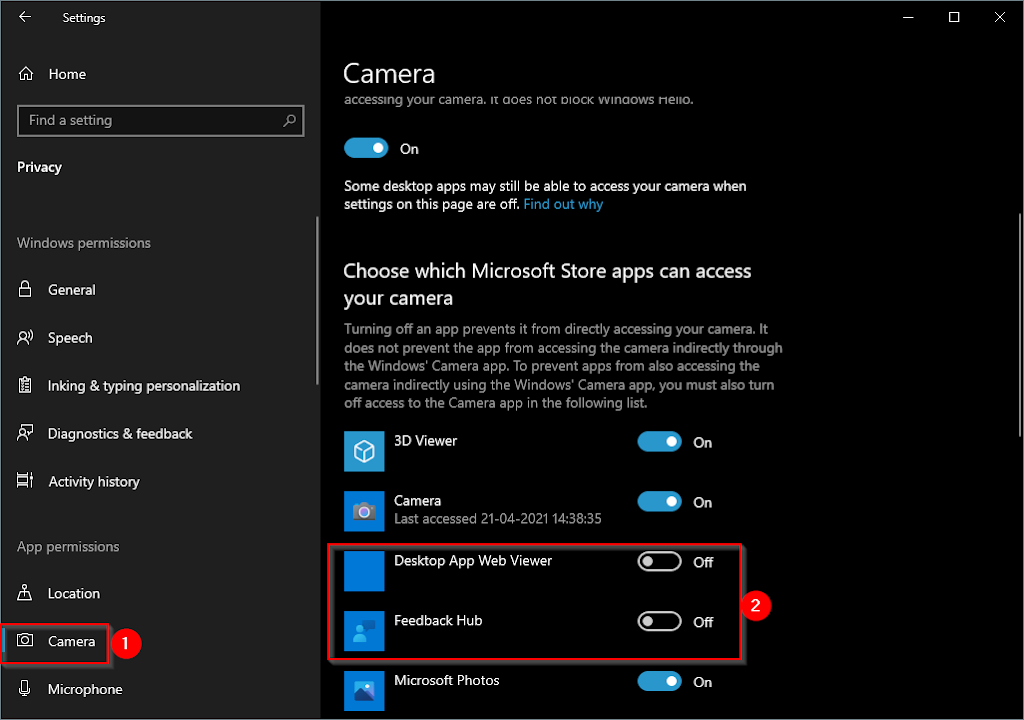
Step 3. Under Privacy, click on the Camera tab on the left side pane. On the right side of the Camera, in the “Choose which Microsoft Store apps can access your camera” section, you will see a list of all modern apps or UWP (Universal Windows Platform) app that has access to your camera. Turn the toggle off next to any program for which you want to prevent access.
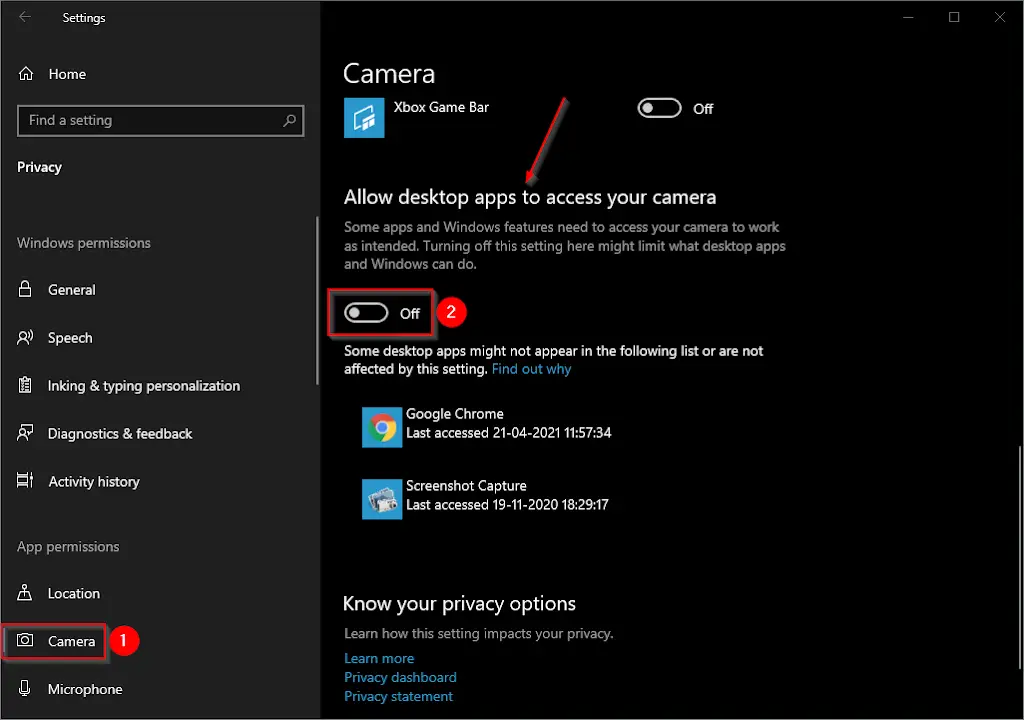
Scroll down more on the right side to see the “Allow desktop apps to access your camera” section. Turn the toggle to the Off position to prevent access to the camera for all the traditional desktop apps at once.
If you want to stop access to the camera for all UMP apps and desktop software with a single click of the mouse, under the section “Allow apps to access your camera,” turn the toggle to the off position.
Once you complete the above steps, you should disable access to the camera for a specific app or all apps on your Windows 10 PC.
How to stop the Camera’s access for all Windows 10 apps using the Group Policy Editor?
Windows 10 lets you disallow the Camera’s access for all UMP or modern apps using GPO. However, there is no policy available to date to disallow Camera access to classic desktop software.
Kind Note: Local Group Policy Editor is not a part of Windows 10 Home edition. First, to proceed with these steps, enable the gpedit.msc on your PC to proceed with further steps.
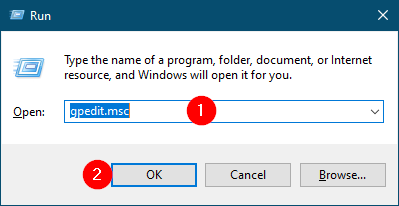
Step 1. Press and hold the Windows logo key and then press the R key on the keyboard to open the Run dialog box.
Step 2. In the Run command box that opens, type the following and click OK to open the Local Group Policy Editor window:-
gpedit.msc
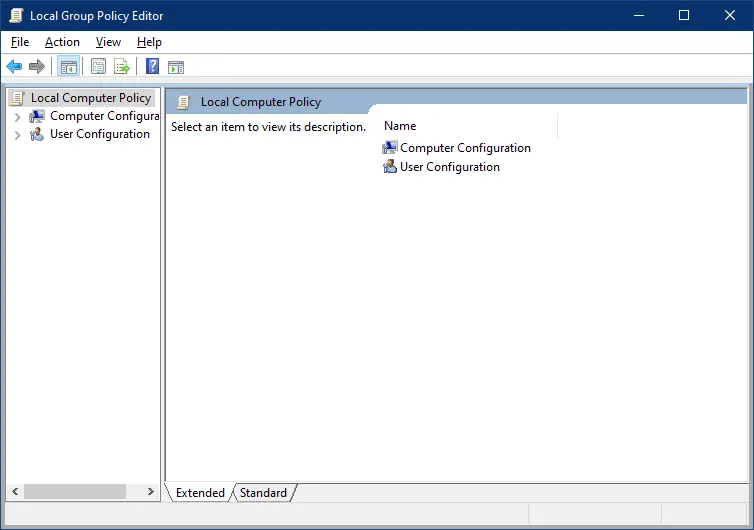
Step 3. In the Local Group Policy Editor window that opens after completing the above steps, navigate or browse for the following path from the left side pane:-
Computer Configuration > Administrative Templates > Windows Components > Camera
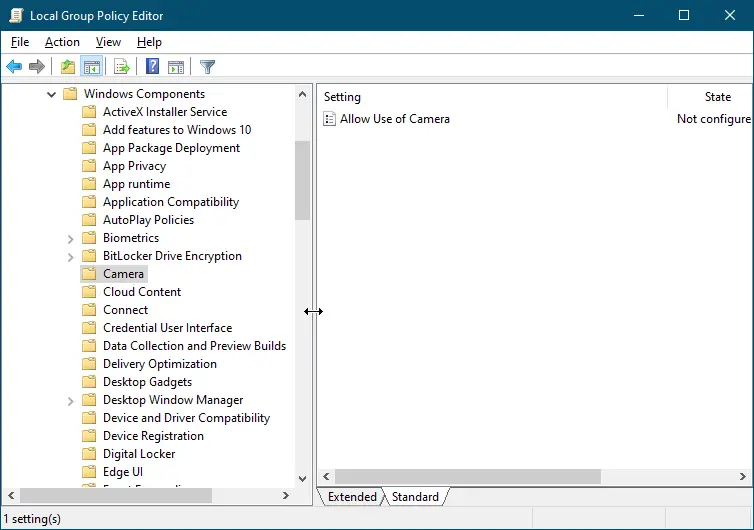
Step 4. On the right-side window of the Camera, double click on the policy “Allow Use of Camera.”
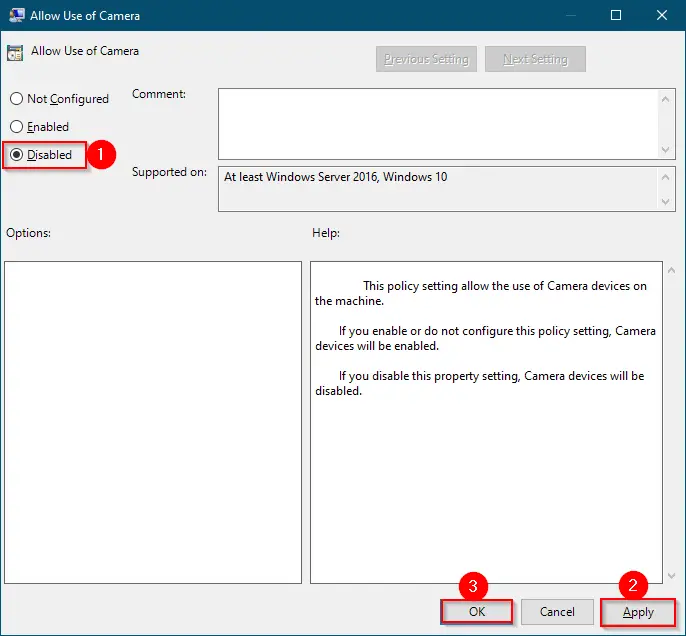
Step 5. Click Apply.
Step 6. Click OK.
Step 7. Now, navigate to the following path in GPO:-
Computer Configuration > Administrative Templates > Windows Components > App Privacy
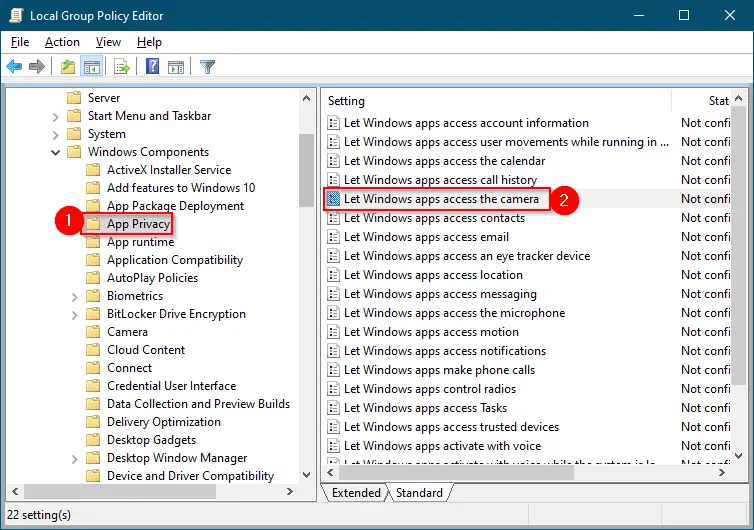
Step 8. On the right pane of App Privacy, double click on the policy name “Let Windows apps access the camera.”
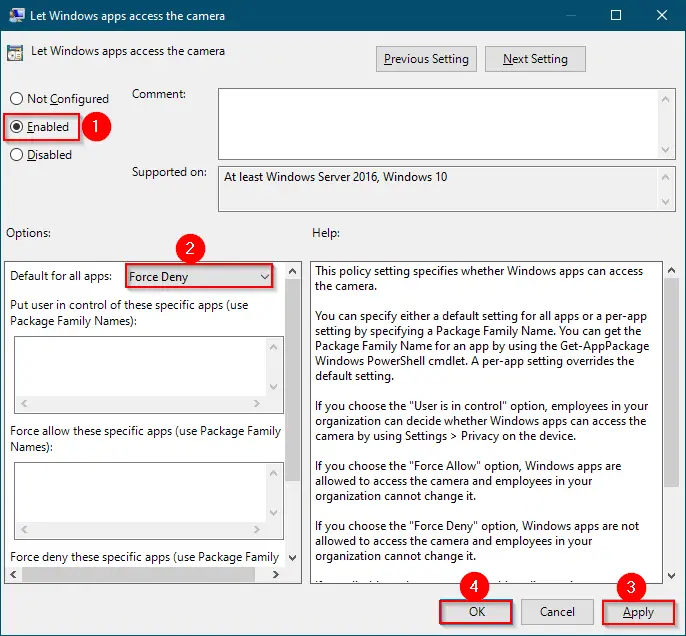
Step 9. Select Enabled.
Step 10. From the drop-down menu next to the “Default for all apps,” select the “Force Deny” option.
Step 11. Click Apply.
Step 12. Click OK.
Once you complete the above steps, all the Windows apps will be denied access to the Camera on your Windows 10 PC.