
Do you want to back up your PC drives and restore them in the future when required? If your answer is yes, you are reading the right article at gearupwindows. With the help of the command prompt, you can export (backup) or import (restore) device drivers on a Windows 11 computer. If you have planned to reinstall your Windows 11 machine and want to export installed drivers, you can do it using a few commands.
While your PC is working correctly, we recommend you keep a copy of it. If something goes wrong, you can restore those drivers after installing a new Windows.
How to Export or Back Up Device Drivers on Windows 11?
If you want to export or back up drivers from installed Windows 11, do the following:-
Step 1. First, open the Command Prompt with administrator rights.
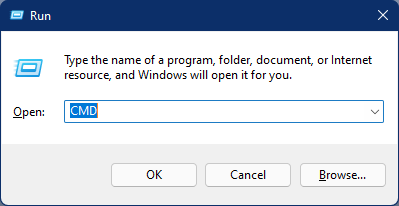
To do that, press the Windows + R keys on the keyboard to open the Run dialog box. In the Run box, type cmd and then press Ctrl + Shift + Enter from the keyboard to run the command prompt as an administrator.
Step 2. In the elevated command prompt, type the following to export the drivers for all devices installed on a Windows 11 machine:-
dism /online /export-driver /destination:"full_path_to_export_folder"
Note: In the command, replace “full_path_to_export_folder” with a folder you want to export to. For example, if you’re going to ship drivers in the “C:\Drivers” folder, then your full command will be like this:-
dism /online /export-driver /destination:"C:\Drivers"
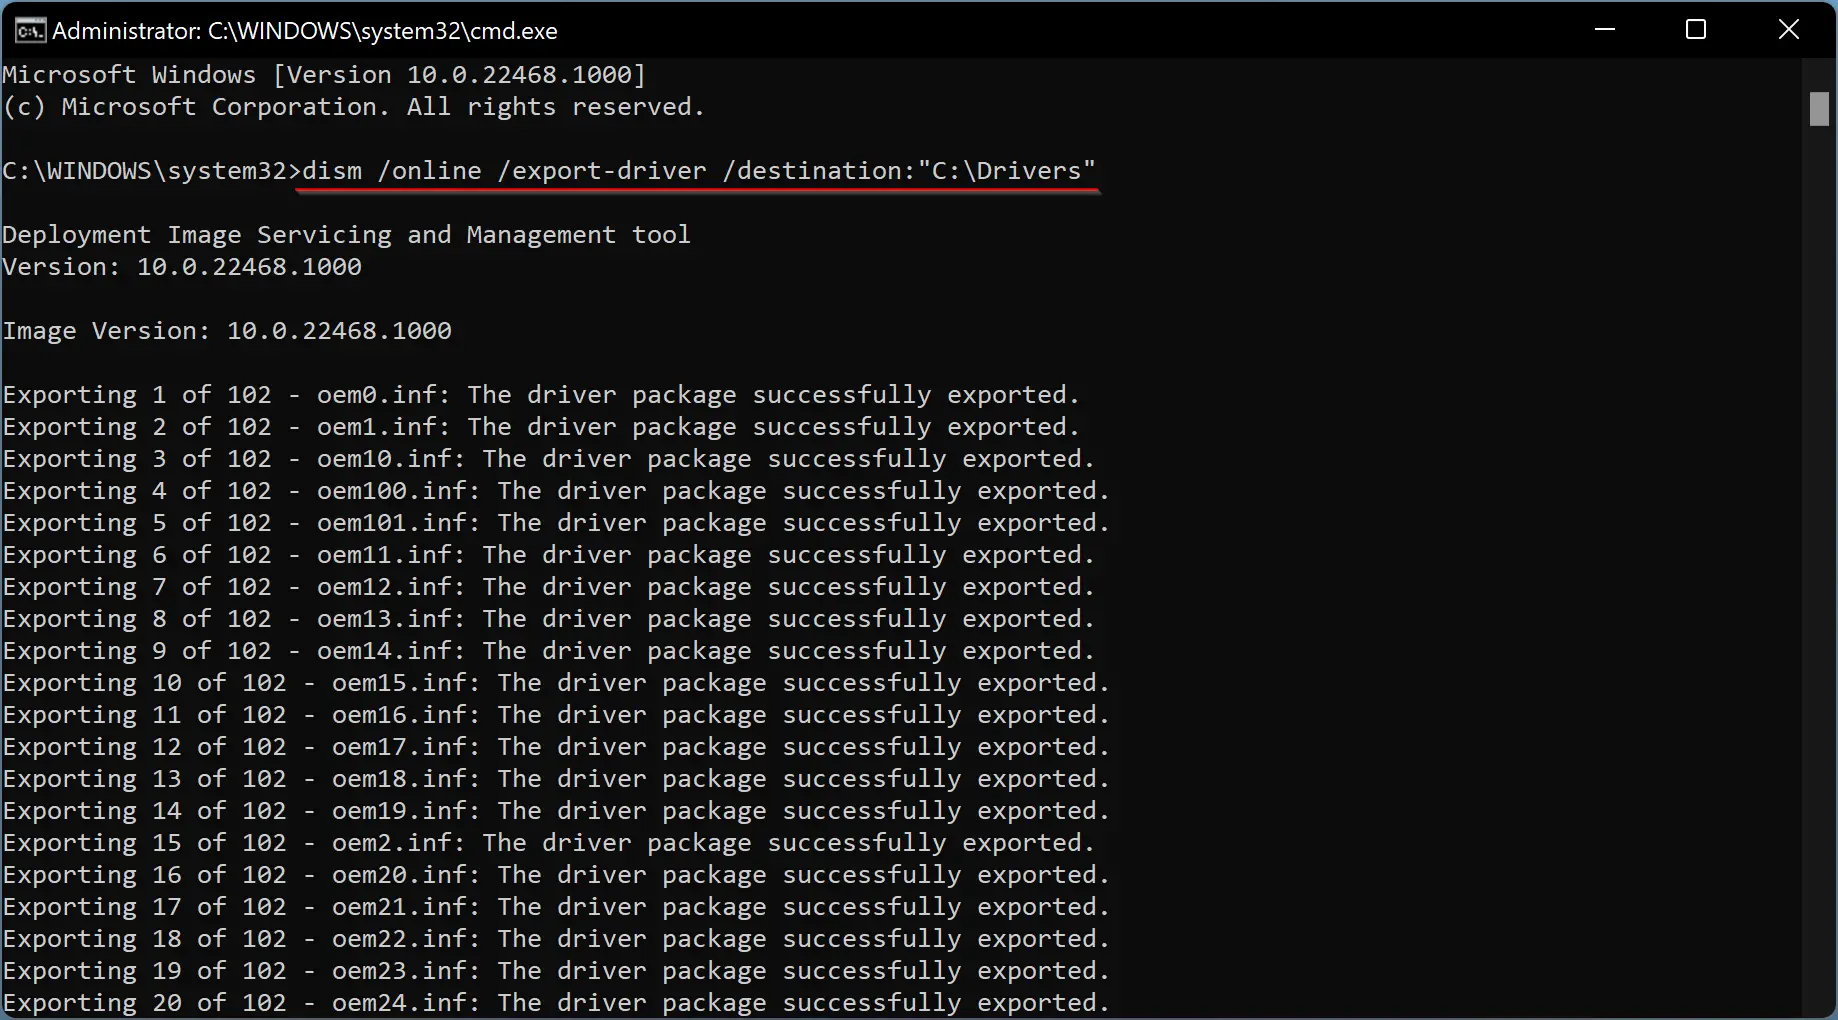
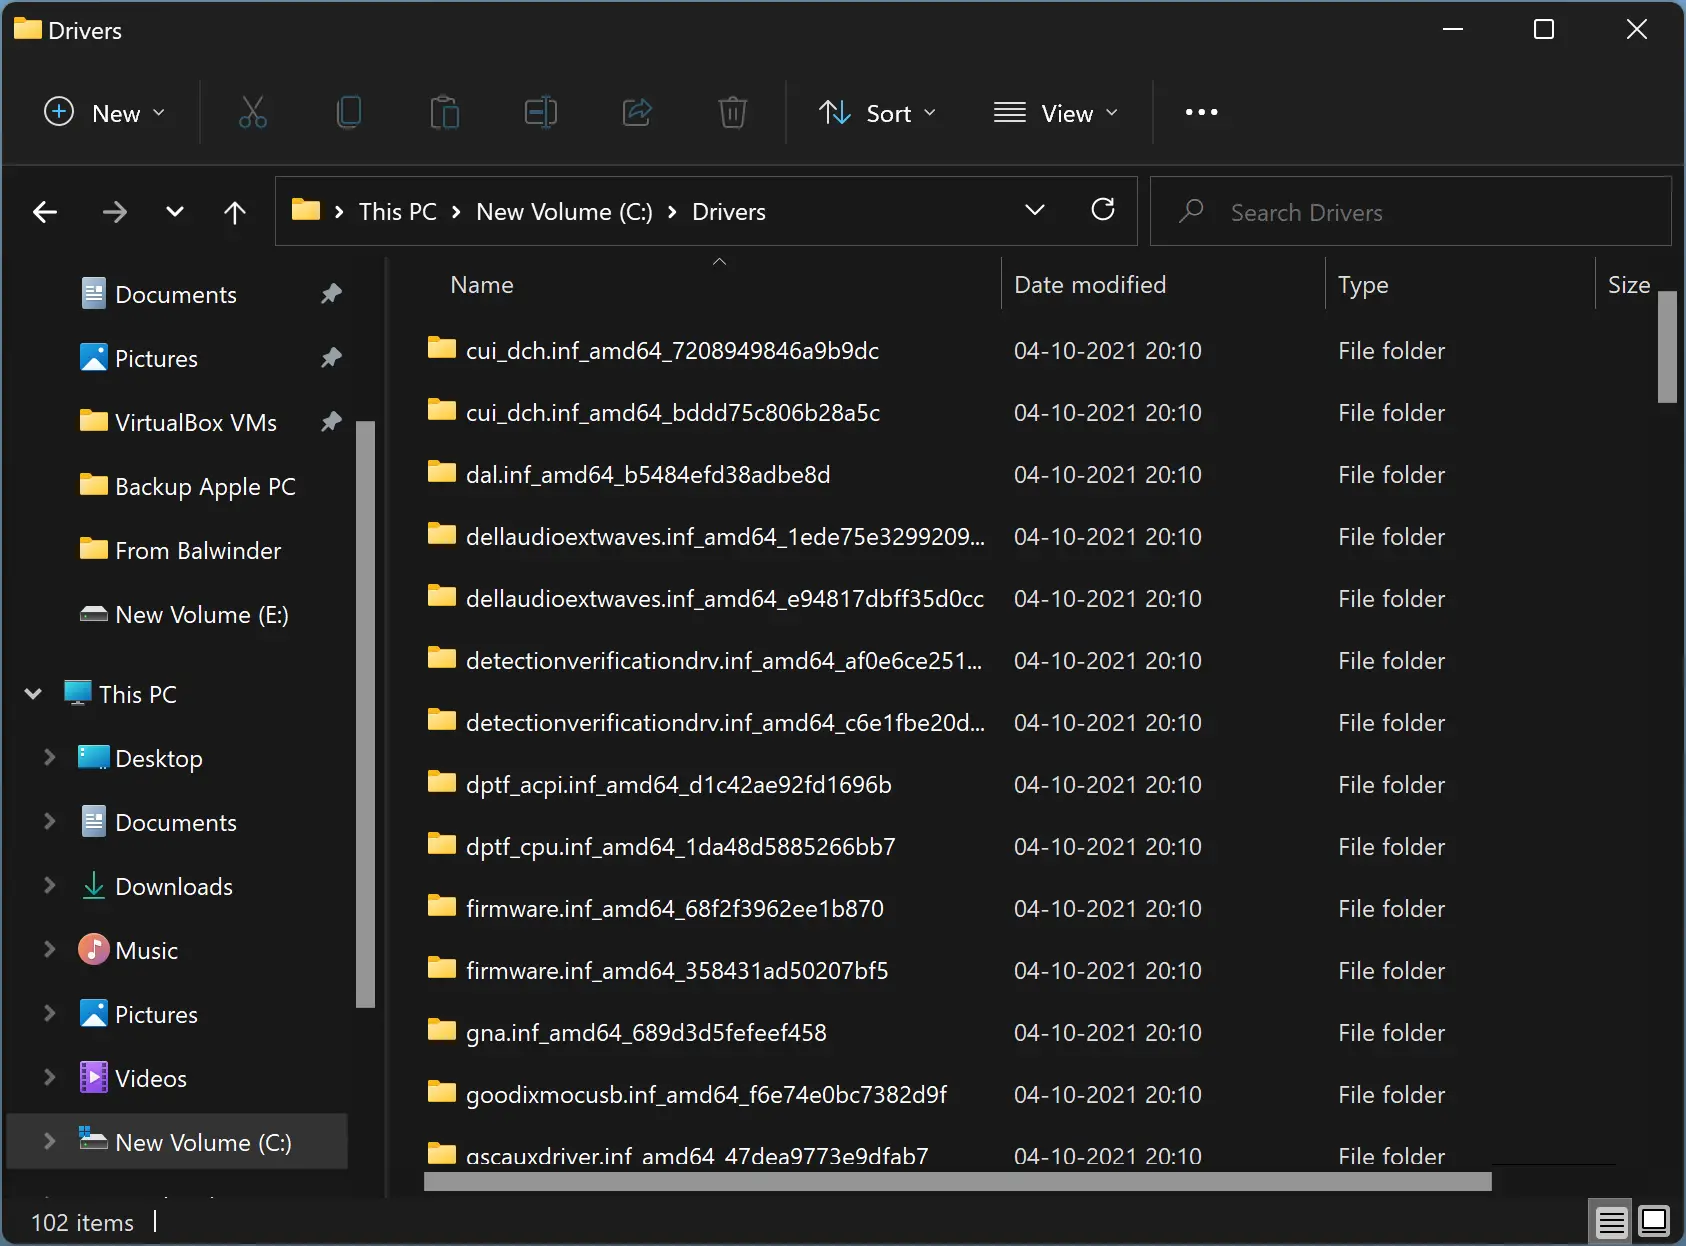
Windows may take a while exporting drivers; it all depends on the driver’s size. When done, you will find all component drivers in your predefined folder.
You can also use the following command to export device drivers on a Windows 11 PC:-
pnputil /export-driver * "full_path_to_export_folder"
If you prefer to use PowerShell, then open Windows PowerShell with elevated rights and use the following command to export all device drivers:-
Export-WindowsDriver -Online -Destination "full_path_to_export_folder"
How to Import Device Drivers on Windows 11?
To import or restore device drives on Windows 11, use the following steps:-
Step 1. Open an elevated Command Prompt.
Step 2. In the command prompt, type the following and then hit Enter on the keyboard to execute it:-
pnputil /add-driver "full_path_to_import_folder\*.inf" /subdirs /install /reboot
Note: Replace the “full_path_to_import_folder” with your folder path where you have kept the backup of drivers.
That’s it!
Driver Backup & Restore — One-click offline driver export & restore
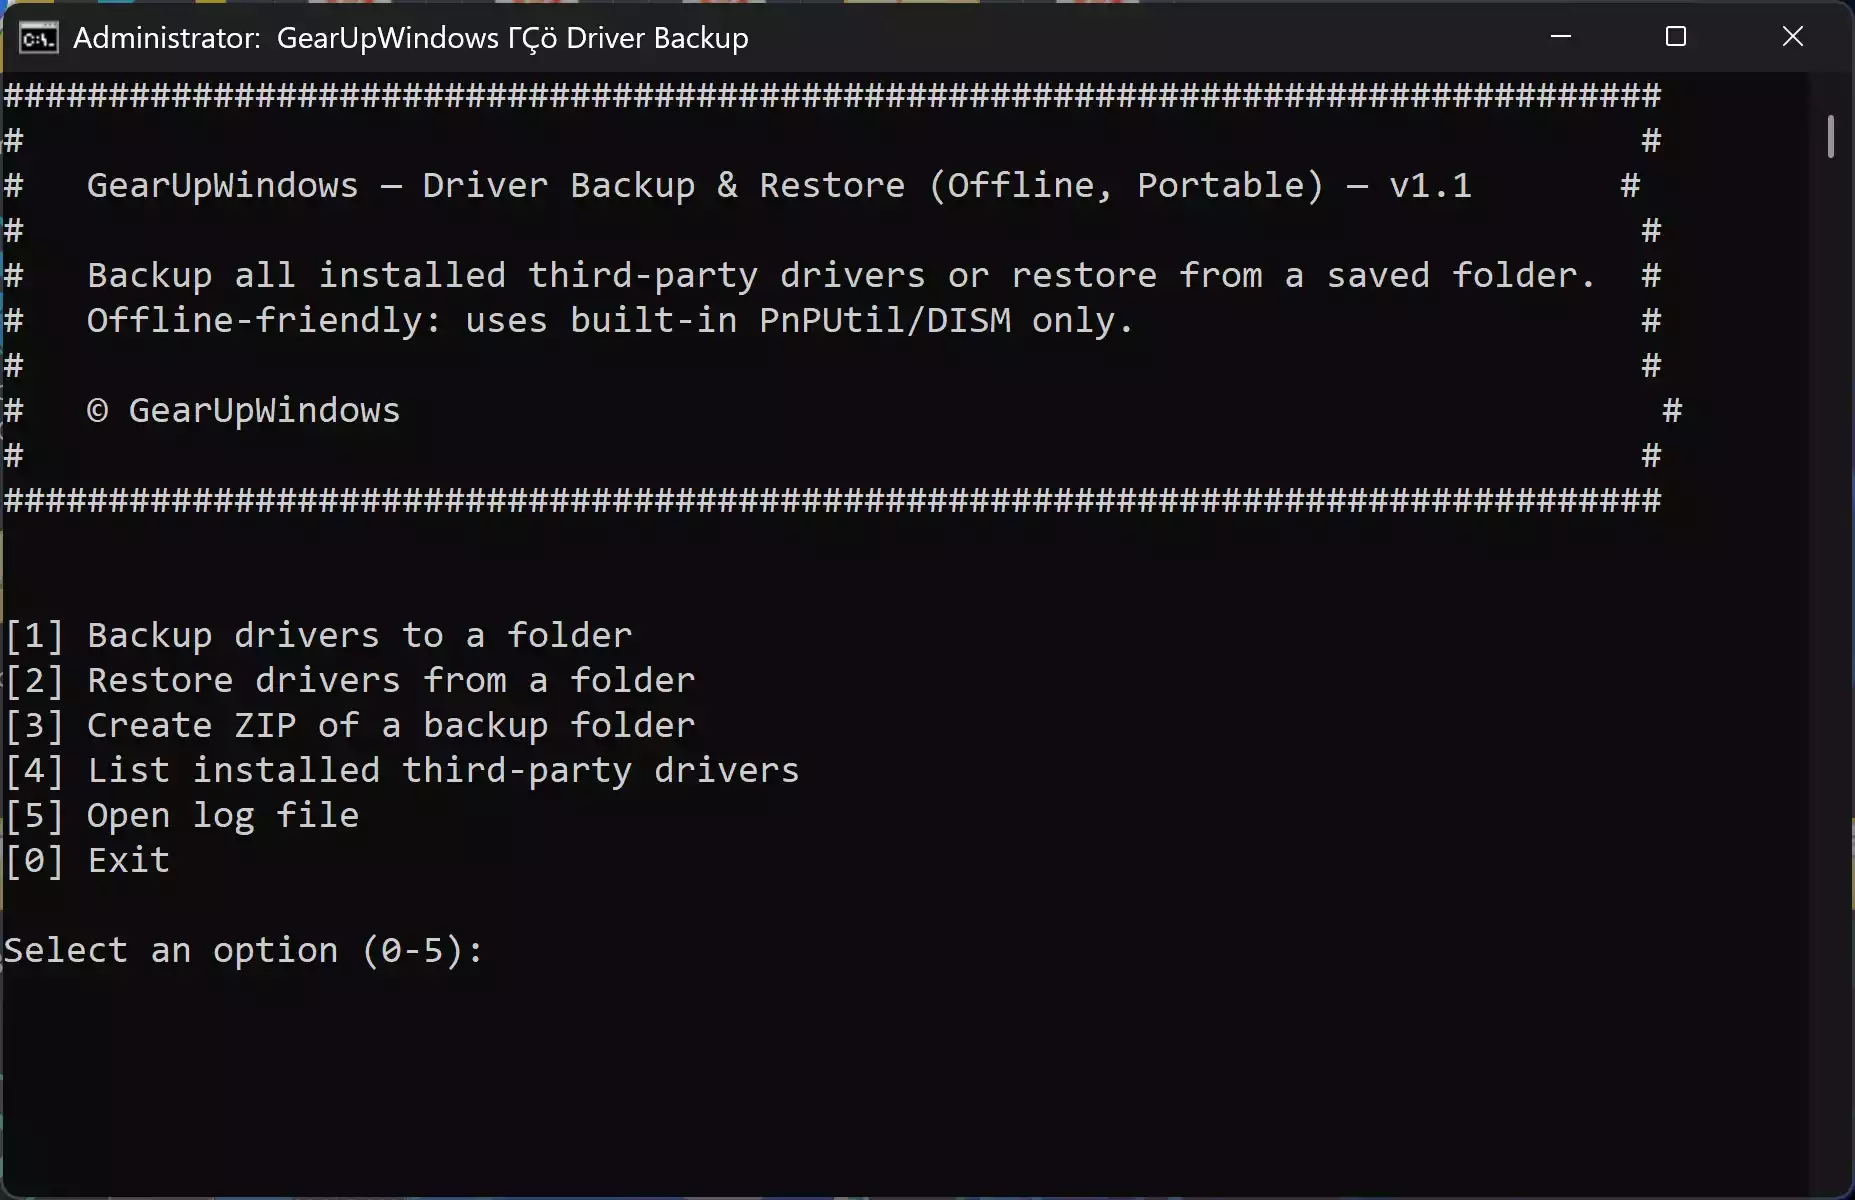
If you don’t want to rely on Command Prompt or PowerShell, you can also use a free utility called Driver Backup & Restore. This lightweight tool lets you back up all installed drivers with a single click and restore them later, even without an internet connection. It’s especially useful after a clean Windows installation, major updates, or a system crash.
Tip: Save your exported drivers to an external drive or cloud storage so they’re always available when you need to restore them.
Conclusion
In conclusion, backing up your device drivers on a Windows 11 computer is an essential step to ensure that you can restore them later if something goes wrong. With the help of the Command Prompt, you can easily export and import device drivers on your system. By following the simple steps outlined in this article, you can easily create a backup of your drivers and restore them when required. It is always recommended to keep a copy of the drivers while the PC is working correctly. It can save you a lot of time and effort in the future. So, take some time out and back up your device drivers today!