
Extensions on the Google Chrome browser are non-native programs that let you enable additional functions on your browser. That’s why extensions are popular around the world.
Although most extensions are free to use, you need to install and enable them. In case you don’t need it, you can uninstall it from your Chrome browser. And, for troubleshooting, you can disable it temporarily.
The above video tutorial describes how to manage extensions on Chrome browser that applies to all computers, laptops, desktops, and tablets running the Windows 11, 10, 8/8.1, and 7 operating systems.
Google Chrome is one of the most popular web browsers used by millions of people worldwide. It allows you to enhance your browsing experience by installing extensions that add additional functionality to the browser. In this guide, we will show you how to manage extensions on Chrome, including how to install, uninstall, enable, or disable them.
How to Install Extensions on Chrome?
To install extensions on Chrome, use these steps:-
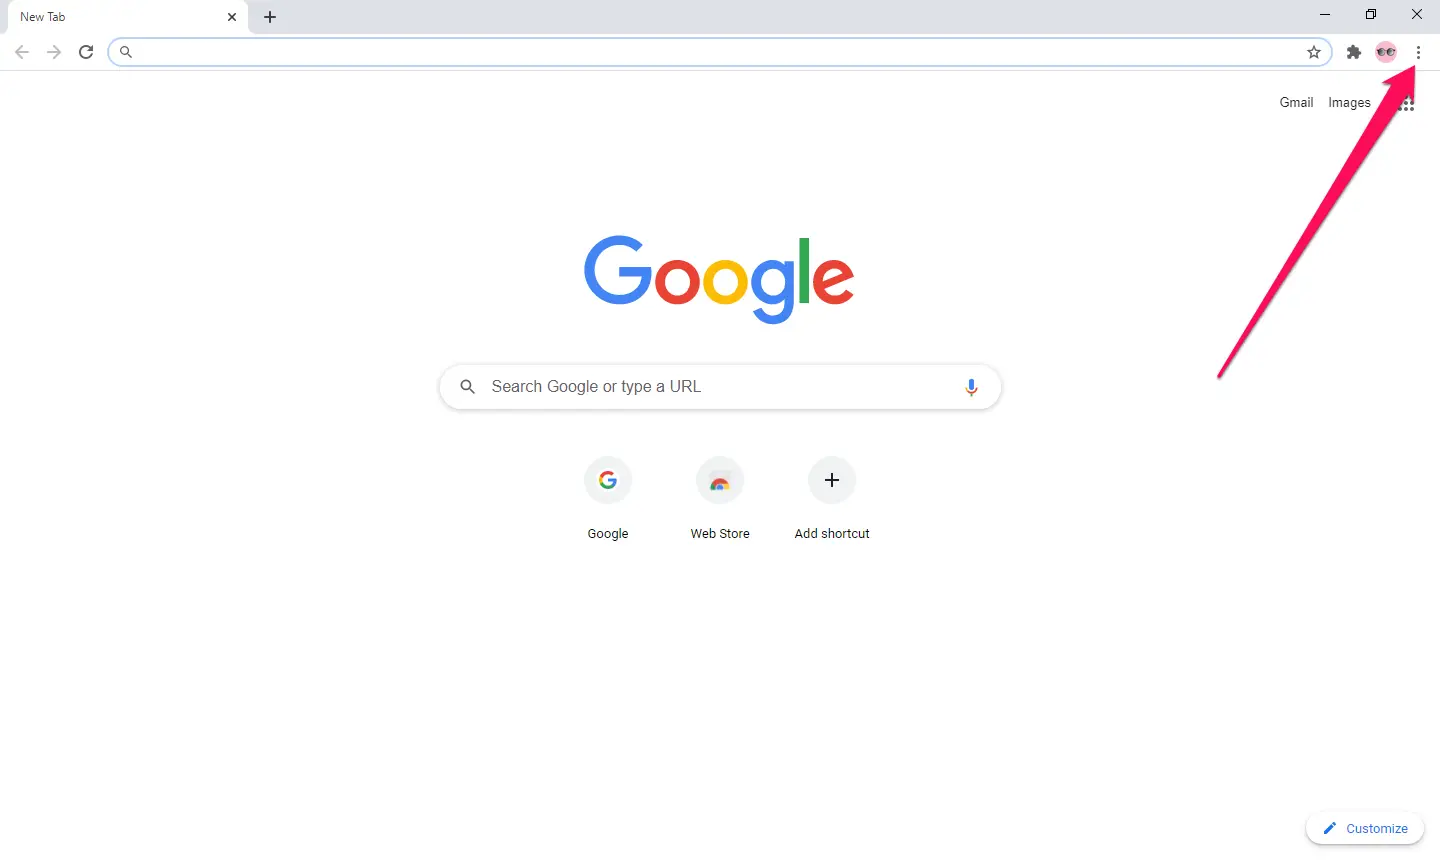
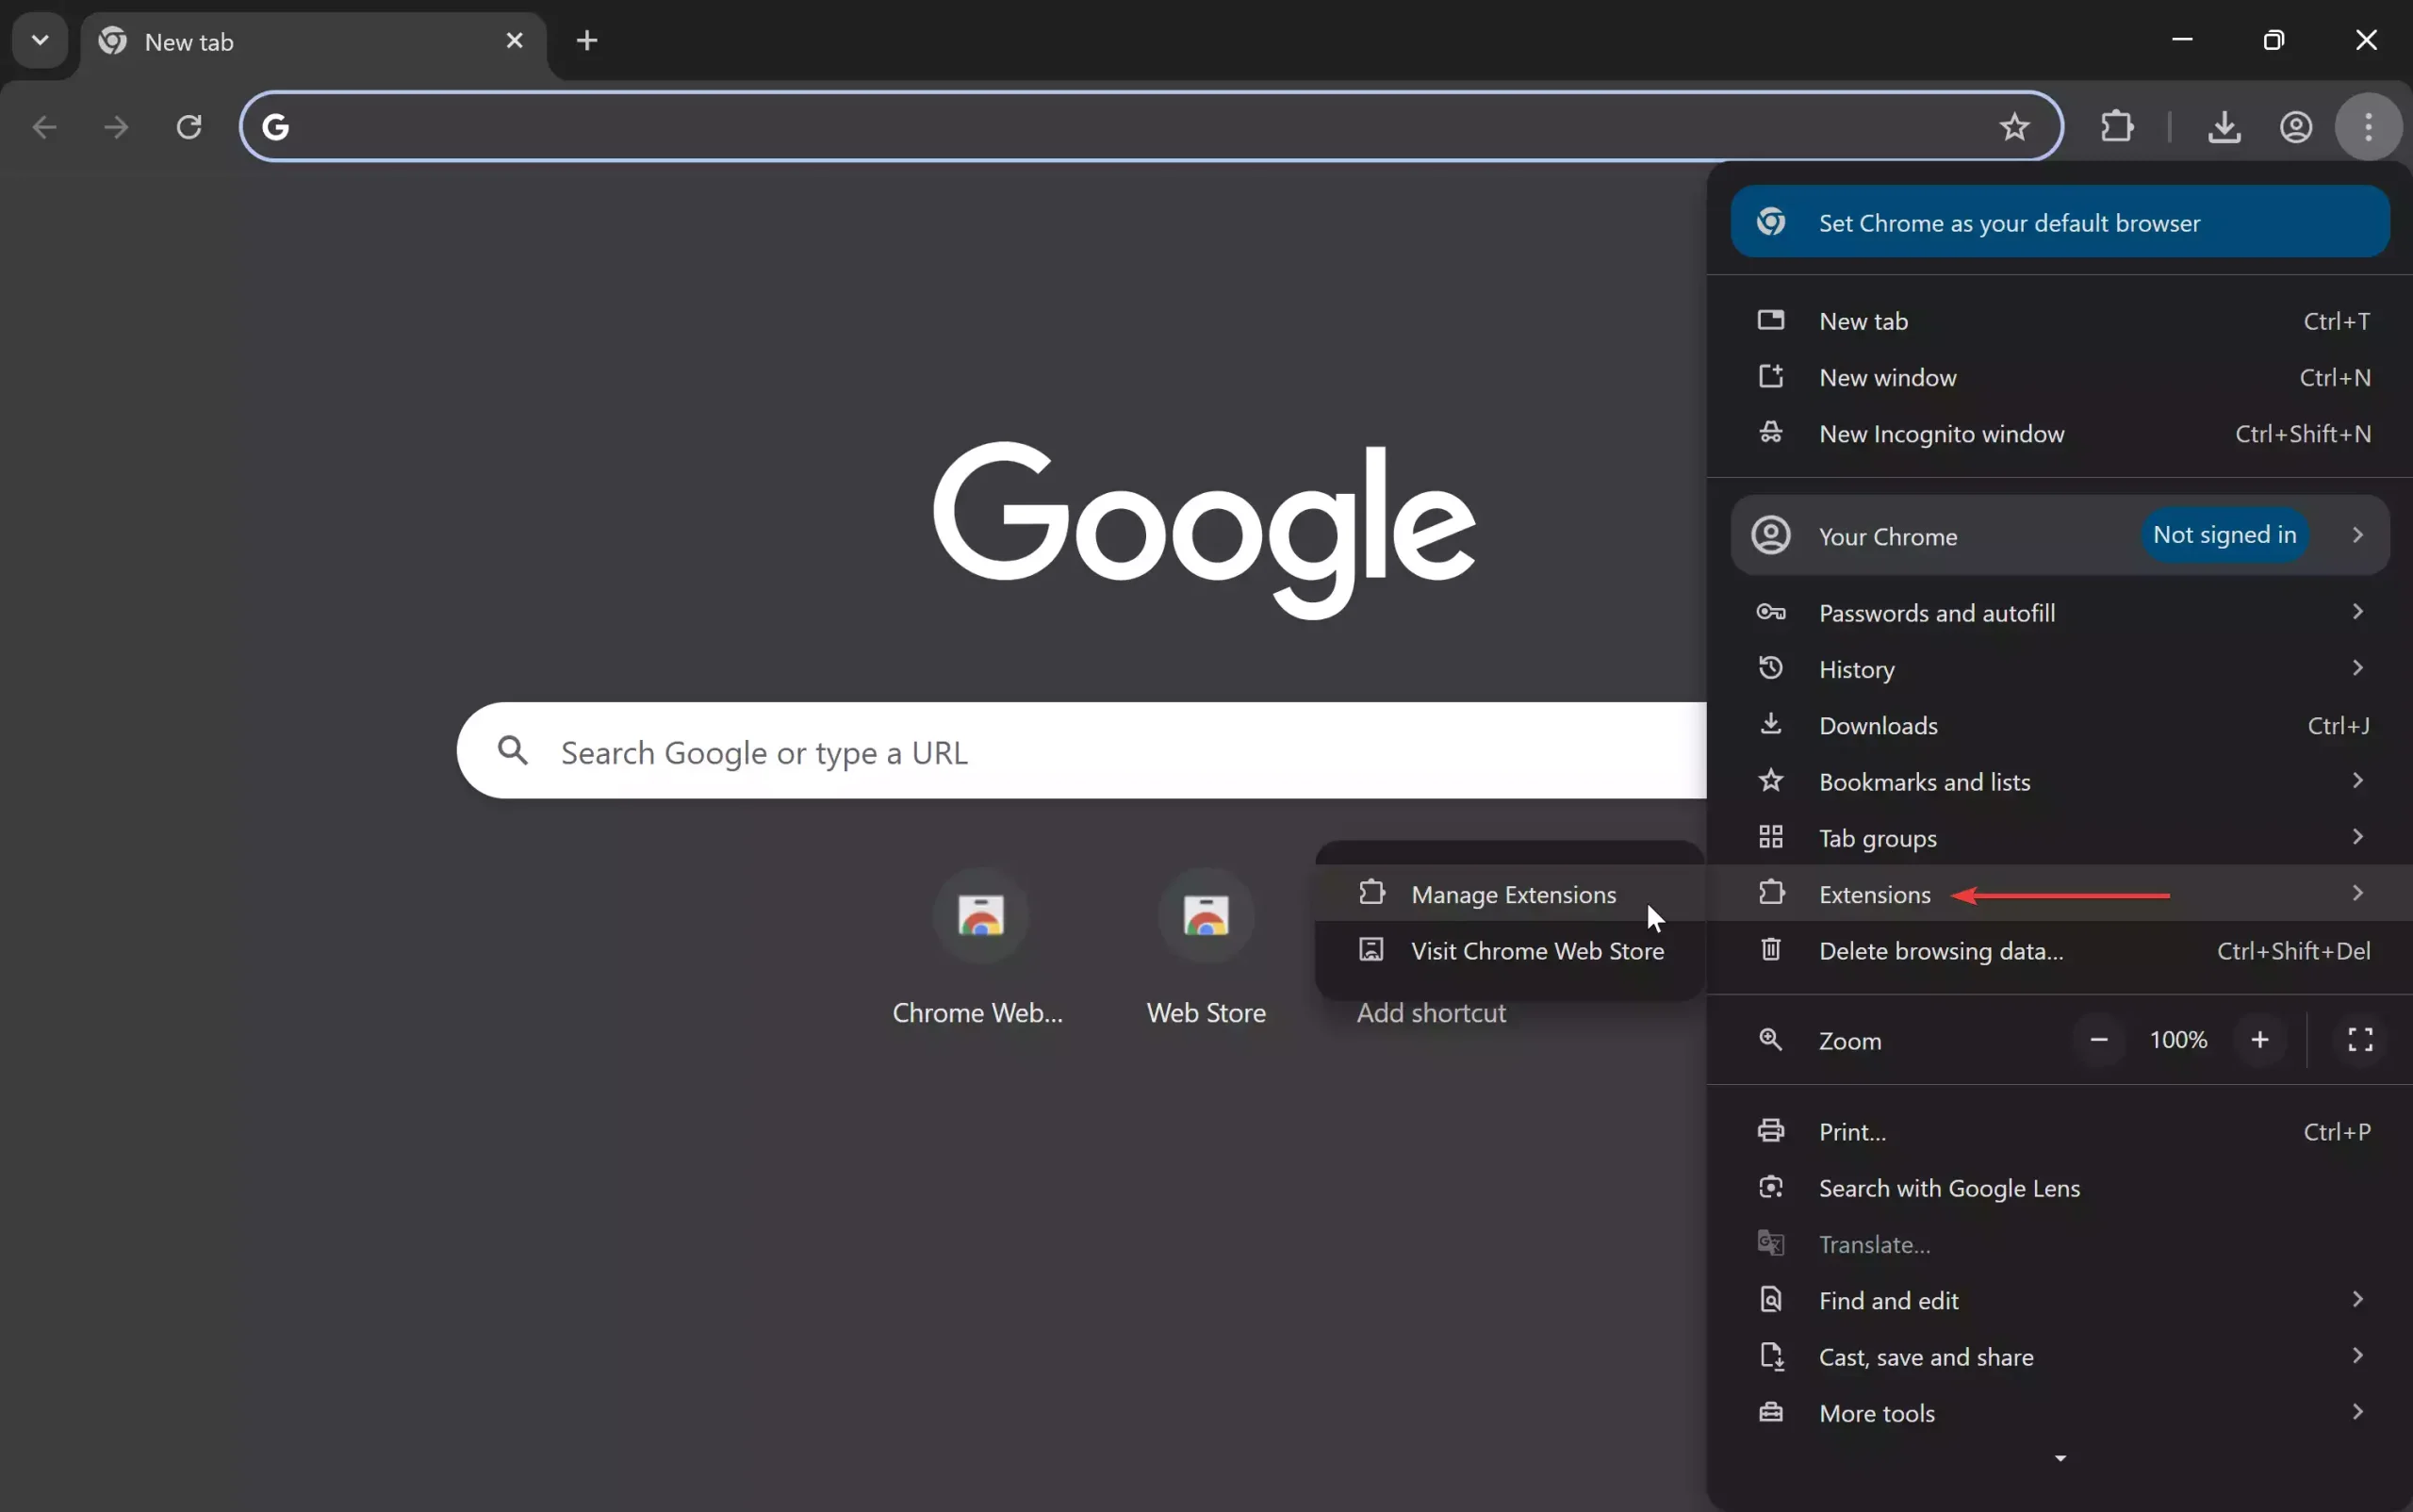
Step 1. First, open Google Chrome and click on the three-dots menu in the top-right corner.
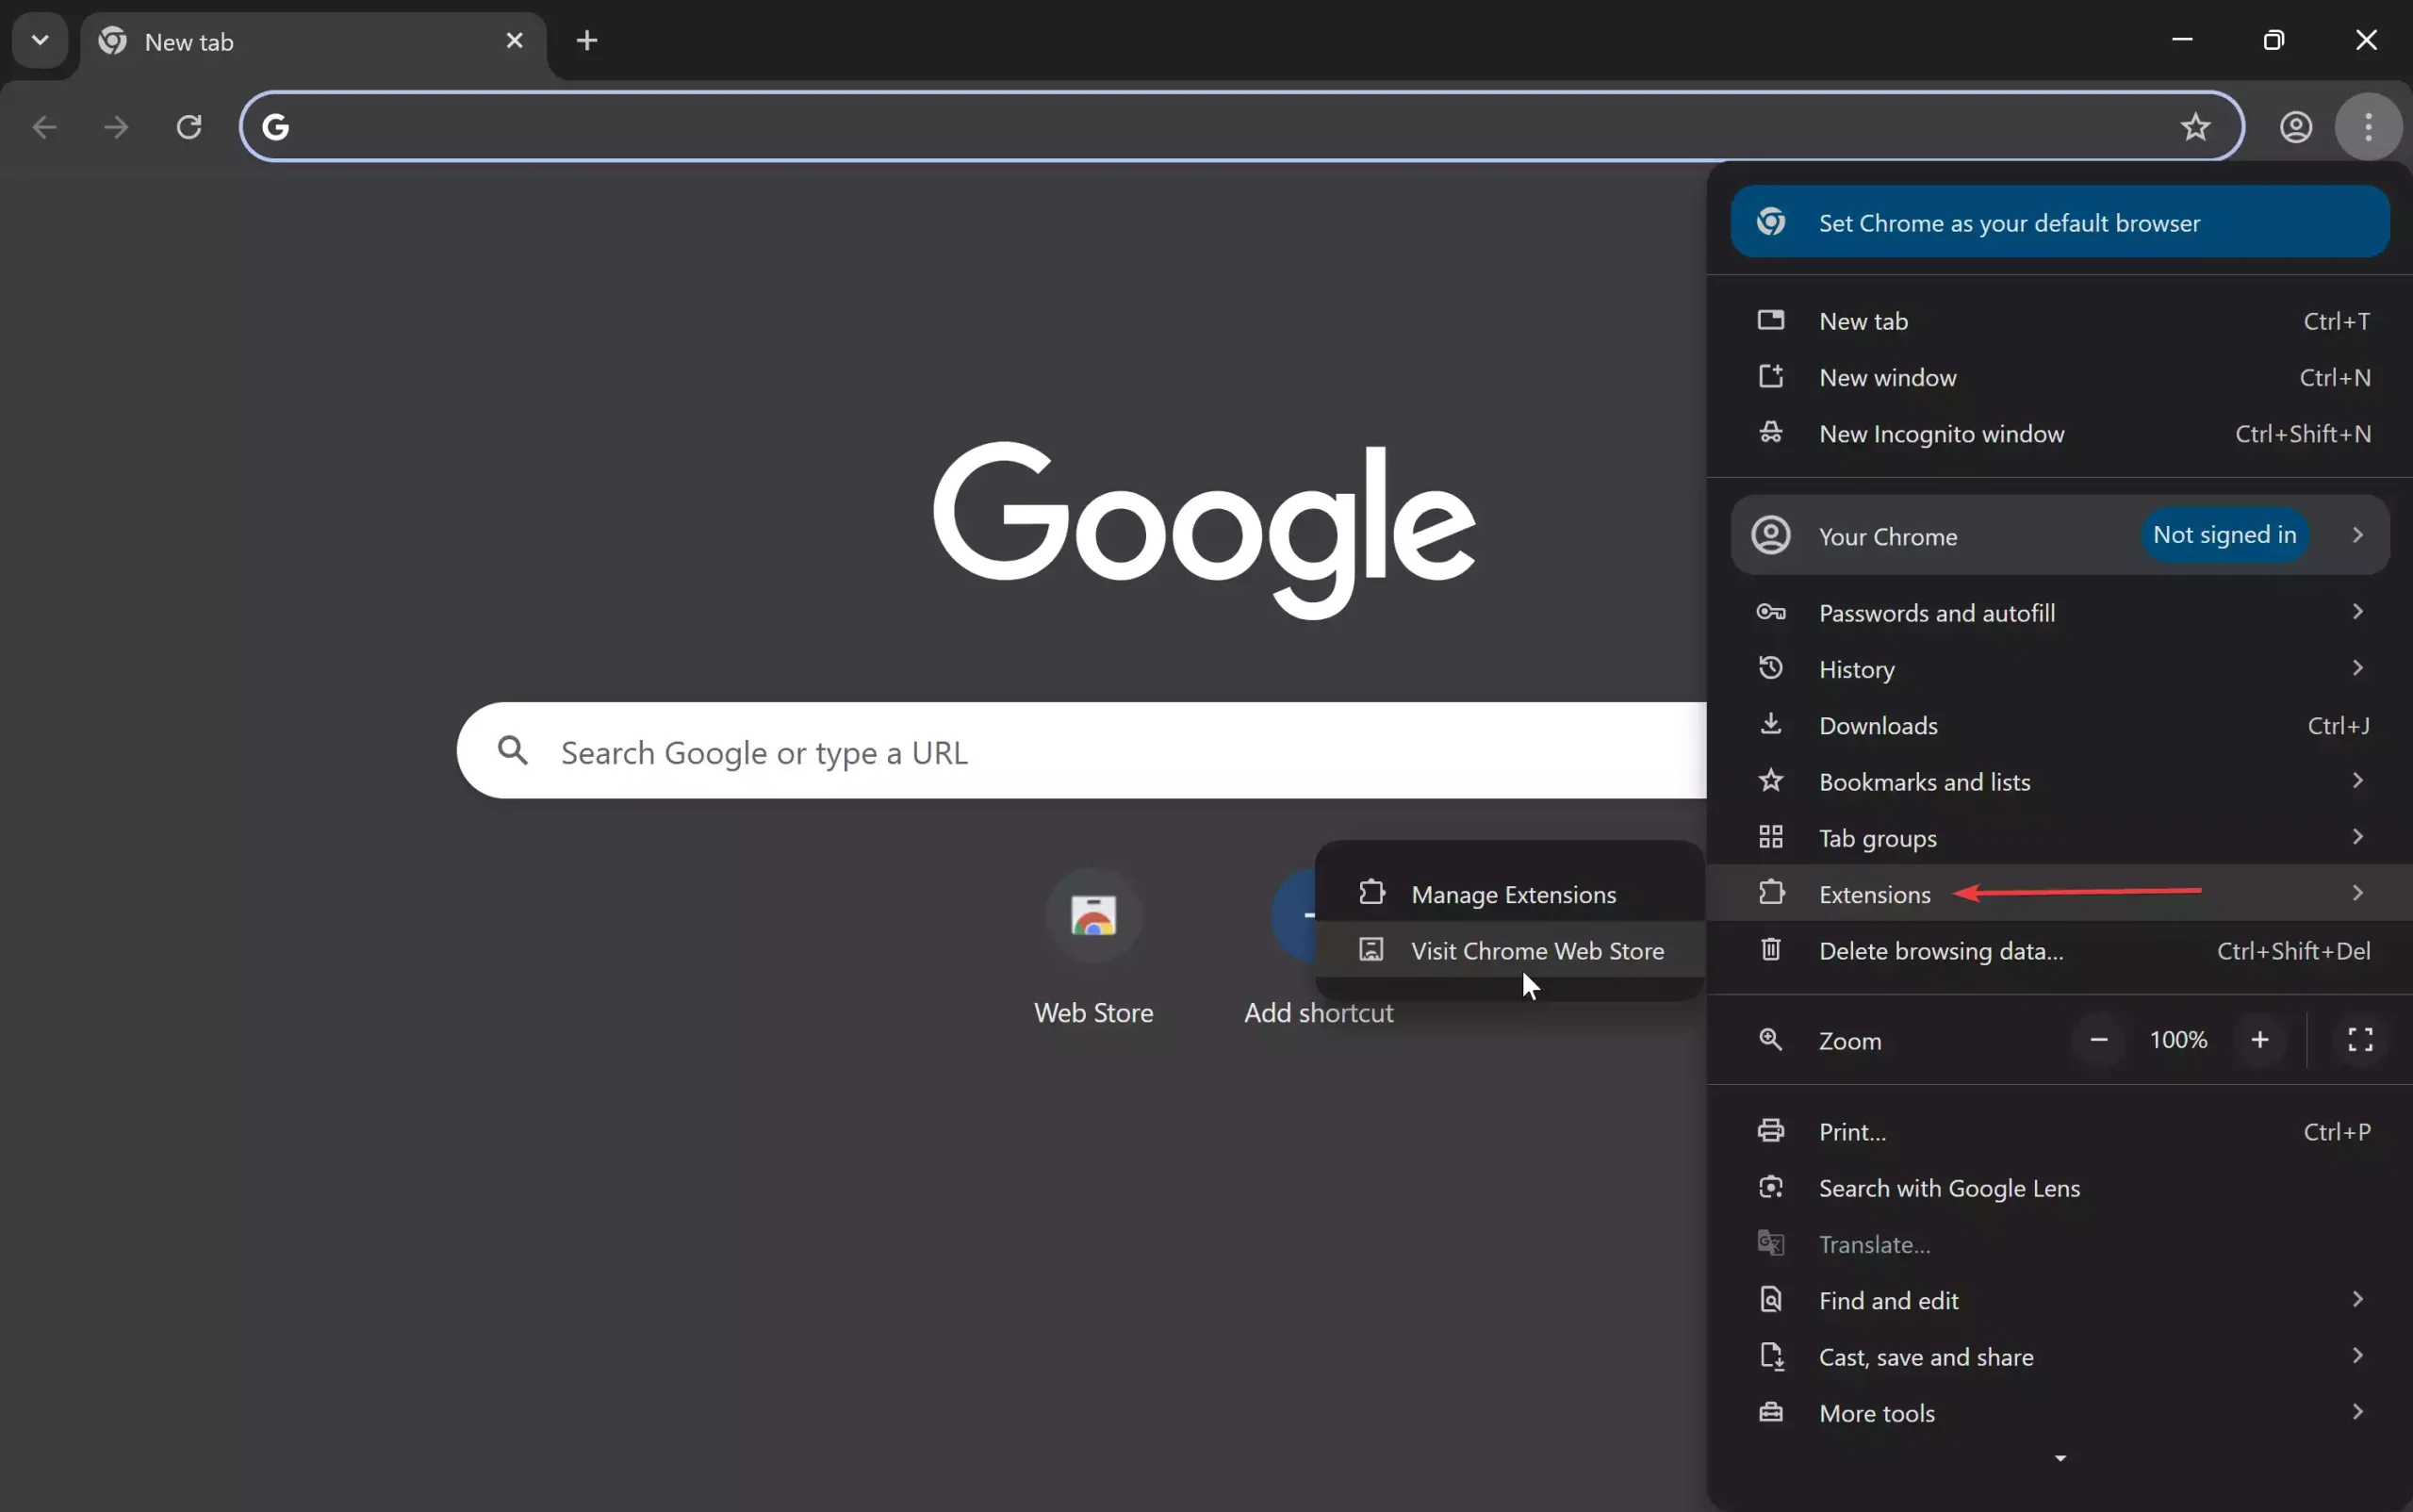
Step 2. In the drop-down menu, navigate to Extensions > Visit Chrome Web Store.
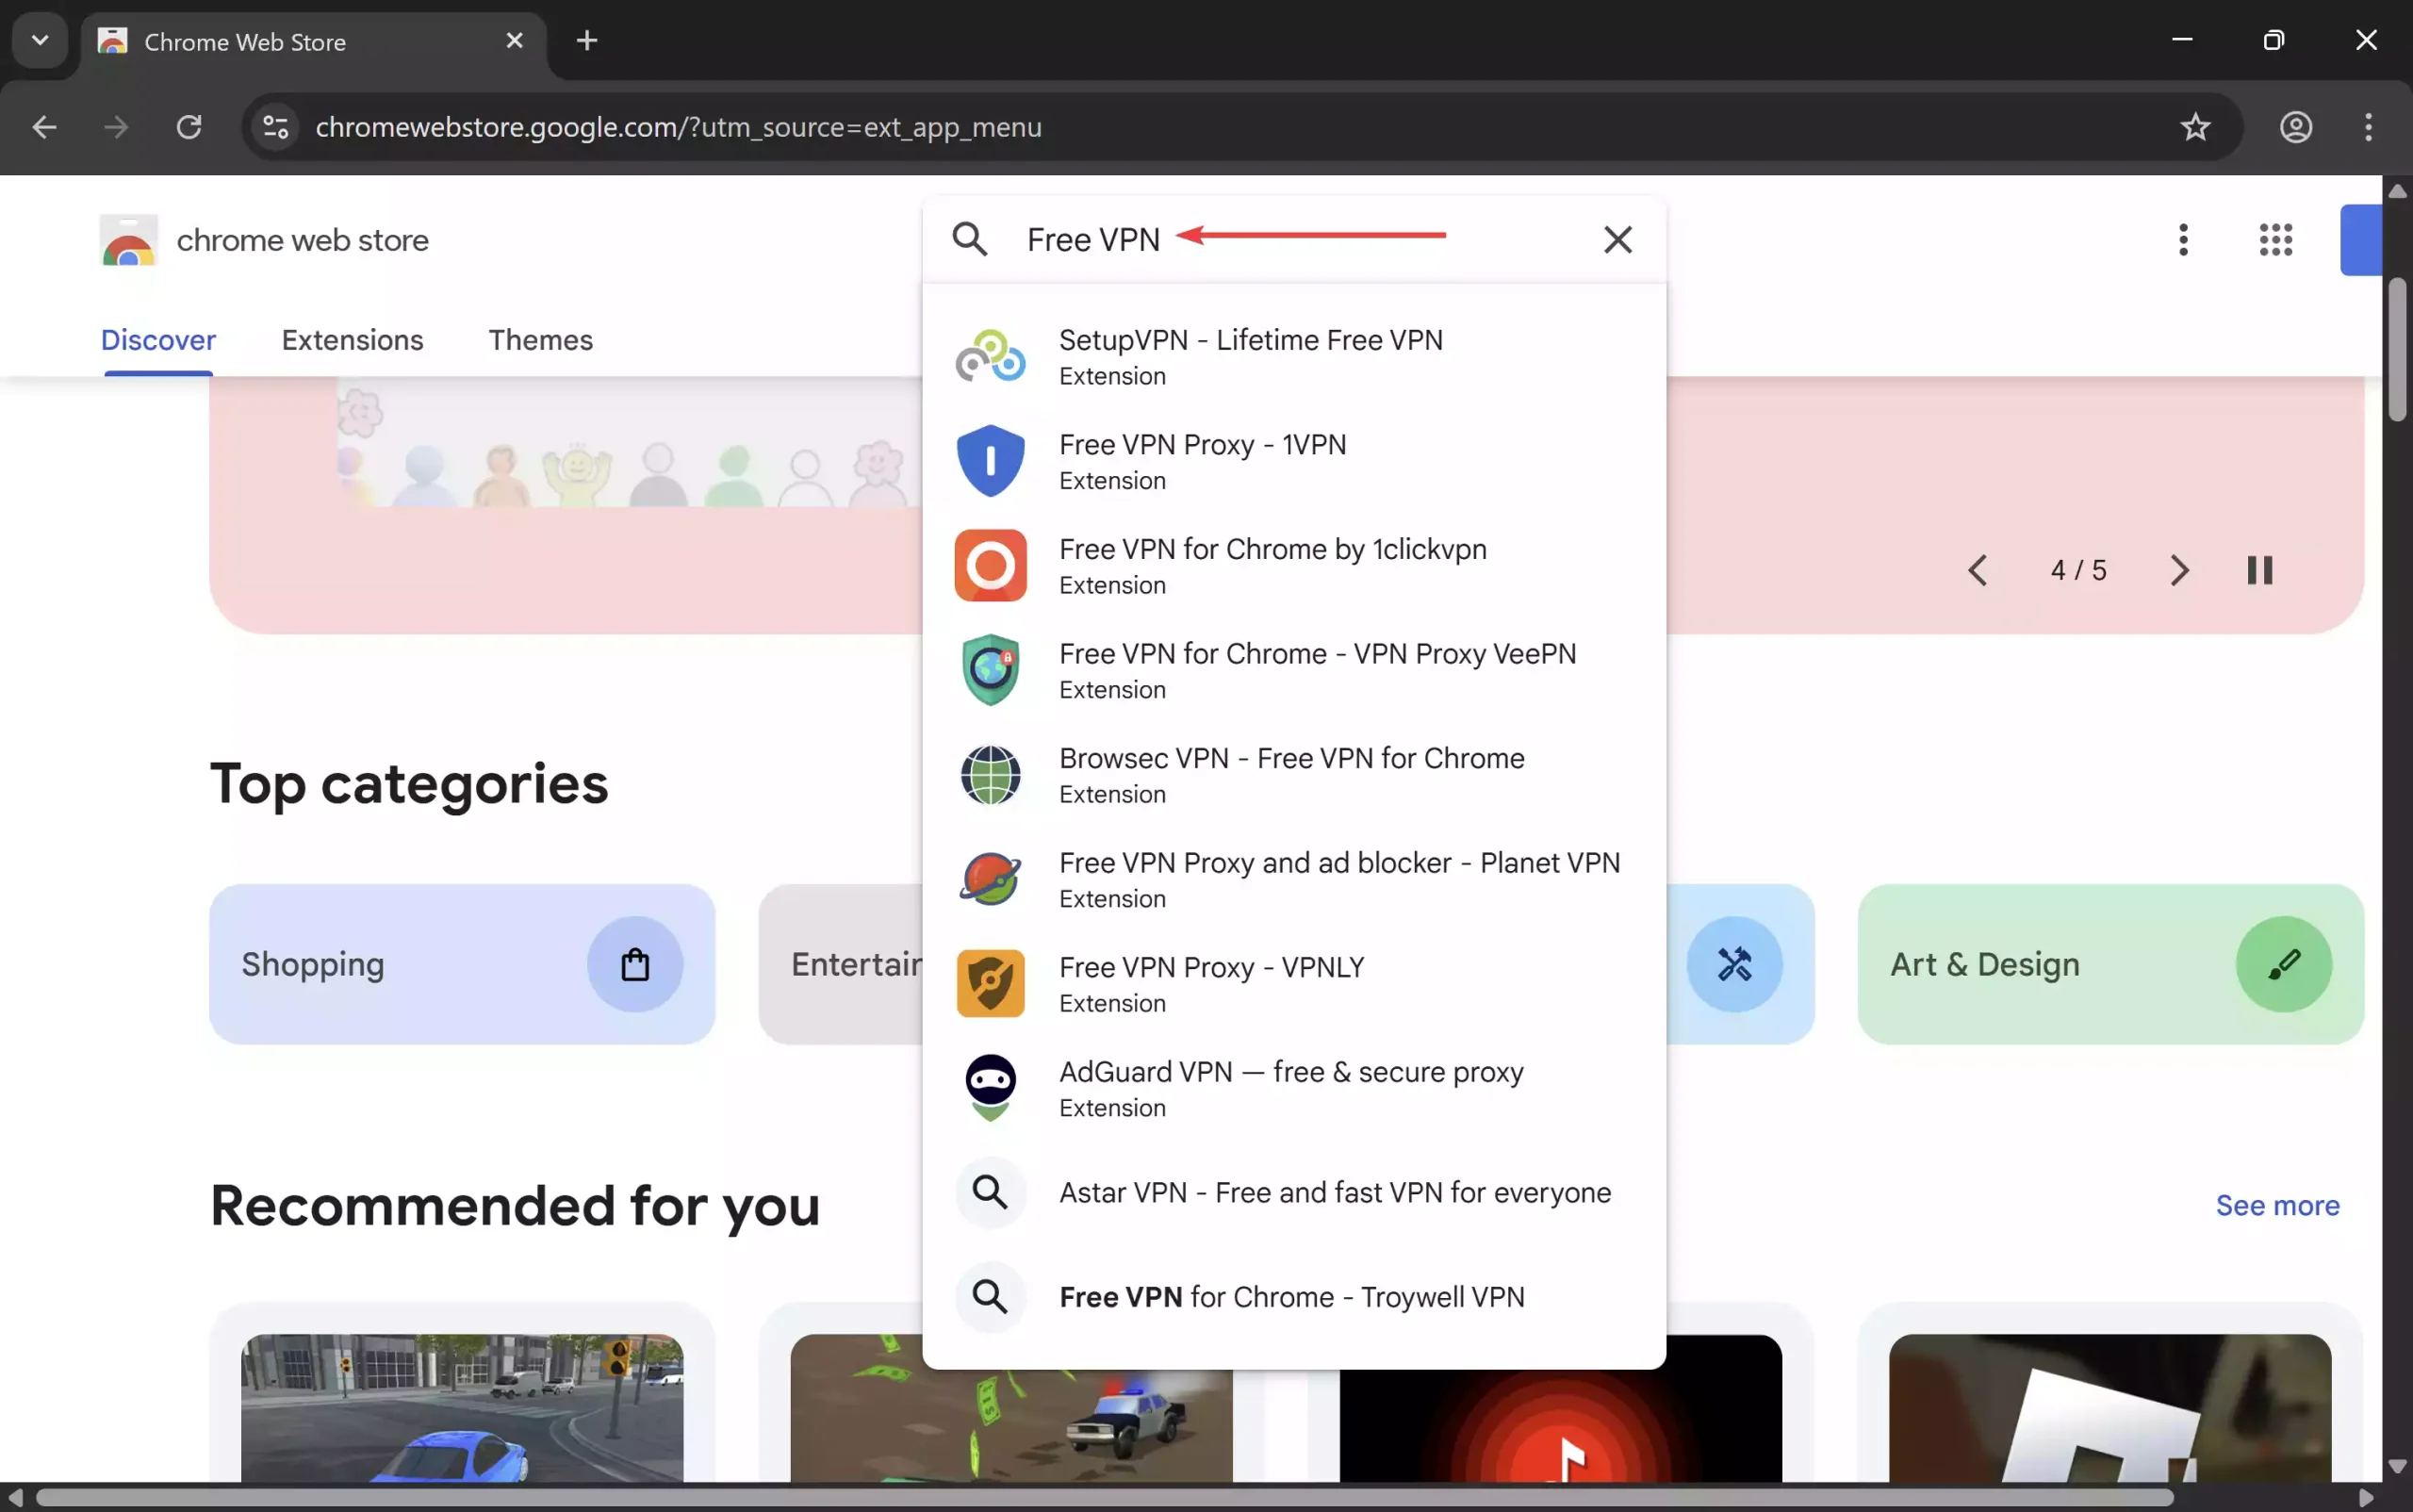
Step 3. Then, search for the extension you want to install, such as Free VPN.
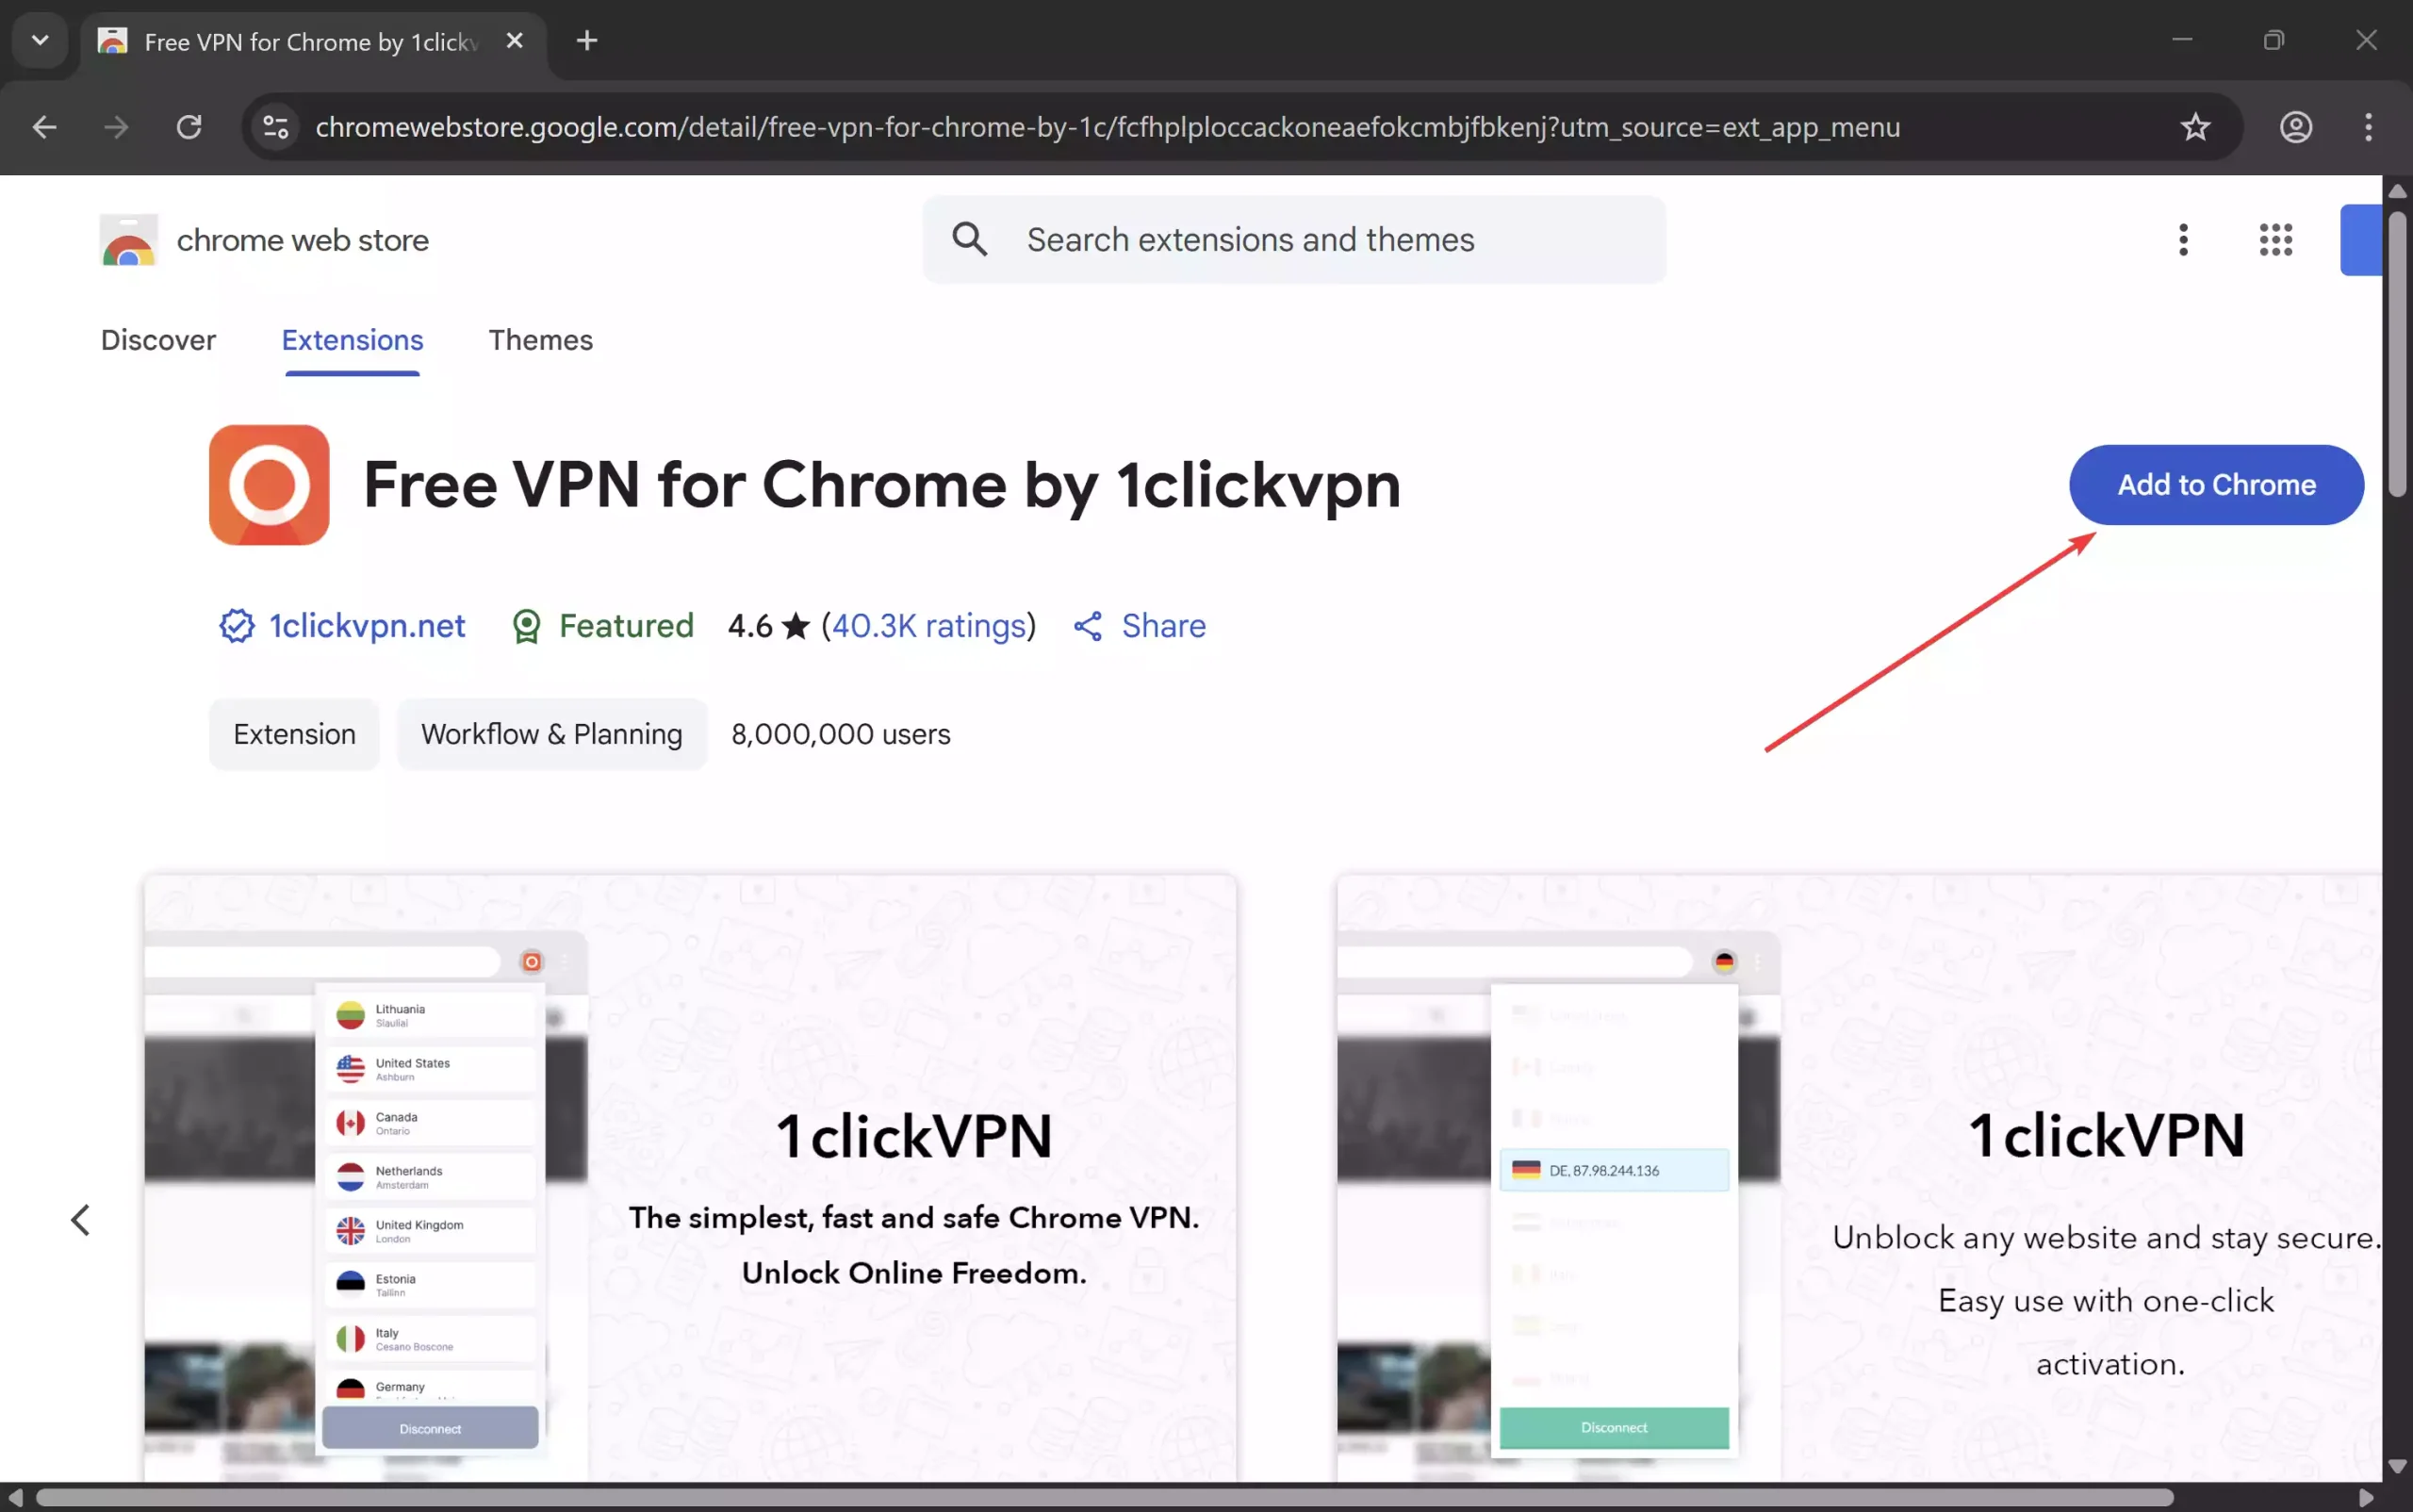
Step 4. Click on the desired entry you want to install.
Step 5. Next, click on the “Add to Chrome” button.
Step 6. A pop-up window will appear; click “Add extension” to confirm the installation.
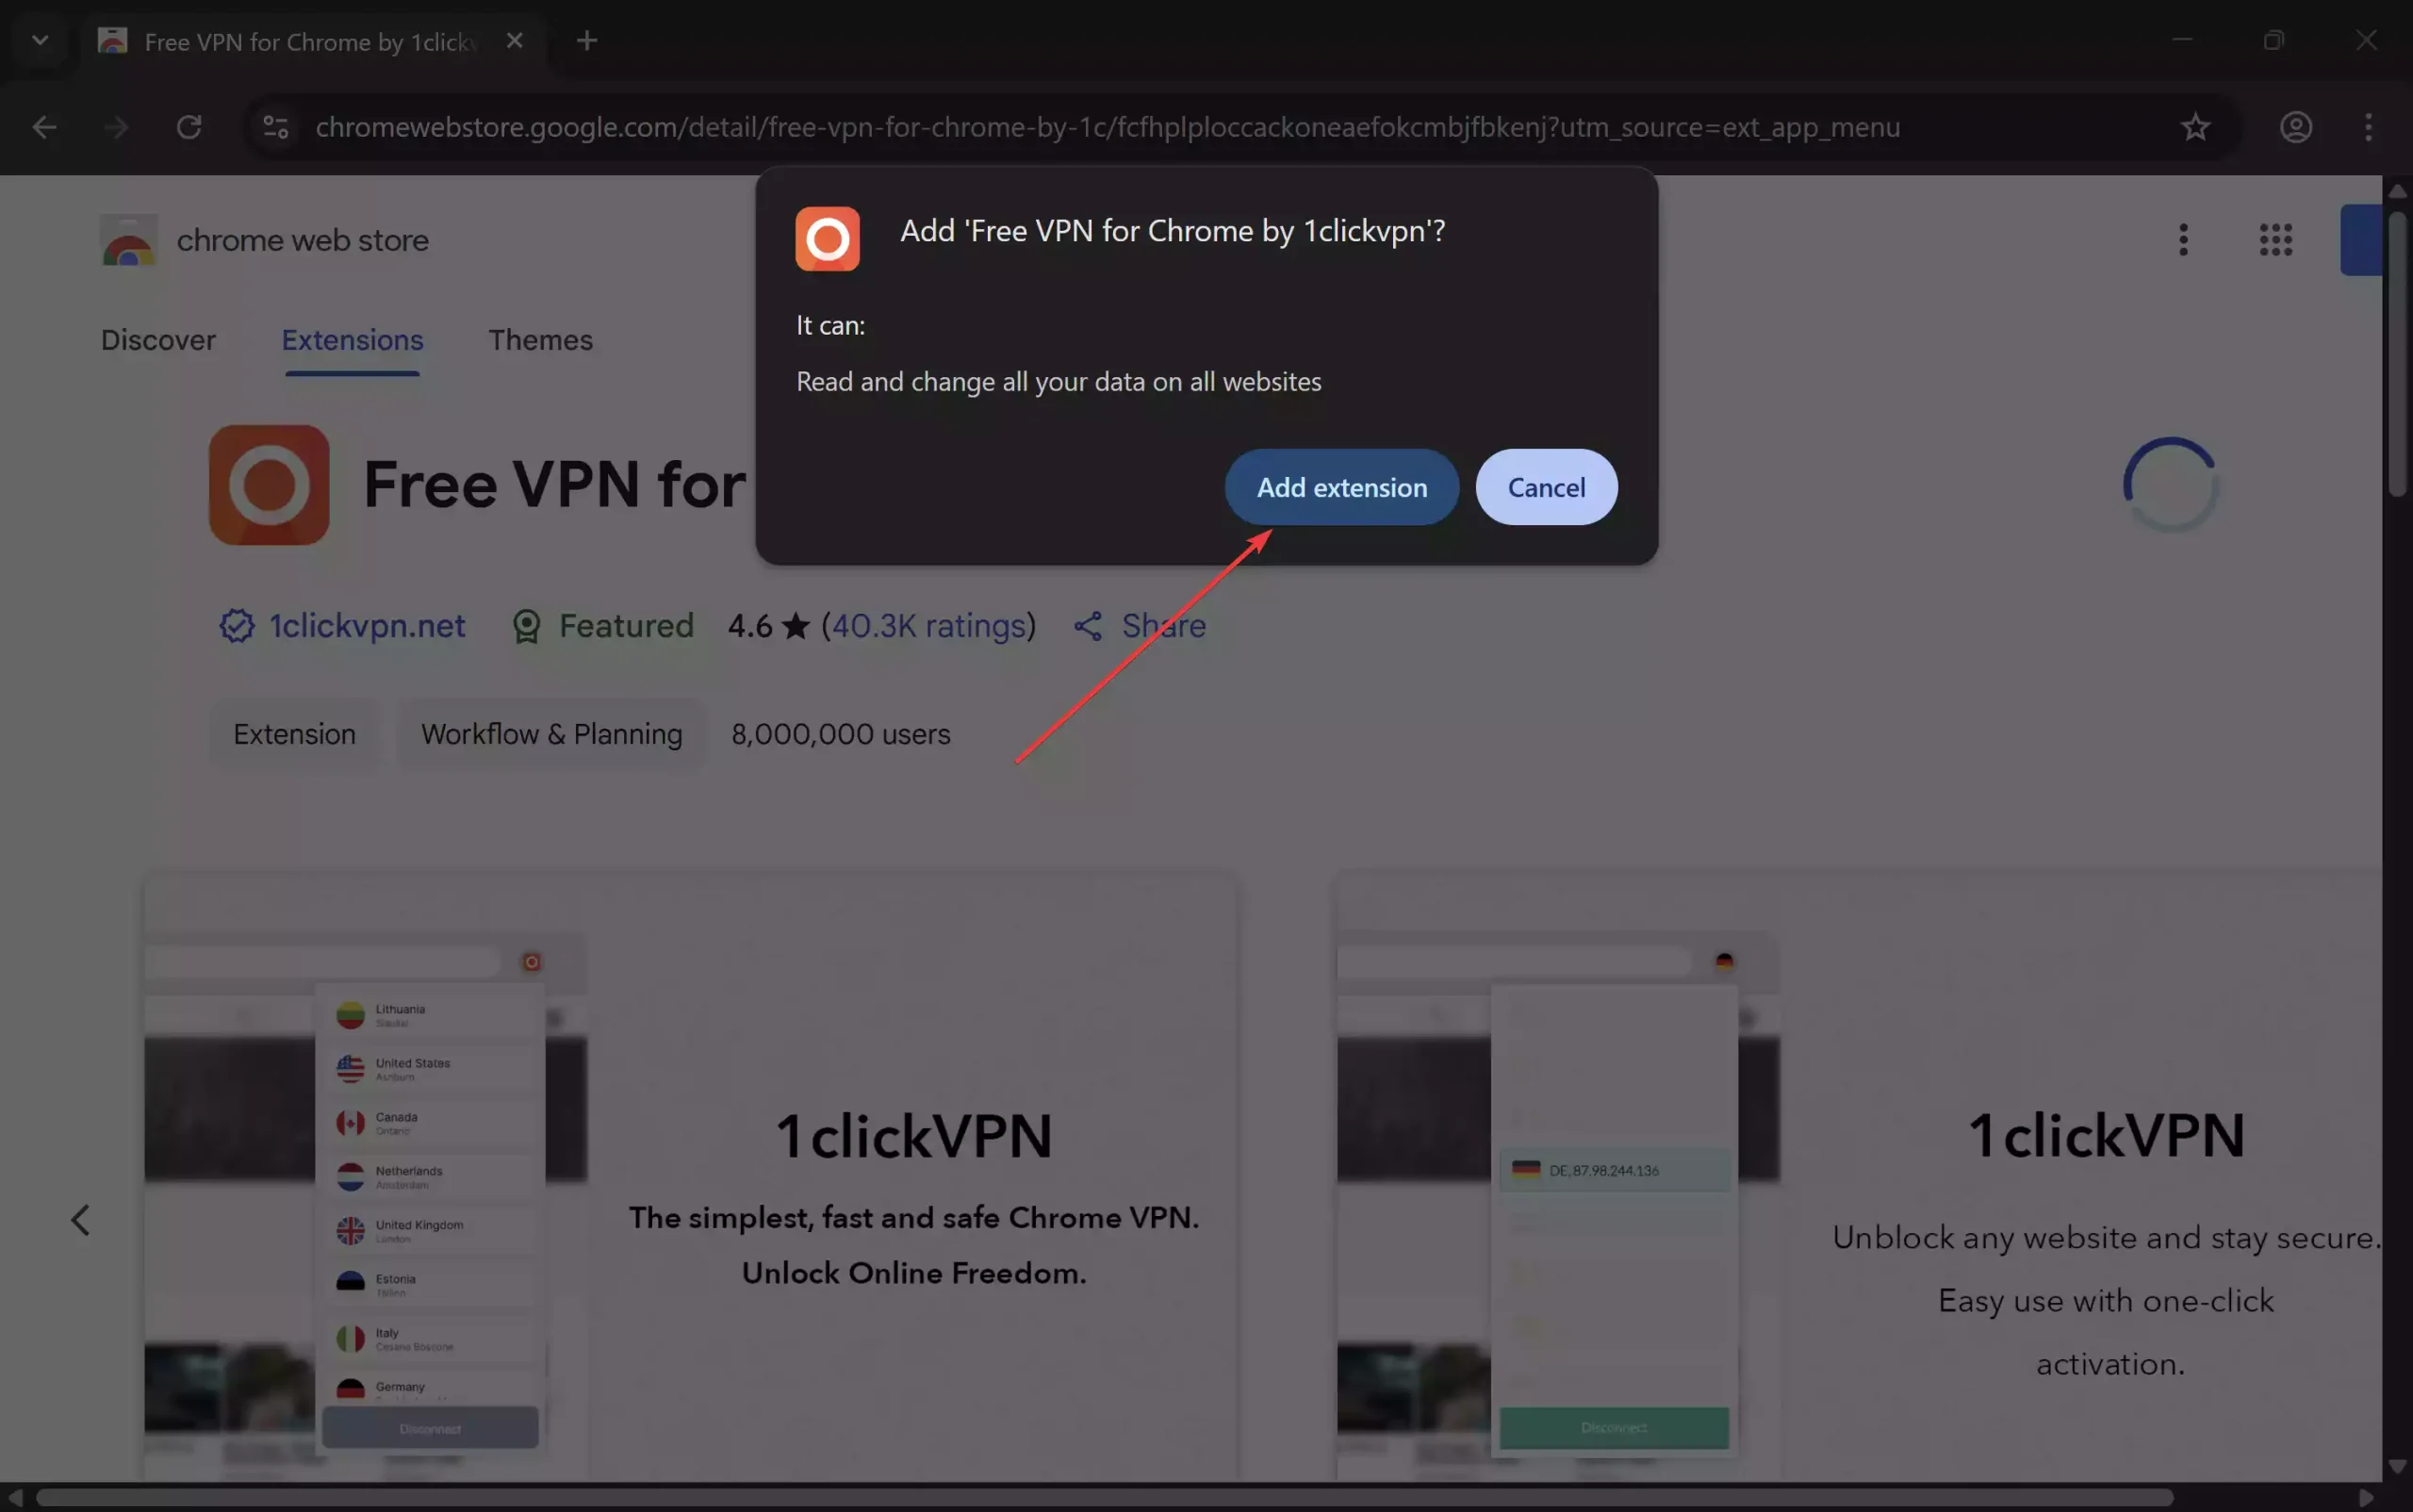
That’s it. The selected extension will be downloaded and installed on your Chrome browser.
How to Uninstall Extensions on Chrome?
To uninstall or remove an extension on Chrome, use these steps:-
Step 1. First, open Google Chrome.
Step 2. Then, click on the three dots icon in the top right corner of the browser.
Step 3. Now, go to “Extensions” and click “Manage Extensions.”
Step 4. Next, locate the extension you want to uninstall and click the “Remove” button.

Step 5. When you’re done, a pop-up window will appear; click “Remove” to confirm the uninstallation.
That’s it. The extension will be removed from your Chrome browser.
How to Enable or Disable Extensions on Chrome?
To turn on or off extensions on Chrome, do these steps:-
Step 1. First, open Google Chrome.
Step 2. Then, click on the three dots icon in the top right corner of the browser.
Step 3. Now, go to “Extensions” and click “Manage Extensions.”
Step 4. Now, locate the extension you want to enable or disable and toggle the switch next to it.
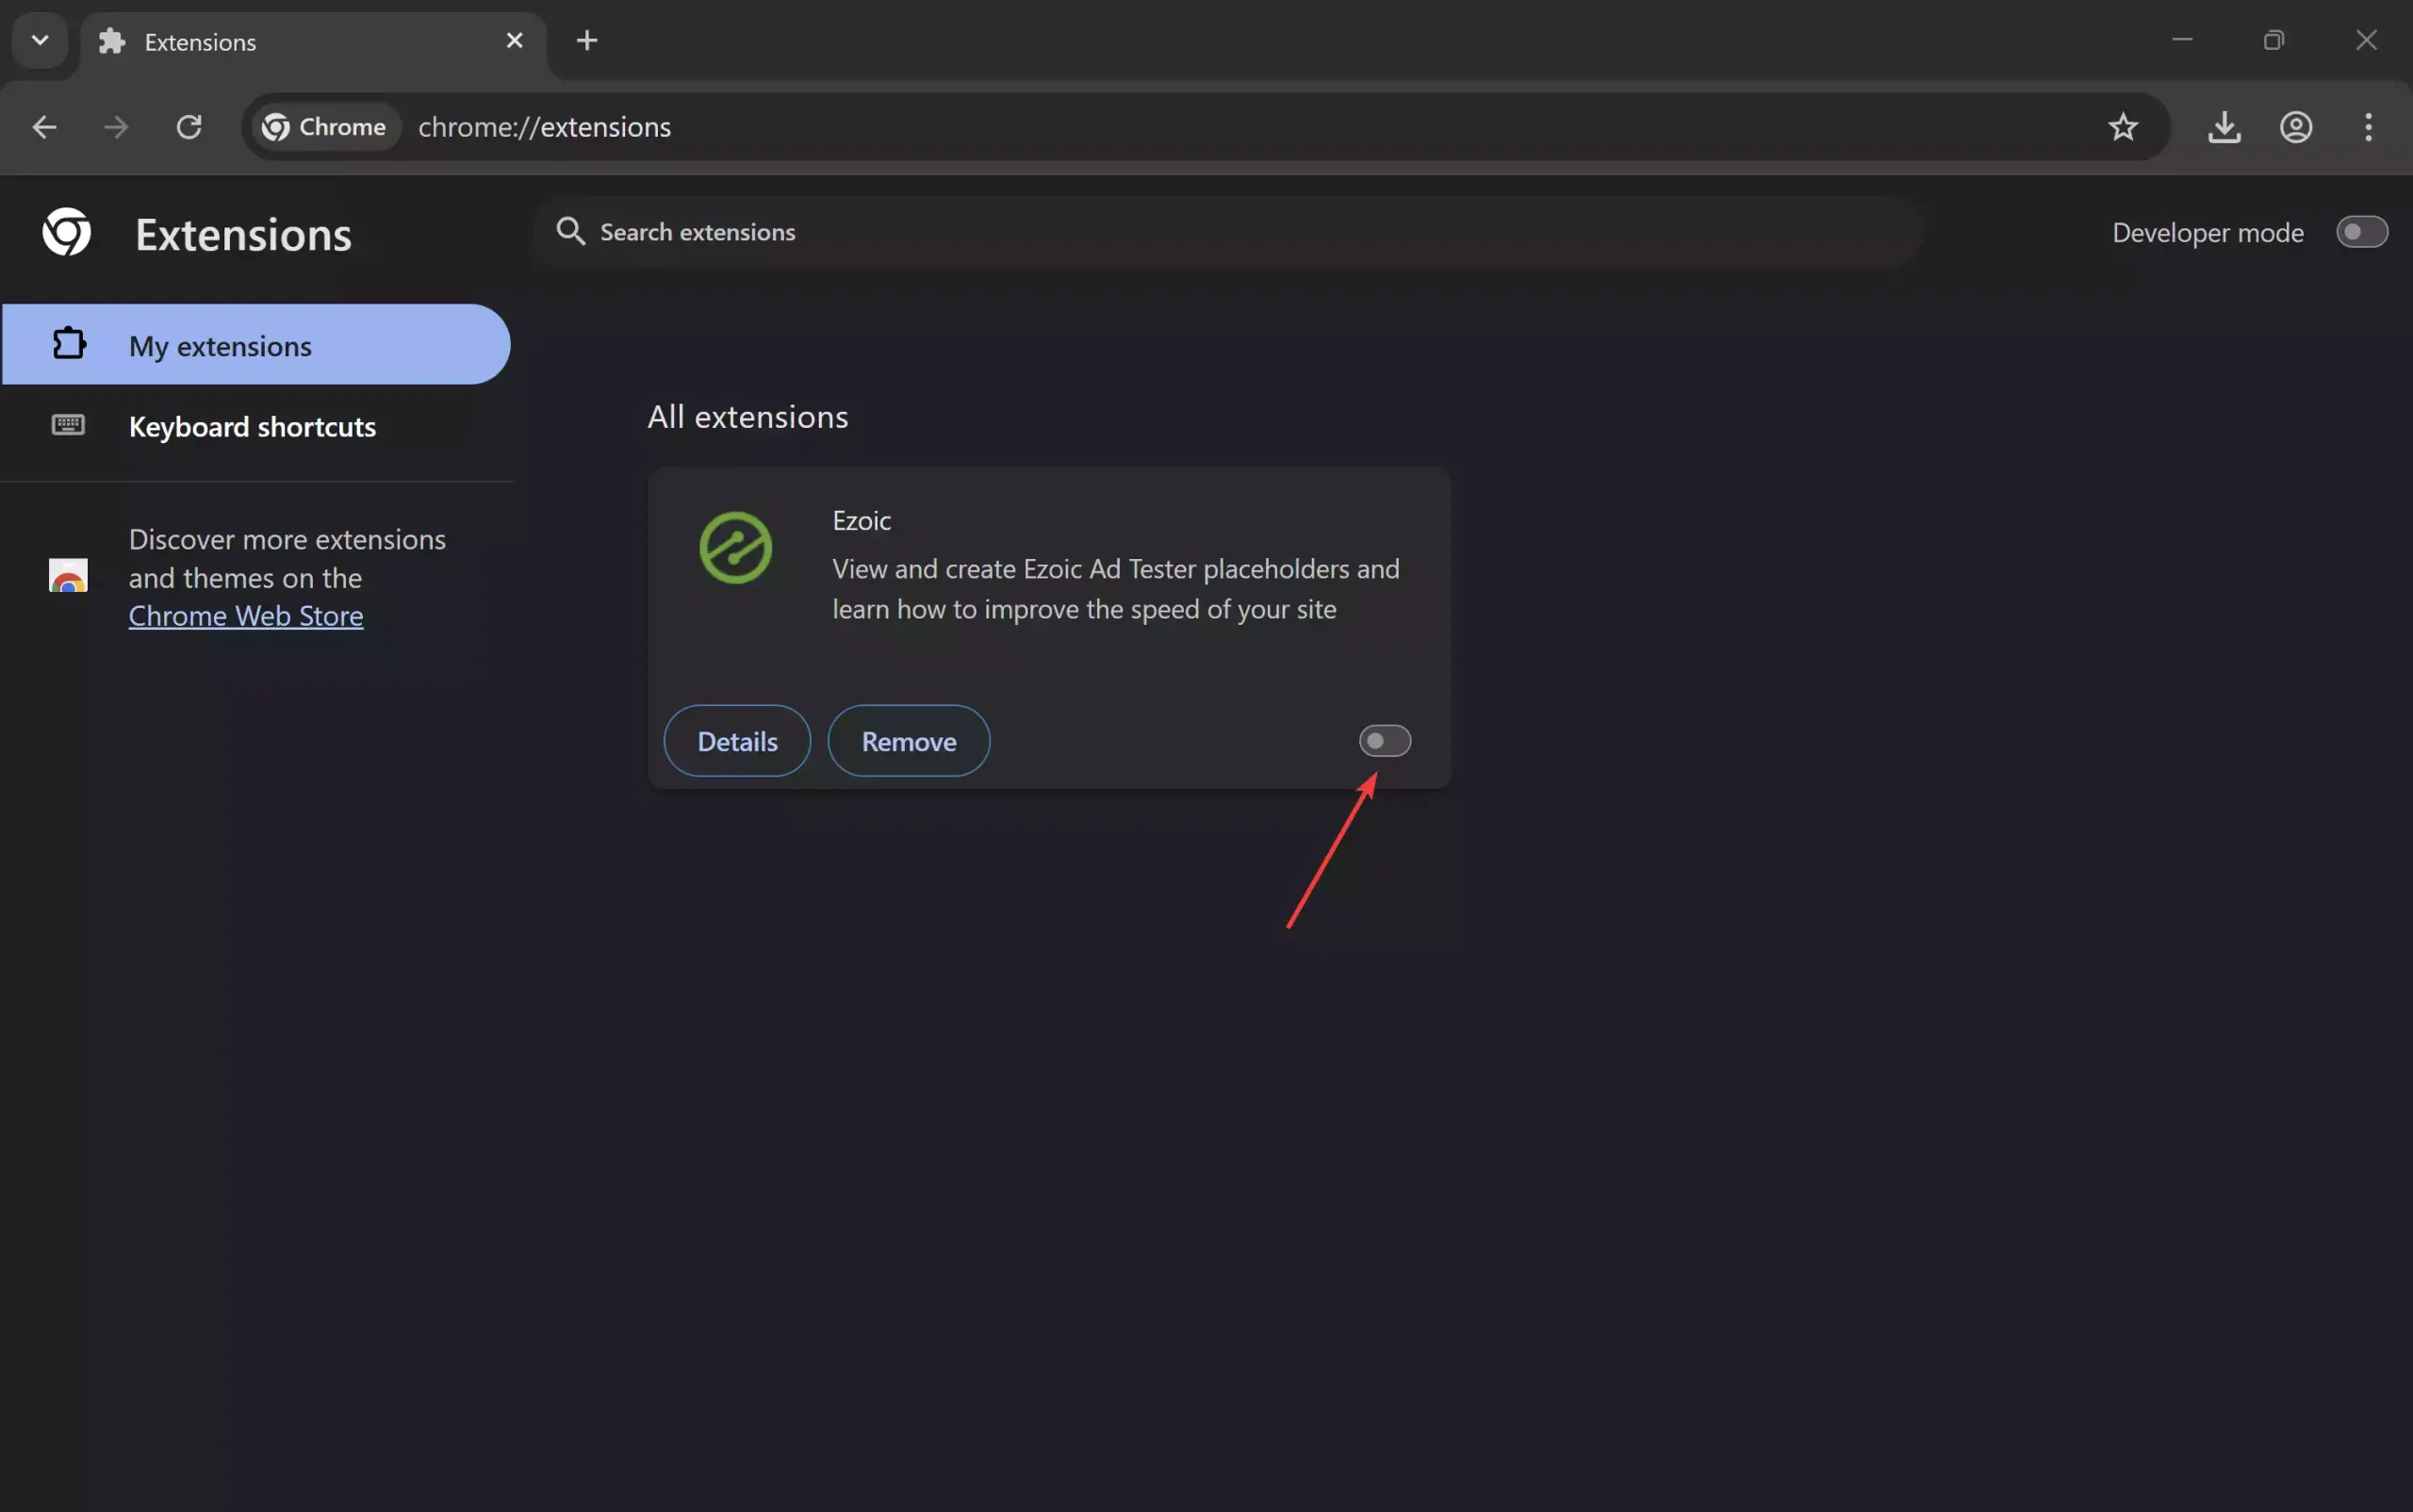
If the switch is blue, the extension is enabled. If the switch is gray, the extension is disabled.
Managing extensions on Google Chrome is a simple process that can help you enhance your browsing experience. Following the steps above, you can install, uninstall, enable, or disable extensions on Chrome according to your needs.
You might also want to enable an extension in a Chrome incognito window.