
In the world of video content creation and live streaming, OBS Studio stands as a shining beacon of versatility and power. As a free and open-source application, it empowers creators, gamers, teachers, and professionals to capture, record, and broadcast video and audio with ease. In this beginner-friendly guide, we’ll explore what OBS Studio is, why it’s so popular, how to use it safely, and the many ways it can help you build great content.
What is OBS Studio?
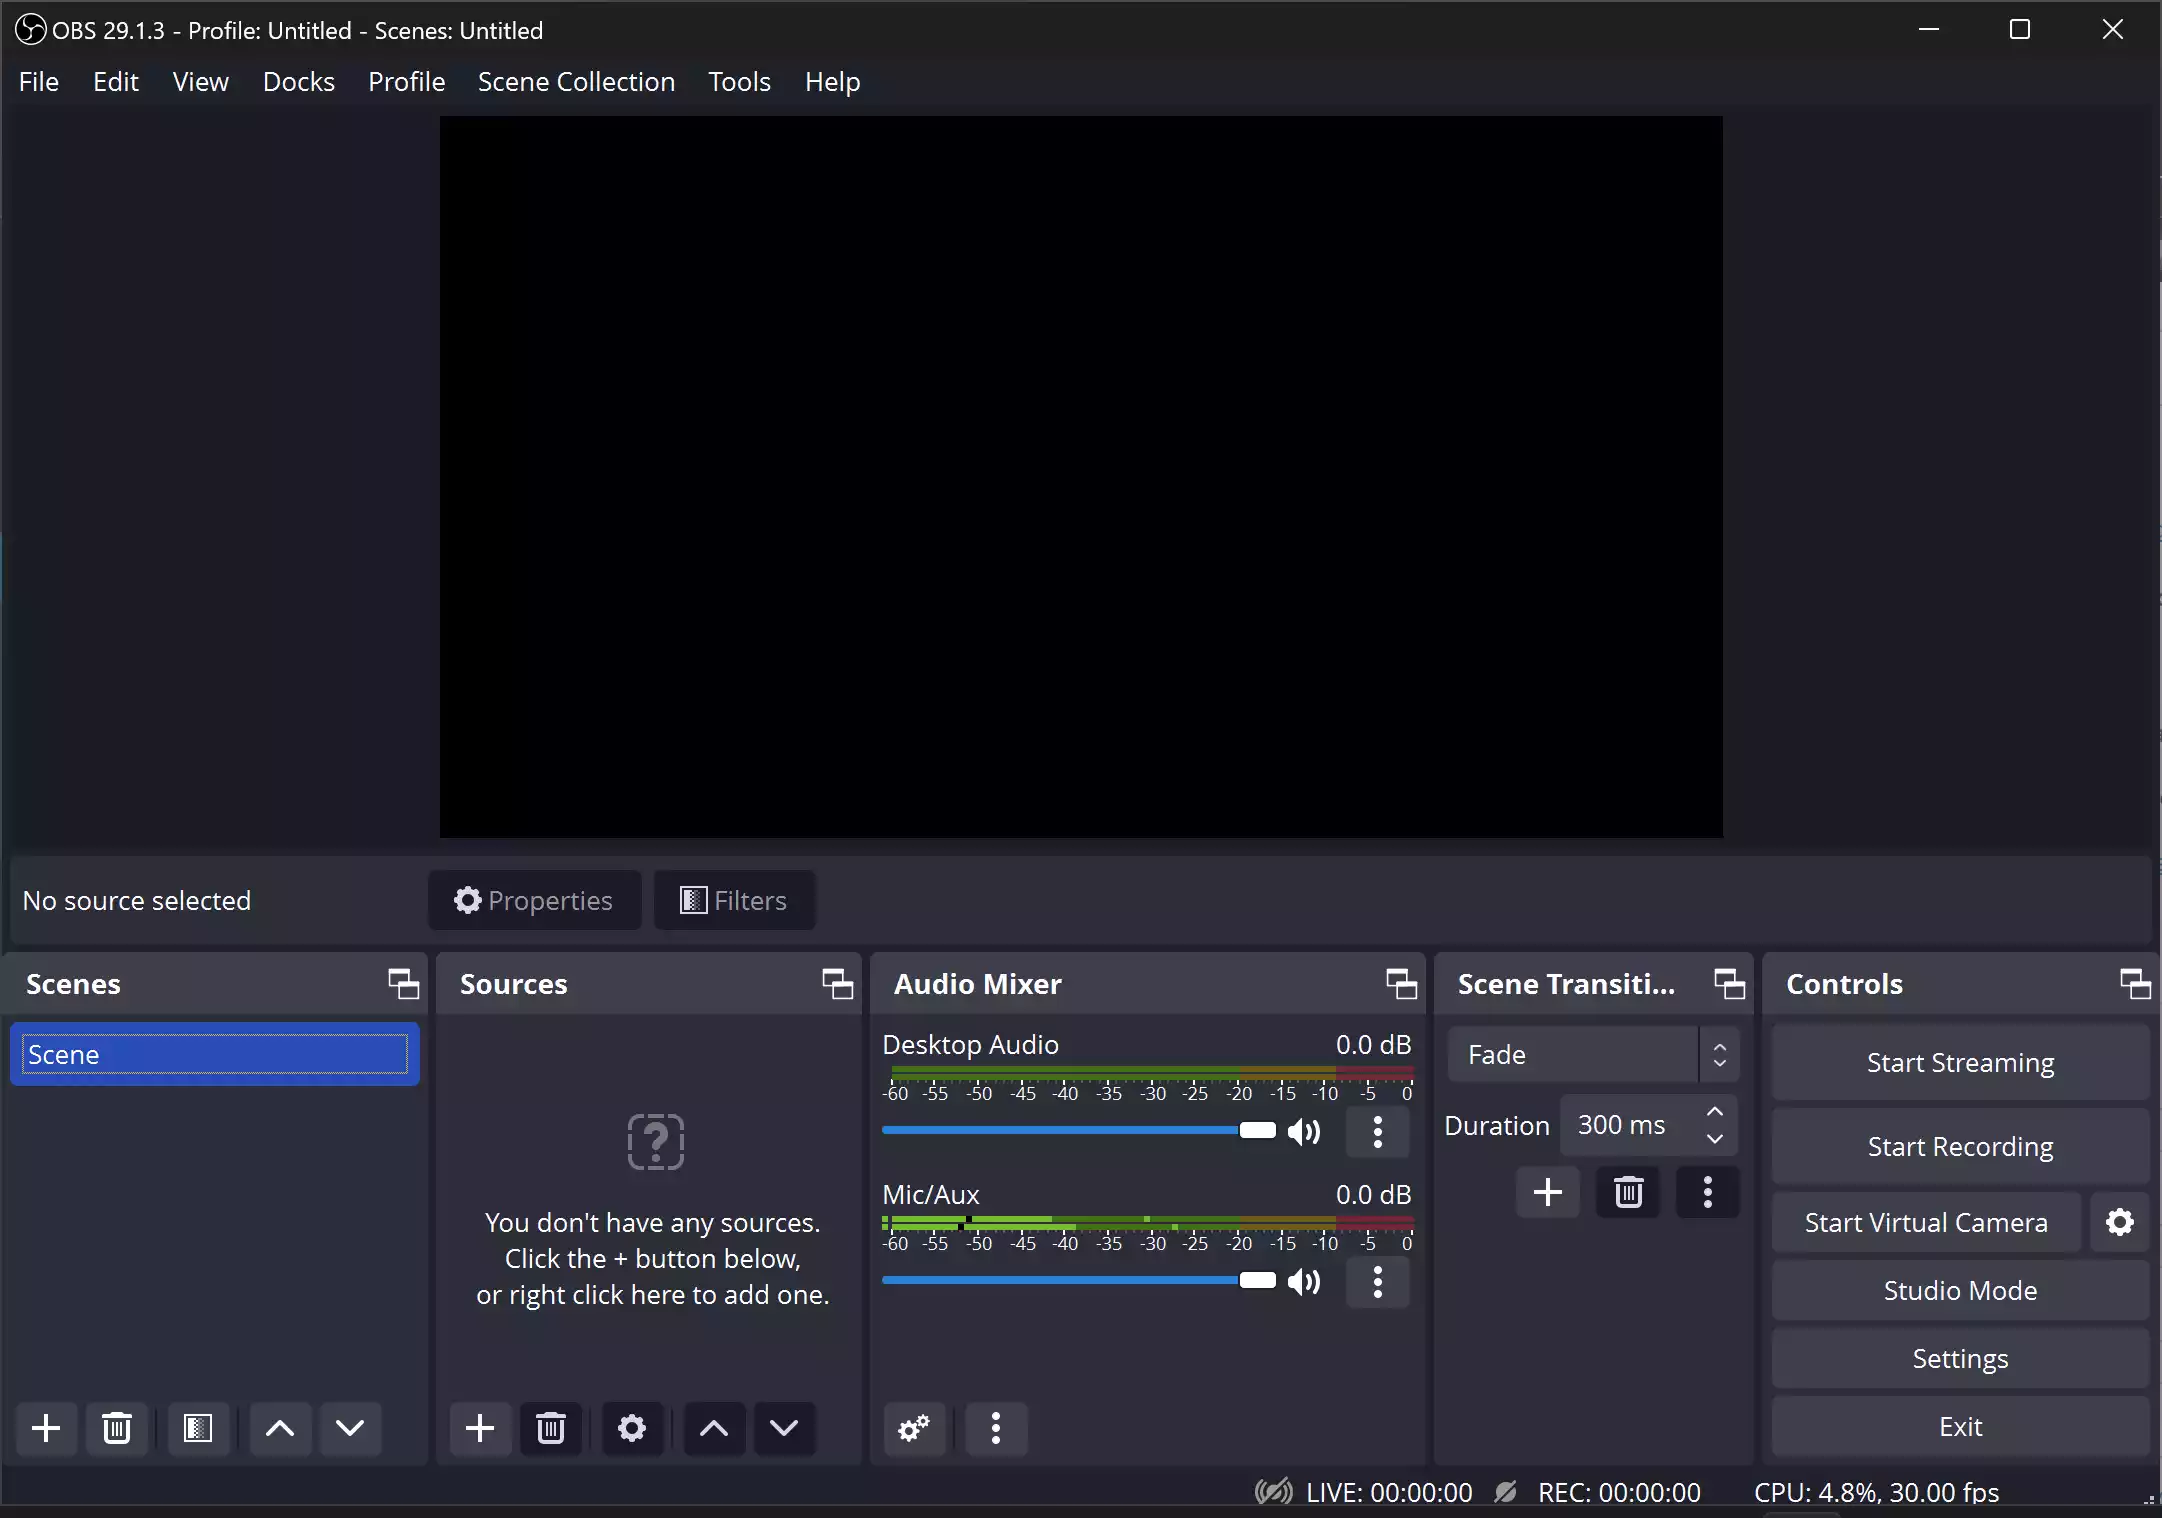
OBS Studio (Open Broadcaster Software Studio) is a robust, cross-platform free tool for video recording and live streaming. It uses a scene-based workflow so you can combine displays, windows, webcams, images, text, and browser overlays into polished productions. OBS works on Windows, macOS, and Linux, making it accessible to almost everyone.
Why Would a Beginner Use OBS Studio?
Beginners love OBS because it’s free, highly capable, and backed by a huge community. You can start with a simple screen recording or webcam overlay, then grow into multi-source streams with transitions, filters, hotkeys, and studio-grade audio mixing. If you only need quick screen captures, you can also check a lightweight alternative like ShareX, but OBS gives you a full production studio when you’re ready.
Main Features of OBS Studio
- Live Streaming to platforms like YouTube, Twitch, and Facebook with stream keys and custom RTMP.
- High-quality Recording from your screen, webcams, capture cards, and microphones in MP4/MKV/FLV and more.
- Scene & Source Management to switch layouts instantly—great for gaming, tutorials, and presentations.
- Transitions & Filters for smooth cuts and visual polish (color correction, chroma key, sharpening, etc.).
- Advanced Audio Control with per-source levels, monitoring, noise suppression, and compressors.
- Plugin Ecosystem that adds overlays, effects, integrations, and analytics as your needs grow.
- Cross-Platform parity so you get a consistent experience on Windows, macOS, and Linux.
How to Use OBS Studio
Getting started is simple. Here’s a quick, no-nonsense setup flow you can follow today.
Step 1. Install OBS Studio and run the Auto-Configuration Wizard to choose whether you’ll prioritize streaming or recording.
Step 2. Create a new Scene. Add Sources like Display Capture (screen), Window Capture (app), Video Capture Device (webcam), Image, or Browser for overlays and alerts.
Step 3. Arrange and resize sources on the canvas. Use the Lock icons to prevent accidental moves. Add a transition (e.g., Fade) in the Controls panel.
Step 4. Open Settings > Output. For NVIDIA/AMD GPUs, choose hardware encoders like NVENC/AMF to lower CPU usage; otherwise, use x264 with a reasonable bitrate.
Step 5. Set Video base (canvas) resolution to your monitor size and output (scaled) resolution to what your audience needs (for many, 1920×1080 or 1280×720 works well). Match FPS to 30 or 60 based on your PC and content.
Step 6. In Audio, pick your microphone and desktop audio devices. Add filters like Noise Suppression and Compressor for clearer sound.
Step 7. For streaming, enter your Stream Key in Settings > Stream (don’t ever share it). Do a short Test Recording to verify audio balance and visuals before you go live.
Tip: If you want a free, beginner-friendly editor to trim or polish recordings, try Shotcut. For compressing big files without losing much quality, HandBrake is an excellent companion.
Safe Use Tips for Beginners
- Protect your stream key. Treat it like a password. Never show OBS settings on stream.
- Test privately. Record 30–60 seconds to check audio levels, sync, and overlays before going live.
- Watch resource usage. If you see dropped frames or stutters, reduce output resolution/bitrate or switch to a hardware encoder.
- Avoid echo/feedback. Use headphones for monitoring; disable desktop capture of your own stream page.
- Respect copyrights. Only stream content and music you’re allowed to use.
- Backups. Keep a copy of scenes (Profile & Scene Collection export) so you can restore quickly.
When OBS Studio Can Help You
- Gaming & Live Streaming: Broadcast gameplay with overlays, chat, and alerts.
- Video Tutorials & Webinars: Record screen + webcam to walk viewers through steps. If you need a quick screen recorder guide on Windows, see how to record your screen in Windows 11/10.
- Podcasting & Interviews: Mix multiple mics and remote guests with audio filters for consistent levels.
- Professional Presentations: Switch cleanly between slides, apps, and cameras with transitions.
- Creative Streams: Share digital art, coding, or music sessions with picture-in-picture layouts.
Frequently Asked Questions About OBS Studio
Is OBS Studio really free?
Yes. OBS Studio is completely free and open-source, with no watermarks or time limits.
Can OBS record my screen and webcam at the same time?
Absolutely. Add Display/Window Capture for your screen and a Video Capture Device for your webcam in the same scene.
Which encoder should I use—x264 or NVENC?
Use NVENC (or your GPU’s hardware encoder) if available to reduce CPU load. Use x264 if you don’t have a supported GPU or need specific tuning.
Does OBS include a video editor?
No. OBS is for recording and streaming. For editing, try a free editor like Shotcut; for compressing exports, use HandBrake.
How do I fix dropped frames or stuttering?
Lower your output resolution/bitrate, switch to a hardware encoder, close heavy apps, and ensure a stable network connection.
Can I stream to multiple platforms at once?
OBS doesn’t multistream natively, but you can use third-party services or plugins. Start with one platform until your setup is stable.
Download OBS Studio
You can download the latest version from the official OBS Studio website.
Conclusion
OBS Studio shines as a versatile, free tool for recording and live streaming. Whether you’re a gamer, content creator, educator, or presenter, it gives you pro-grade control over scenes, sources, audio, and output—without costing a rupee. Set up once, test your workflow, and you’ll be ready to produce high-quality content on any platform.
You might also be interested in the XMedia Recode free video converter.