
If you prefer seeing important system locations inside This PC rather than hunting for them on the desktop, you can add the Recycle Bin to the This PC view in Windows 11 with a small, safe registry tweak. This guide walks you through the steps, shows a one-line PowerShell option, and explains how to remove the change if you change your mind.
What this does (quick overview)
Adding the Recycle Bin to This PC simply tells File Explorer to display the system Recycle Bin as a special folder inside the computer view. No files are moved, and the Recycle Bin continues to function exactly as before — you only gain a convenient place to access it while browsing drives and folders from This PC.
Before you start — a couple of quick precautions
Editing the registry works fine when done carefully, but always back up the registry first or create a system restore point. If you’re uncomfortable editing the registry, use the PowerShell command shown below (it does the same change). If something goes wrong, the rollback steps will restore the original state.
Method 1 — Add Recycle Bin to This PC via Registry Editor (manual)
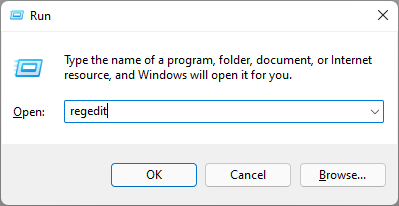
Step 1. Open Registry Editor: press Win + R, type regedit, and press Enter. Accept the UAC prompt if shown.
Step 2. In Registry Editor, navigate to:
HKEY_LOCAL_MACHINE\SOFTWARE\Microsoft\Windows\CurrentVersion\Explorer\MyComputer\NameSpace
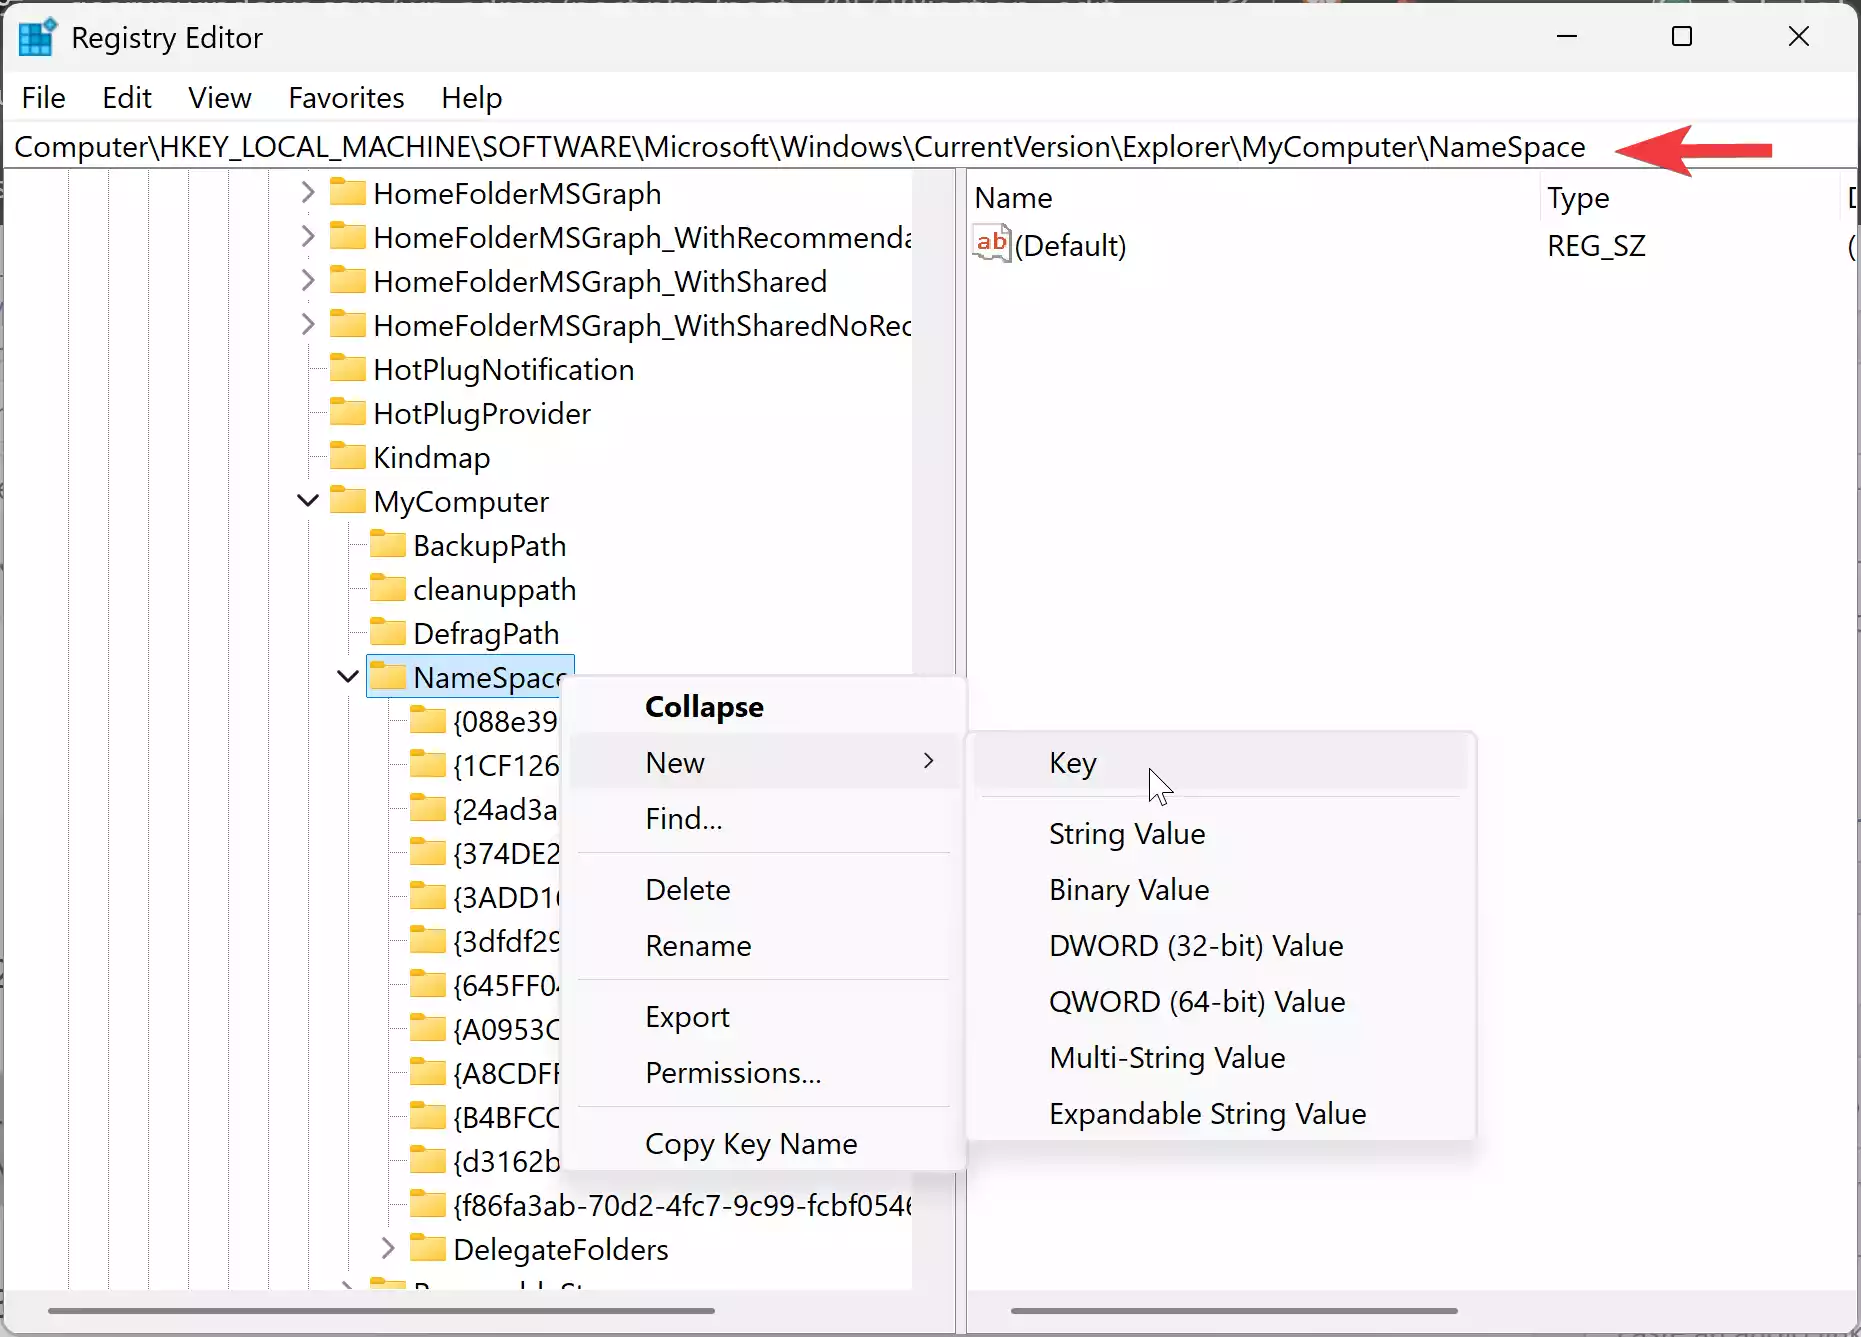
Step 3. Right-click NameSpace → New → Key. Name the new key exactly:
{645FF040-5081-101B-9F08-00AA002F954E}
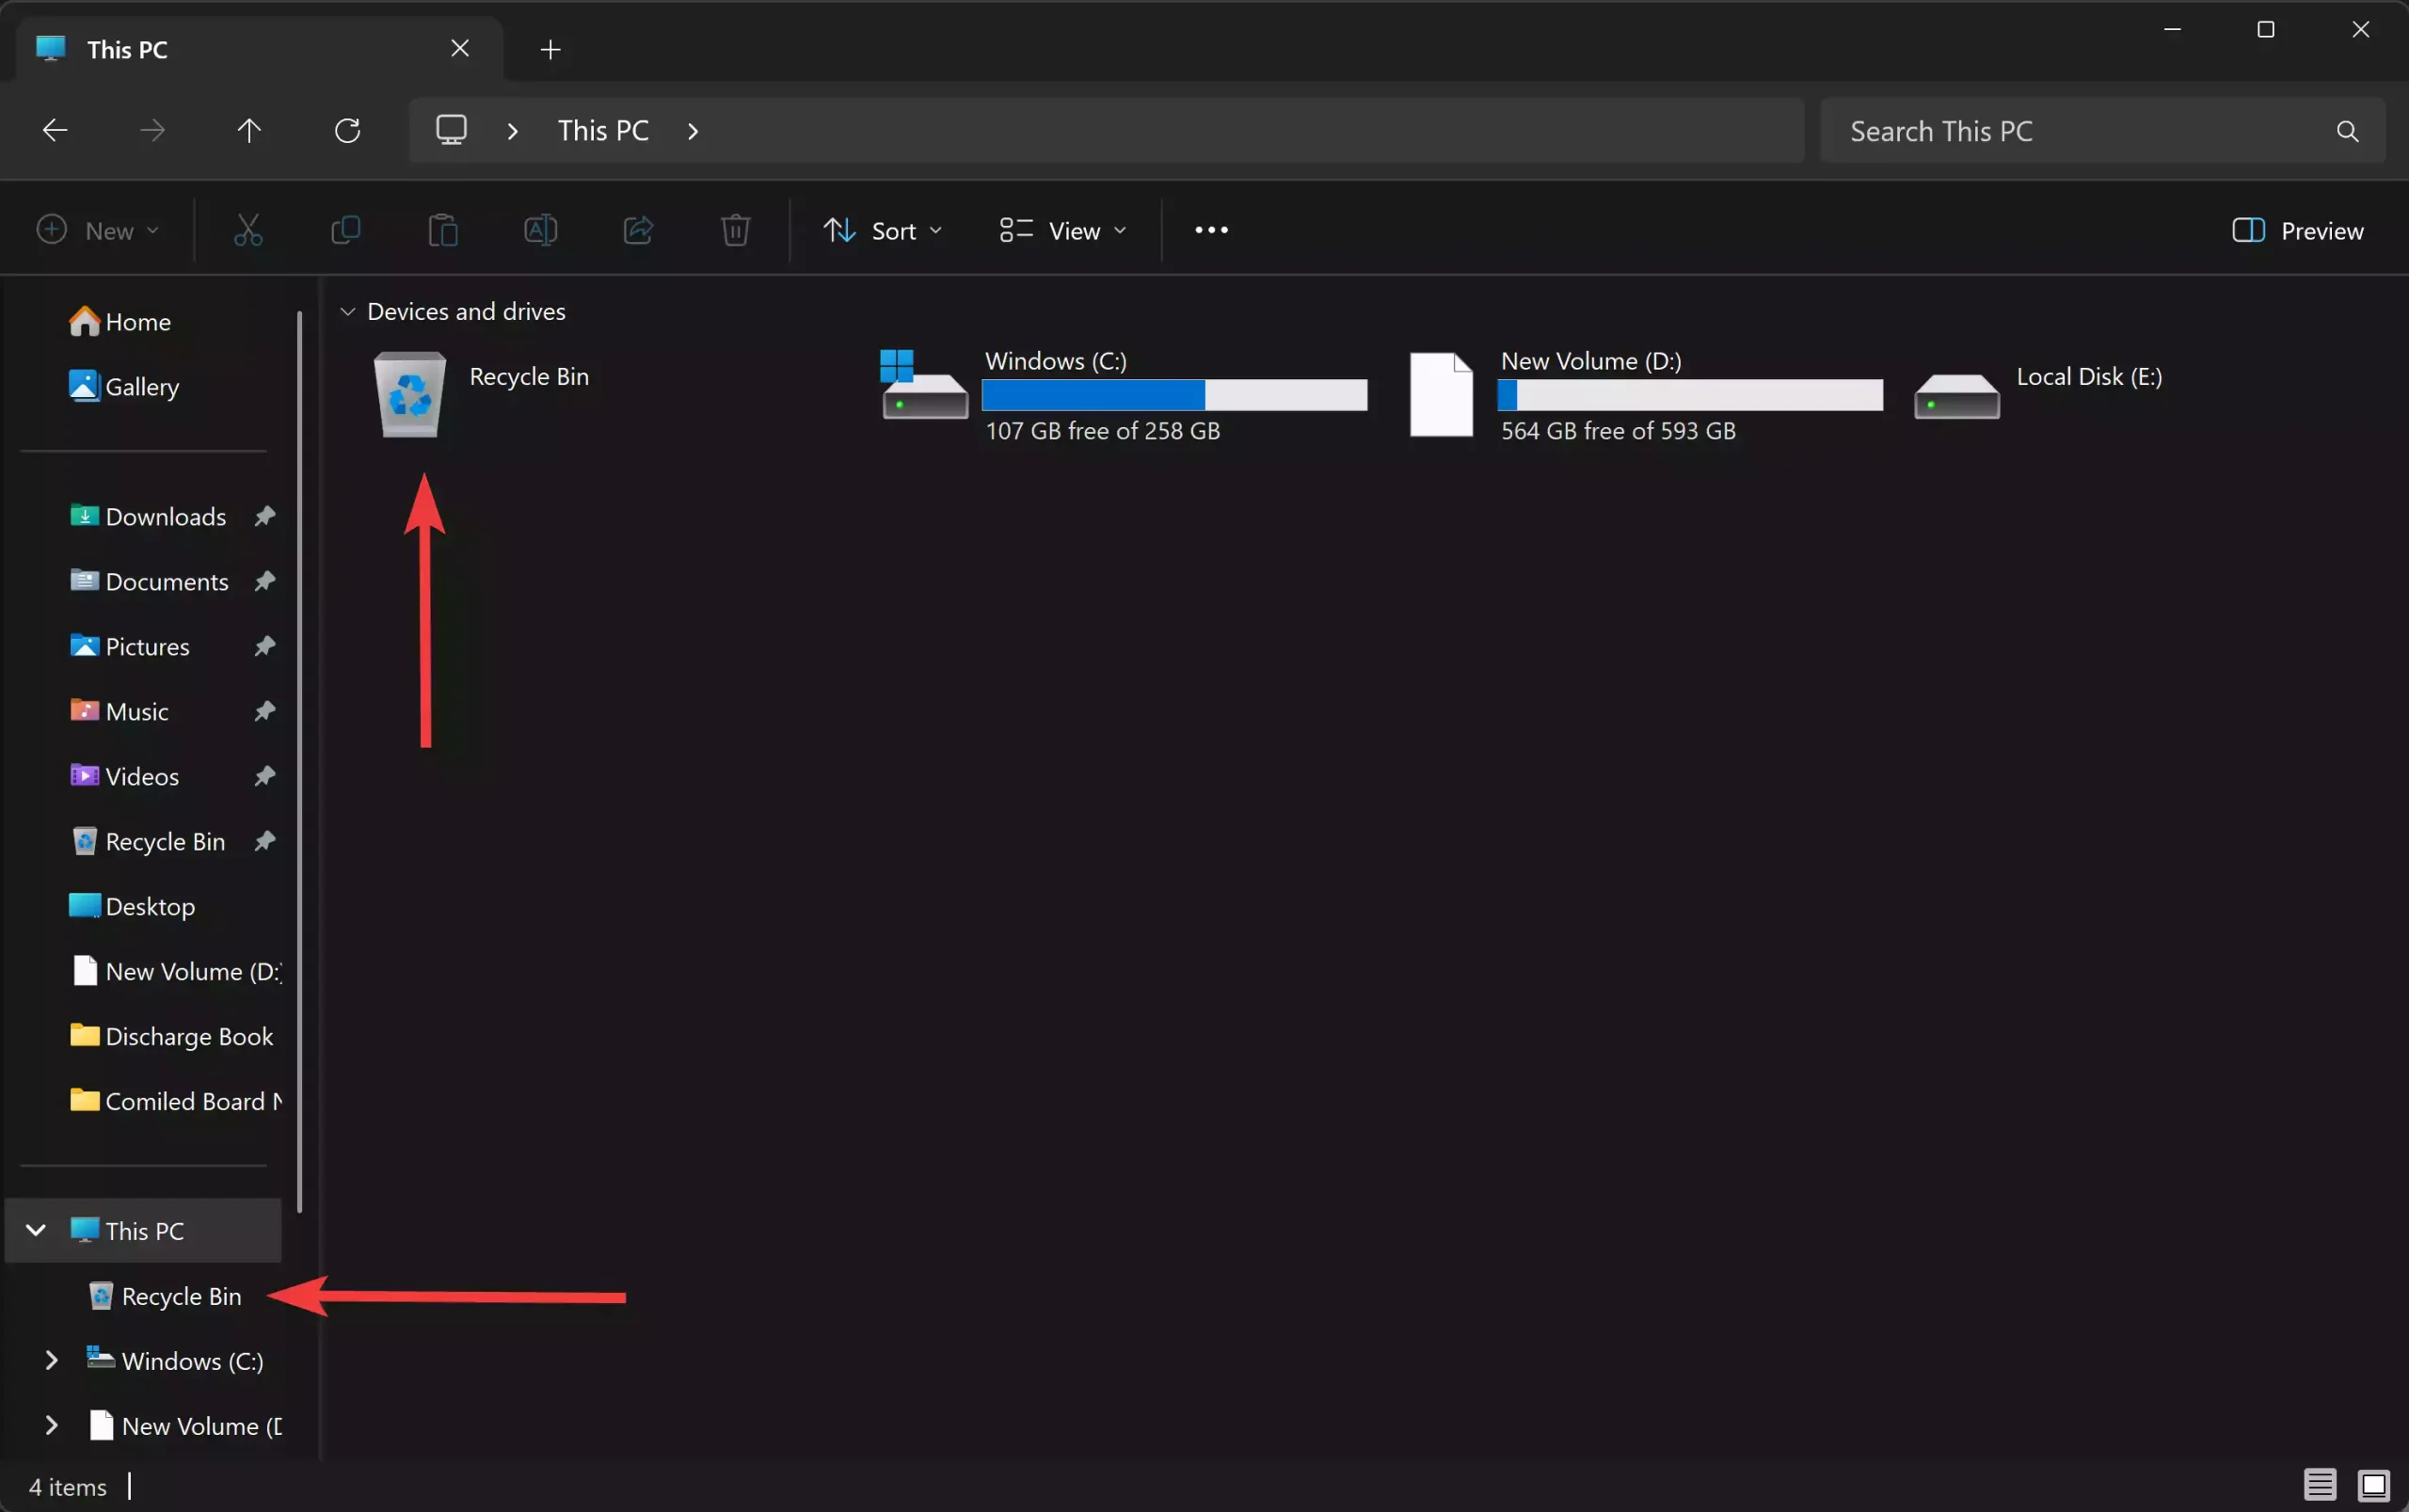
Step 4. Close Registry Editor. Open File Explorer and click This PC. You should now see the Recycle Bin listed among the special folders.
Method 2 — One-line PowerShell (fast)
Open a PowerShell window as administrator and run this command:
New-Item -Path "HKLM:\SOFTWARE\Microsoft\Windows\CurrentVersion\Explorer\MyComputer\NameSpace\{645FF040-5081-101B-9F08-00AA002F954E}" -Force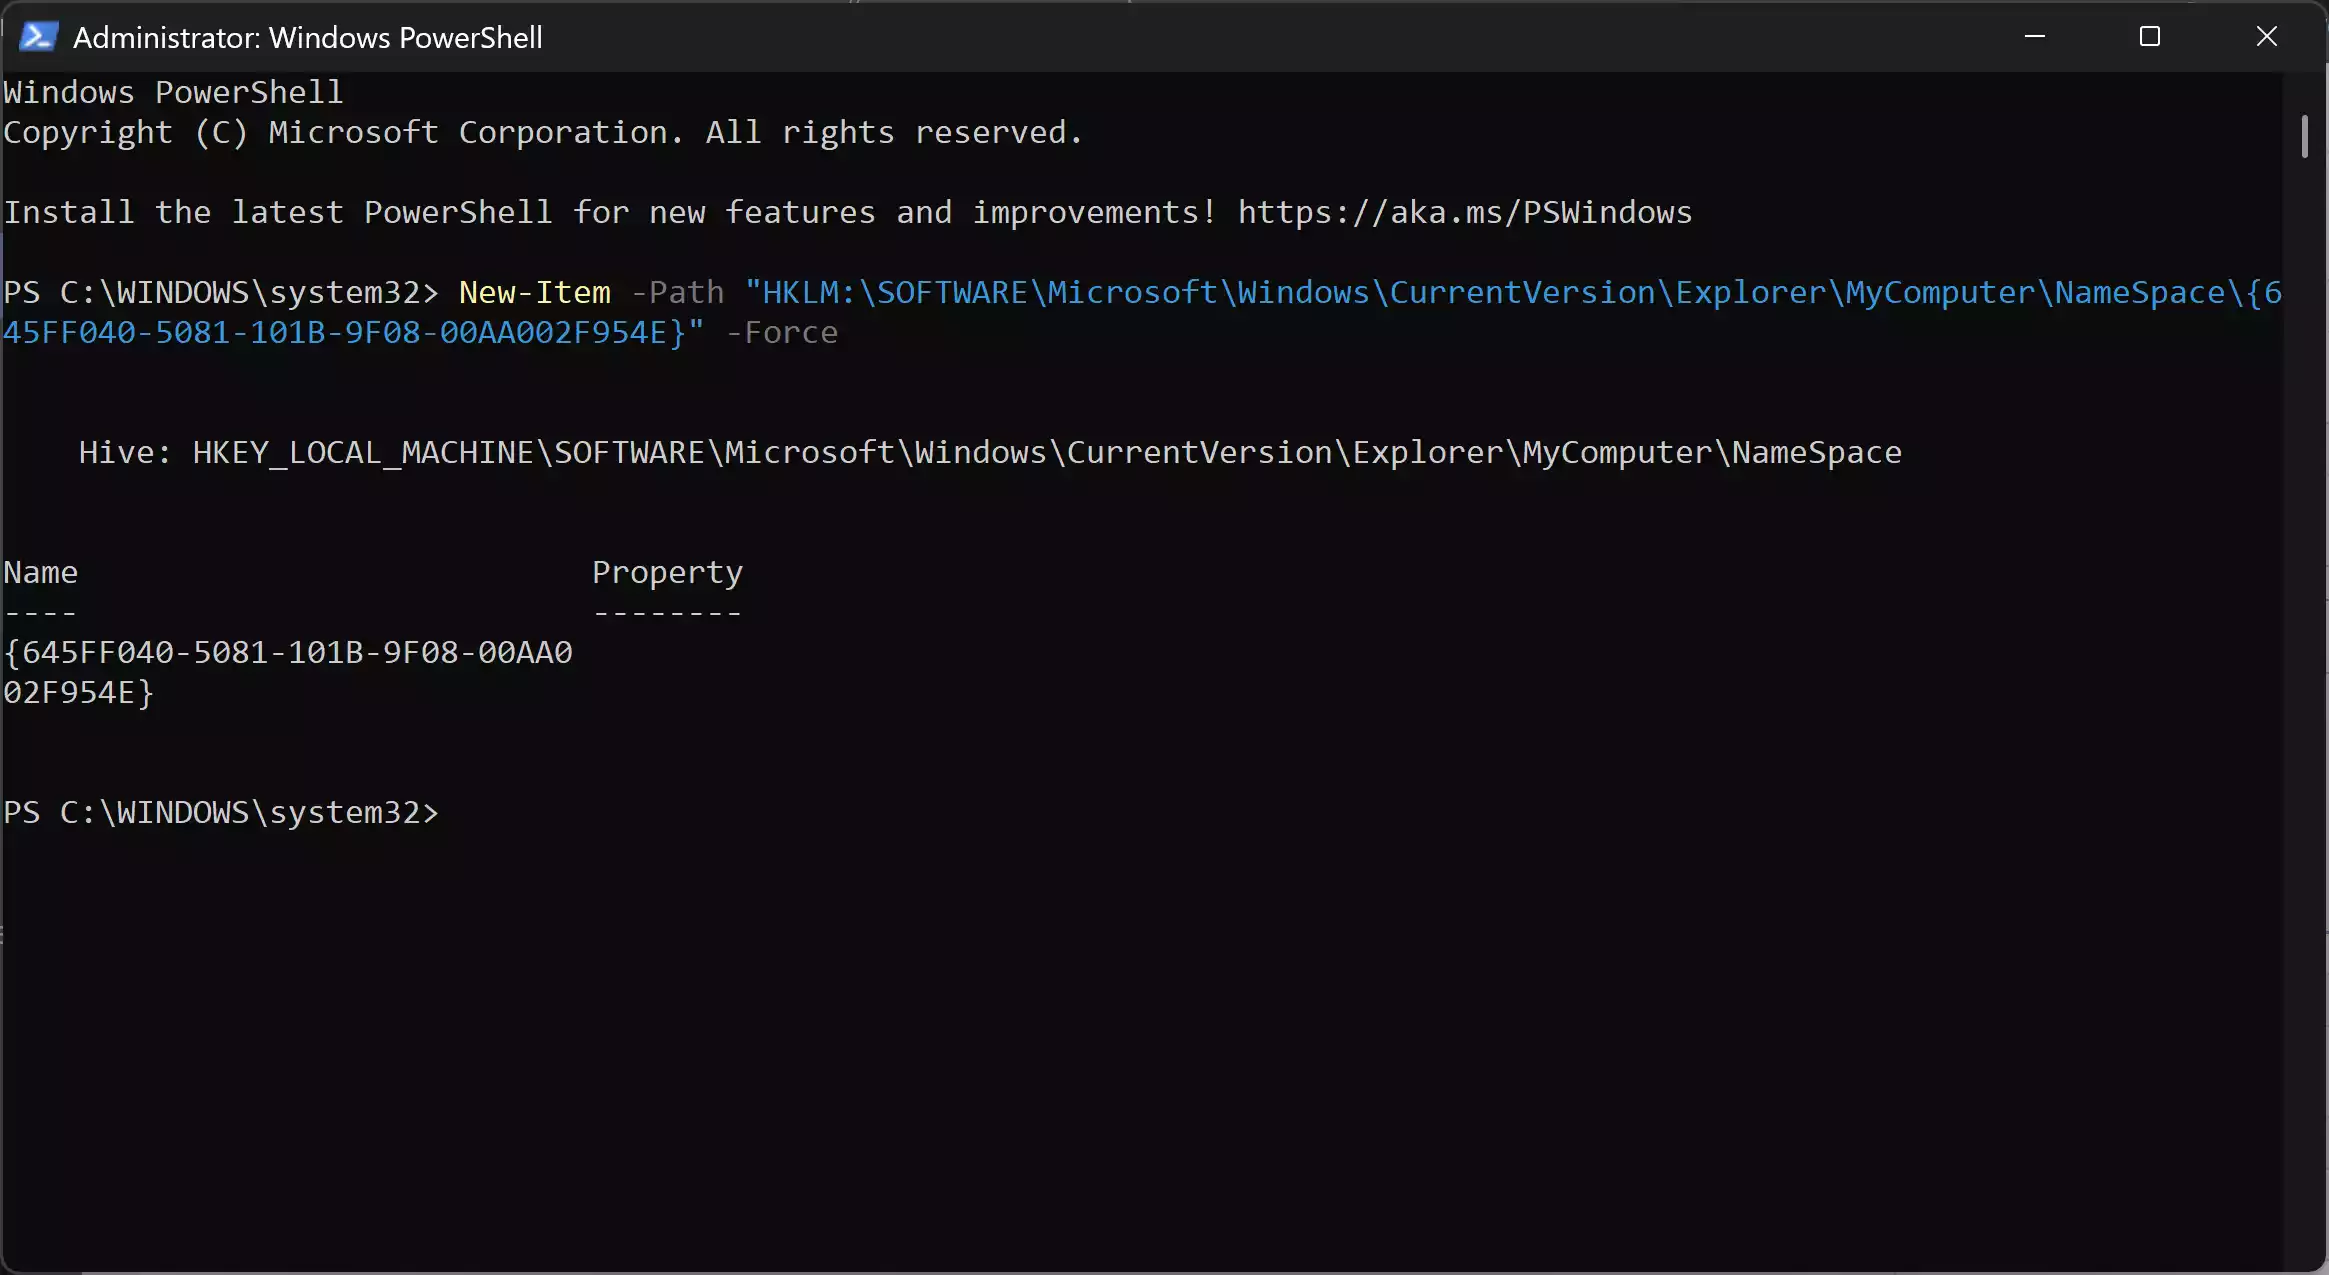
Then restart File Explorer (or sign out and sign back in) to see the change take effect.
How to remove (rollback)
If you decide you don’t want the Recycle Bin shown in This PC, remove the key you created:
Registry Editor: delete the key {645FF040-5081-101B-9F08-00AA002F954E} under HKEY_LOCAL_MACHINE\SOFTWARE\Microsoft\Windows\CurrentVersion\Explorer\MyComputer\NameSpace.
PowerShell to remove:
Remove-Item -Path "HKLM:\SOFTWARE\Microsoft\Windows\CurrentVersion\Explorer\MyComputer\NameSpace\{645FF040-5081-101B-9F08-00AA002F954E}" -Recurse -ForceRestart File Explorer or sign out/in to apply.
Other helpful Recycle Bin tips
If you want to manage how much space the Recycle Bin uses, see our guide on changing Recycle Bin storage size.
Want the Recycle Bin emptied automatically at sign out? We have an article that covers automatic emptying on sign-out for Windows 11 and 10.
Prefer having the Recycle Bin pinned to your taskbar instead? Check the pinning guide for step-by-step instructions.
If the Recycle Bin behaves oddly after changes, our troubleshooting guide for a corrupted Recycle Bin may help.
When this helps (use cases)
• You use This PC as your primary navigation hub and want one consistent place for system folders.
• You manage files and want faster access to the Recycle Bin while viewing storage and drives.
• You’re teaching or documenting workflows and prefer to show Recycle Bin along with drives.
Why a beginner might choose this
This tweak is small, reversible, and low risk — it doesn’t change file storage or deletion behavior. For beginners who prefer a tidy and consistent File Explorer layout, adding Recycle Bin to This PC can reduce clicks and confusion.
Pros
• Quick access to Recycle Bin inside the same place where you view drives and folders.
• Reversible with a simple delete of the registry key.
• Works without installing extra apps or utilities.
Considerations
• Requires editing the registry or running PowerShell as administrator — follow steps exactly.
• The change affects only how File Explorer displays the item; it does not modify Recycle Bin behavior.
• If your PC is managed by an organization, Group Policy may block registry edits.
FAQs
Q. Is this safe for Windows 11?
A. Yes — this is a display tweak. It only creates/removes a registry key that tells Explorer to show the built-in Recycle Bin GUID in This PC. Back up the registry first if you’re unsure.
Q. Do I need to restart my PC after the change?
A. Not always. Restarting File Explorer or signing out and in is usually enough. If you don’t see the Recycle Bin, restart Explorer or reboot.
Q. Will this affect files in the Recycle Bin?
A. No. Files, storage usage, and delete/restore behavior remain unchanged.
Q. Can I add other special folders to This PC the same way?
A. Yes — many special items are shown by adding their CLSID under the NameSpace key, but be cautious and follow reliable guides for each item.
Conclusion
Adding Recycle Bin to This PC is a small, useful tweak for users who want easier access while managing files. Use the registry method or the one-line PowerShell command above, and remember the rollback steps if you want to undo the change. If you need help with Recycle Bin storage, automatic emptying, or repairs, see the related guides linked above.